Tag

professional organizers

Organizing The Perfect Summer Picnic

By Blog, Checklists, Inspiration No Comments

Organizing the perfect summer picnic is a wonderful way to combine spending quality time with loved ones and enjoying the great outdoors!


Whether you’re planning a romantic date night or a fun family weekend, arranging a picnic is sure to create beautiful memories. In this article, I’ll be covering everything you need to know about organizing the perfect summer picnic; from choosing the ideal location, packing essential supplies, and planning for any type of unexpected event.


And remember to set a great example for your children and others. A successful picnic not only involves enjoying the moment but also taking responsibility for cleaning up afterward!


✨ FREE DOWNLOAD ✨

Summer First Aid Kit Checklist

Be confident in any summer emergency!

Download Now →


Organizing The Perfect Summer Picnic


Planning the Location


Scout and Pick The Perfect Spot:

Finding the perfect picnic spot is important for setting the right vibe! As well as making sure that your just-in-case weather preparations will work as desired if you need to use them.


Consider a location with picturesque views if you’d like to take photos, such as a grassy park, beach, or scenic lookout point. Take some time to scout the area in advance and choose a spot that offers enough space for everyone to relax comfortably. In some large, busy cities it can even be required to book your spot and required parking in advance, so make sure to check your favorite park’s requirements well before planning anything else! If kids are coming along, make sure there will be an area for them to play after the meal as well!


Check Out Parking Options:

Before the big day, research parking options near your chosen picnic spot. Ensuring convenient parking will save you from any unnecessary hassle or stress on the day of the event and allow you to set up your picnic with ample time. If you’re inviting guests who will be meeting you there, forward any necessary parking information to them as well.


Pinpoint the Nearest Public Bathroom:

It’s always wise to be prepared, especially if you’ll be bringing little ones along. Since nobody likes a last-minute scramble while hopping from foot to foot, make sure you have at least one option in mind before the big day. Research where the nearest public bathrooms are so you can provide directions for guests during your picnic.


Consider the Area’s Popularity:

This step is important if you want to avoid the disappointment of arriving and finding out your perfect spot has been filled by others! Find out how busy the area typically is on the day you’re planning your picnic. Google Maps can be a good reference if you are going to be at a public park as they have stats of when the busiest days and times are. Either way, plan to arrive early so you can secure your desired spot and not have to set up in a rush.
 

Supplies


Seating and Preparation:

Ensure you have comfortable seating by bringing along an outdoor blanket with a waterproof bottom. Some picnickers like to use a mini folding table or tray for a bit more table height and convenience. Additionally, you may want to bring wide, firm pillows for those who prefer sitting above the ground or even picnic chairs if needed.


Another way to spruce up the ambiance is to bring a portable speaker and make a curated picnic playlist in advance!


Picnic Basket Necessities:

Pack a well-equipped picnic basket or tote bag to store all your picnic necessities. To keep your food in its best condition until the event starts, bring ice packs and even a few extra in case you will need to keep some leftovers cool on the way back.


Think about including a camera to capture special moments, sunscreen to protect your skin, bug repellent or a citronella candle to ward off unwanted bug guests, and table decorations to create the imagined atmosphere. To make sure the fun doesn’t stop after eating, don’t forget to bring some cards, a board game, or a light outdoor activity to enjoy after the meal!


Serving it Up:

Gather all the necessary serving supplies well in advance. There’s nothing worse than arriving late because you were looking for something last-minute!


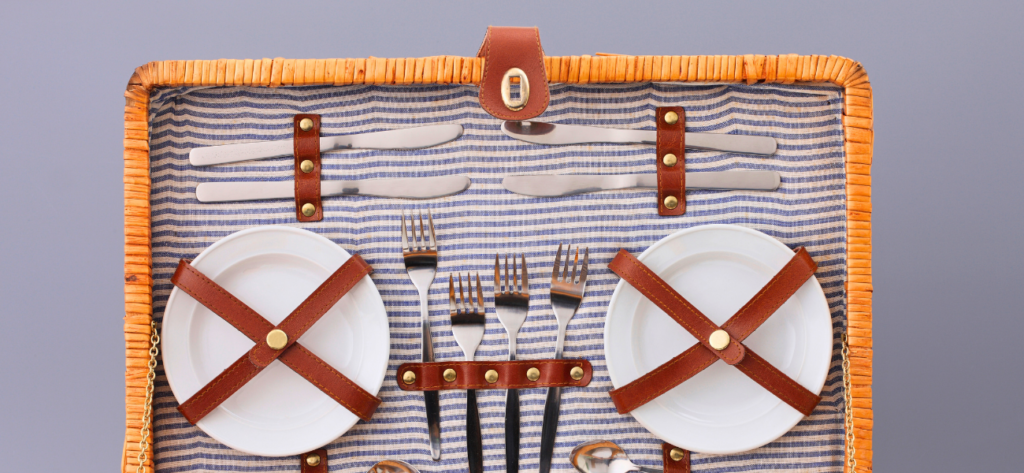
This includes plates, utensils for eating and serving, napkins, cups, and plenty of water. Bring a bottle opener if you plan on enjoying some beverages that will require one. Pack a cutting board and a sharp knife for any on-site food preparations. Additionally, bring salt, pepper, and any other desired condiments. This is a great time to use those extra condiment packets from takeout places I know we’ve all been “saving!” 😉


Cleaning Essentials:

Prepare for easy cleanup by bringing paper towels, wet wipes, some dishtowels (also good for packing plates and breakable items during transit), and extra food containers. Ziploc bags are also handy for packing up dirty utensils or storing leftovers. Pack a few trash and recycling bags to ensure you’re walking away from a clean space afterward. Consider bringing reusable bags to collect and transport your picnic supplies if you plan to bring a lot of items for setup.
 

More Tips


Keep it Fresh:

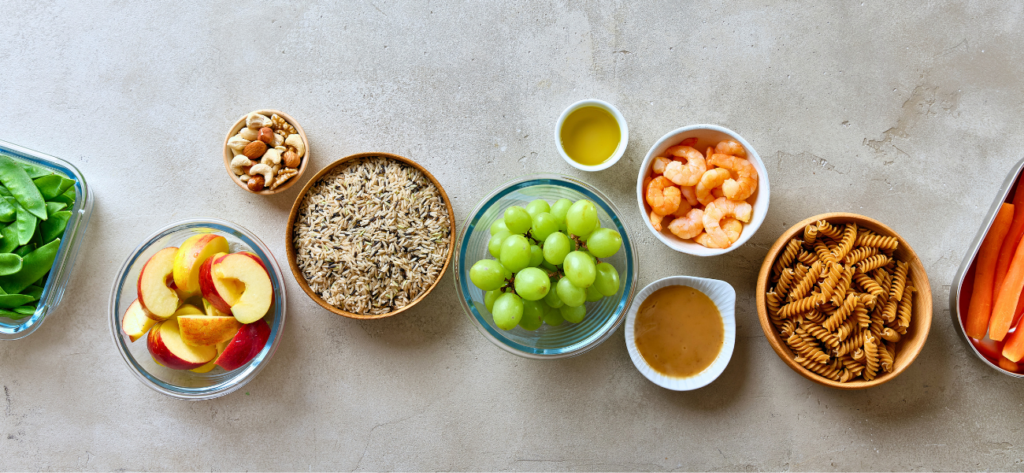
To keep your salads and sandwiches fresh, pack any wet dressings or condiments separately in small jars. Add them to your food once you’ve arrived at the planned picnic spot. This prevents the ingredients from getting soggy during transport!


Weather Preparedness:

Always be prepared for unexpected weather conditions when picnicking. Bring blanket weights or other wind deterrents to secure your blanket. If the sun is scorching or there is a possibility of rain, pick a spot with shade from trees, bring a gazebo that’s quick to set up and take down, a pop-up tent, or some large umbrellas.


Food Considerations:

Plan your picnic menu in advance, considering any allergies, dietary preferences (vegetarian/vegan), or a specific theme. Think about the ingredients, required preparation time, sealed containers to protect from bugs, and ice coolers for perishable items. If you’re having a potluck-style picnic, use Google Keep’s note feature to share with your guests so everyone is on the same page with what to bring! Pack a variety of drinks for guests to quench their thirst!


A successful picnic involves not only having a fun day with loved ones but also taking responsibility for leaving the environment as you found it (or even better!). Once you’ve finished your meal, be sure to clean up after yourselves. Dispose of trash properly and ensure recyclable items are separated as needed.


By practicing good picnic etiquette, you contribute to preserving the beauty of nature and ensure that future picnickers can enjoy the same great experience! So, gather your loved ones, follow this guide, and embark on an unforgettable picnic adventure!


Do you have a favorite picnicking spot? Comment below!


Like this article?

You’ll love this one👇🏼

Essentials for Your Summer First Aid Kit

Don’t know where to start decluttering?


Sign up for my free newsletter so I can send you the best organizing tips and strategies each week.

(and some freebies, too!)

Sign up here →

10 Things I Don’t Buy as a Pro Organizer

By Blog, Home Office Organization, Home Organizing, Simple Living No Comments

What if I told you that if you stop buying these 10 things, you could free up a lot of space in your home? I can also guarantee you’d free up some time in your schedule!


And who doesn’t want more time these days?!


As a professional organizer, I see a lot of people’s stuff and I can tell you, no one really needs (or uses!) all those fancy, trending little home gadgets. Maybe I’ve just been scared off of them after seeing so many mass collections, but these 10 things I don’t buy anymore honestly just tend to overflow and become clutter in a home. And when something’s spilling over, it’s definitely a sign that area needs to be reorganized!


Did you know the average home has over 300,000 items? That’s a lot of stuff to maintain and organize!


Are you feeling overwhelmed by your stuff and looking for ways to simplify your life? Then stick with me because I’m going to share some time-saving strategies to keep your home organized… the simple and easy way 😊


✨ FREE DOWNLOAD ✨

Summer First Aid Kit Checklist

Be confident in any home emergency!

Download Now →


10 Things I Don’t Buy as a Professional Organizer


My husband and I live in a smaller home, about 1500 square feet. I know that when a space starts overflowing with stuff, it’s time to corral that corner and declutter the area!


So let’s dive into today’s topic.


1 / 10


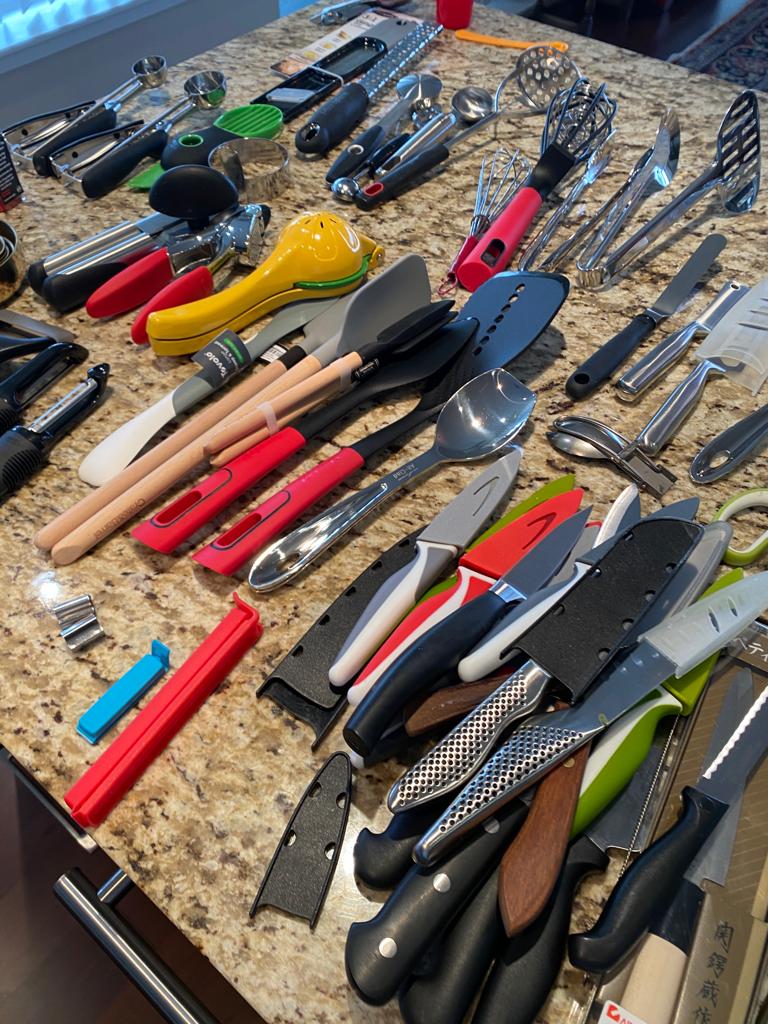
Starting off at number one, I don’t buy new kitchen appliances without a pre-determined space. I do see things that I would love to have, but if it doesn’t fit, something’s gotta go to make room for it first.


I remember one time, my husband came home with a salad spinner and I literally had nowhere to store it 😂 I had to reorganize the kitchen above our stove and the storage around our hood fan to make room for this salad spinner.


I’ve always been very conscious of how much space I have. If I’m going to buy it, then something’s gotta go. I follow the one-in-one-out rule.


2 / 10


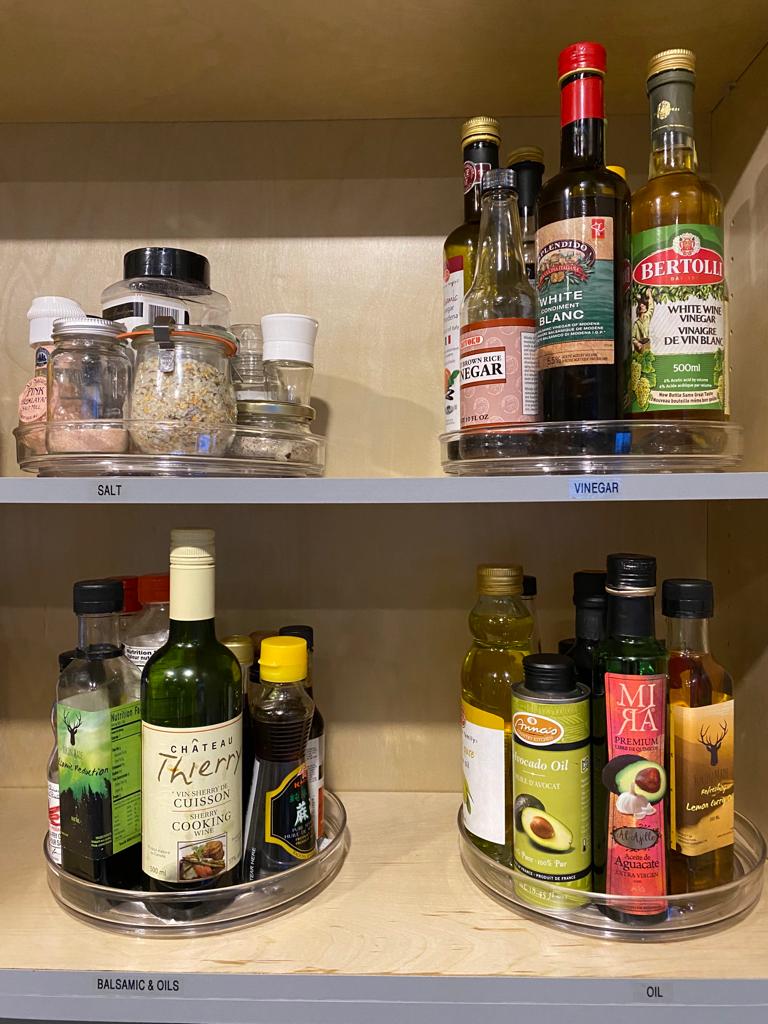
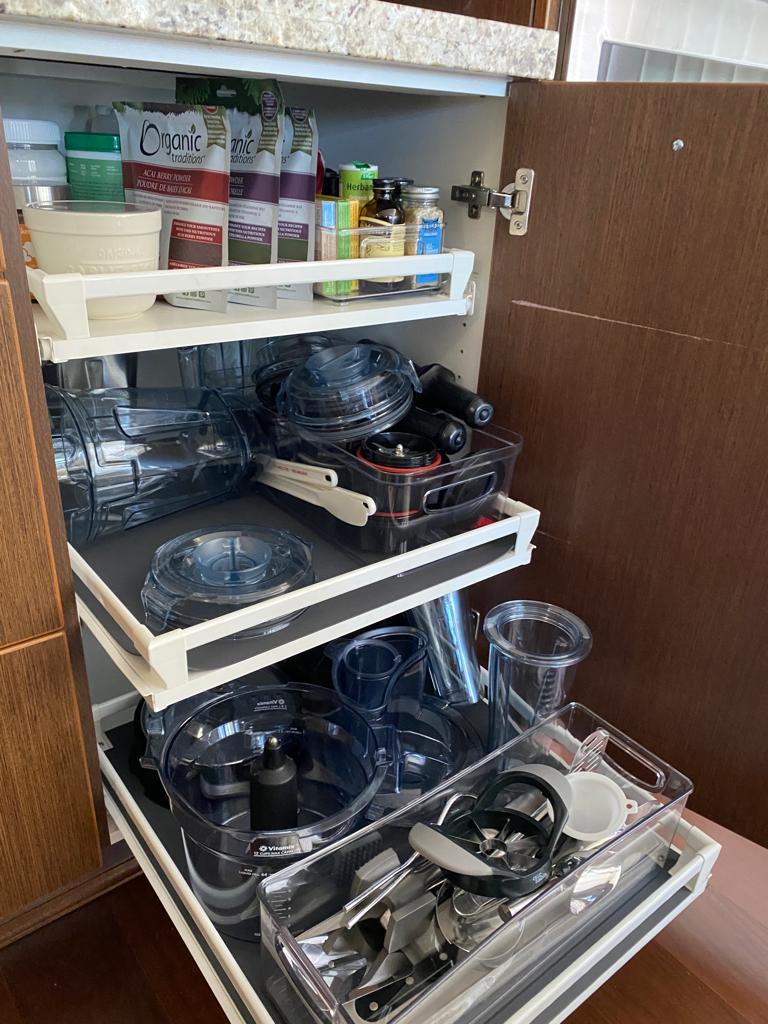
The second of 10 things I don’t buy anymore are tall spice containers and large oil bottles. These are things that I just don’t buy anymore because they can’t easily fit into my cupboard. I have a lower cupboard where, on a turntable, I store my oil bottles. But there’s only so much height in there.


You may be someone who likes to buy bulk amounts of spices, oils, vinegar, and sauces. This means you need to make sure that you have space to put it all away. And whatever amount of space you’ve allocated for it, you need to make sure that the bottles are going to fit height-wise, too. And don’t even consider storing them on their sides unless you want to clean up an oily, drippy mess!


3 / 10


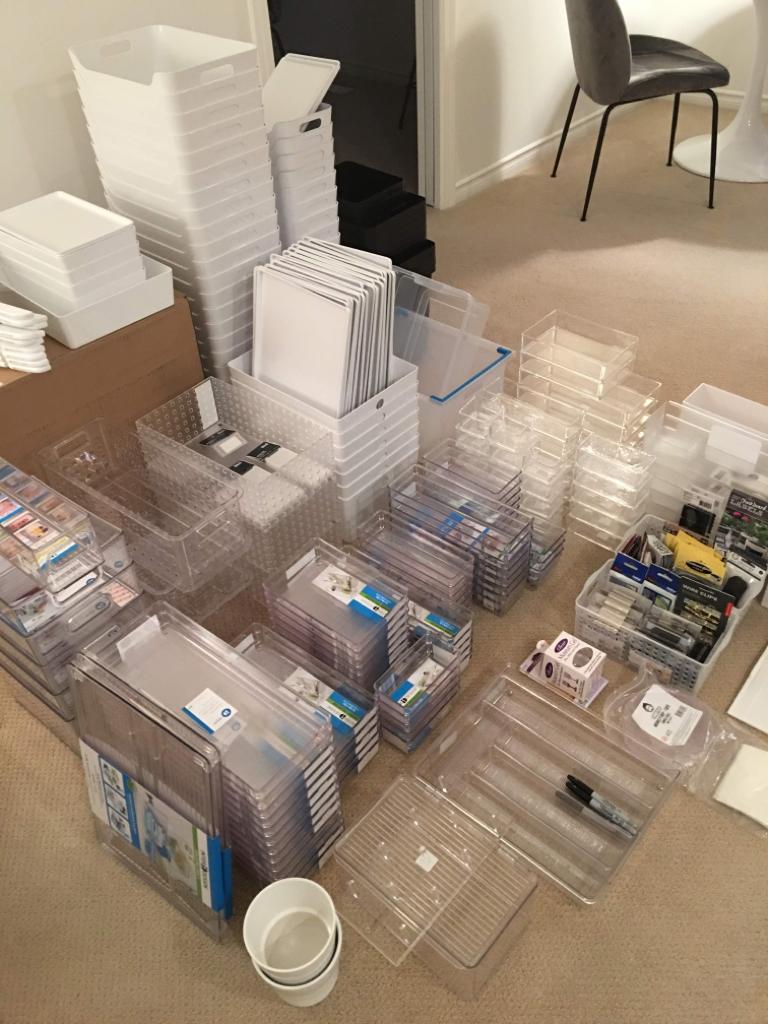
Next up is organizing products that don’t function well. I use a lot of organizing products and I test them all as well. I’ve found that if it doesn’t have multiple purposes and doesn’t function as intended, then I don’t even want it.


It’s way too easy nowadays to waste money on trendy products that promise us simplification but don’t deliver. So it’s crucial that you do your research (or check our product recommendations!) before purchasing dodgy items.


While the quality of each product is a big factor in its functionality, sometimes buying random items before planning how you will organize the space can create problems too. For example; a basket that cannot physically fit in a space, a turntable that’s too wide for a cupboard, spice jars that are the wrong shape for your rack, drawer organizers that are too tall so the drawer won’t close, weak shirt hangers used for coats can break, and so on. This is why I always make my plan to organize a space and then work on finding the products that are going to function the best for that project 👍🏼


4 / 10


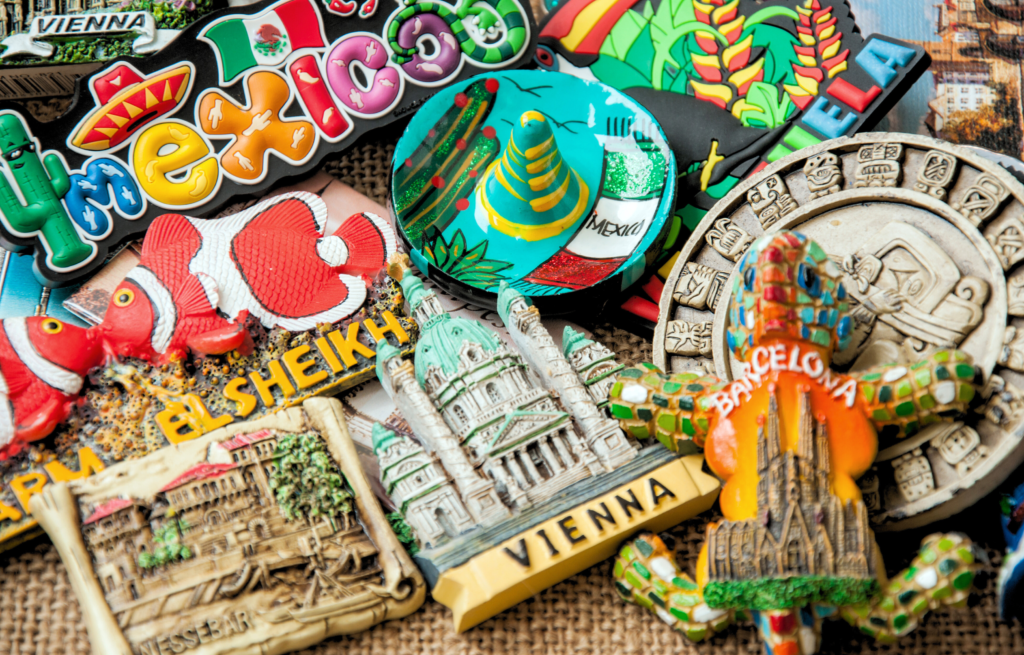
The next of 10 things I don’t buy as a professional organizer are souvenirs from concerts and vacations. I’m someone who likes to keep these items to an absolute minimum because I don’t like how they clutter up my space.


How many times have you gone to an event and come home with pamphlets, books, maps, tacky t-shirts, keychains, magnets, and the like? Don’t worry, I won’t make you actually count 😂


If your kids go to camps or play sports where you need to purchase those t-shirts, think of a way you can give the item a second life. Whether that’s reusing them as rags after they’ve outgrown them or turning them into a memory pillow!


My preference is to take photos of everything, I find that I look at the photos a lot more. This way, I can also display them or share them with others. You could turn them into photo books too, or you can just remember the vacation and the experience. You don’t necessarily need to bring home “things” to remember the experience 😊


5 / 10


The big number five is reusable water bottles! It’s so fun to collect all the different types… until you get home and have nowhere to keep them. So how many of these do we really need? Let’s break it down 👇🏼


For myself, I use 3 – 4 water bottles every single day. I have hot and cold drinks plus protein shakes that I take to client projects each day.


So yes, you do need some to take with your lunch or pack in kids’ lunches. But how many does one household actually need? When I go through coffee mugs, thermos’, and water bottles at clients’ homes, I’m always amazed! In the average home, I’m seeing usually 25 to 40. Sometimes even 50+ containers for hot and cold drinks! No one needs this many, even if you’re a family of five. Depending on your frequency of use, you should keep 1 – 2 per family member.


I recommend you narrow down your water bottles to only the favorites and the ones that you use all the time. Donate the rest!


6 / 10


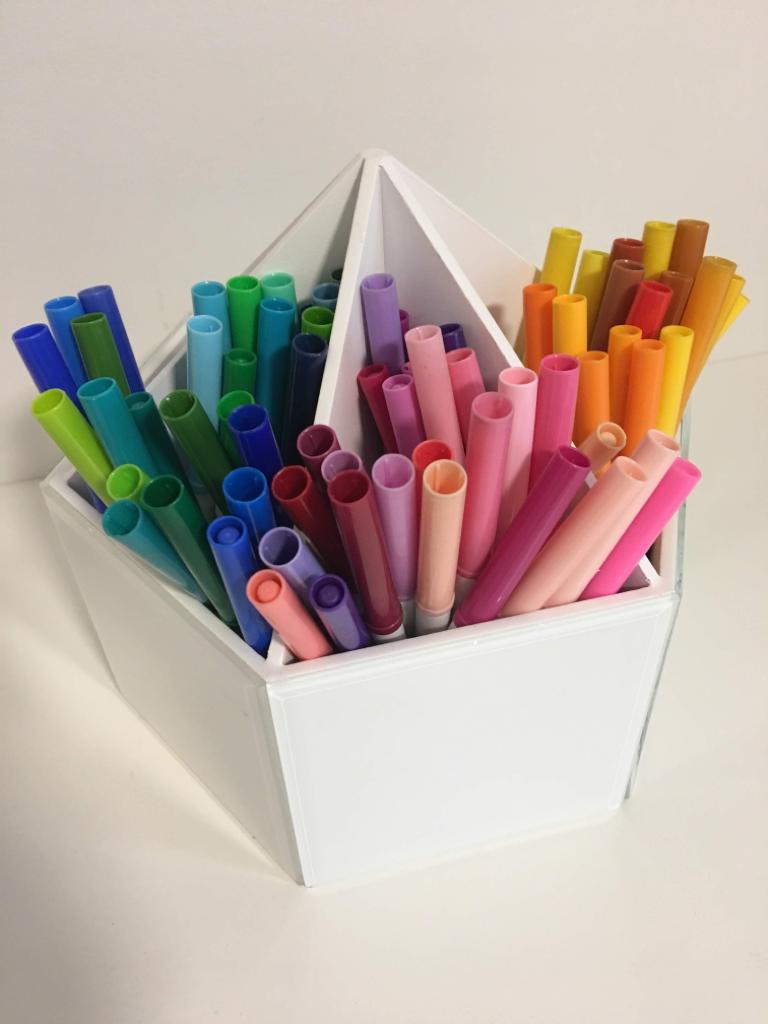
Here we are with 10 things I don’t buy at number six with office supplies. More like excessive office supplies, like in those pretty impulse sections at Staples!


I like to keep pens around the house in useful spaces, like in my office, the laundry room, a couple in my car, and some in the kitchen. I also have one by my nightstand and in the bathroom, along with post-it notes next to them. And what I’ve noticed about myself is that I love how quickly I can jot something down.


I do have some extra office supplies in case something runs out, but the reality is, I don’t need a hundred pencils. I certainly don’t need a bunch of different colored impulse-buy pens!


Sadly, I see this in home offices quite often. Another clutter-encouraging habit is bringing home pens from events and hotel rooms. They will just keep collecting. Just stick to your favorite, fail-proof office supplies and have a few extras of the things you use most frequently on hand. Make sure you organize them in one place.


If you need specialty papers or mailing supplies like envelopes and stamps then create an area for those supplies, and be realistic with yourself. How much do you really need?


Don’t forget to think about when the kids are in school too, as they’ll be coming home with their backpacks full of papers each day. Plus, at the end of the year once they’ve emptied out their locker from school, stay one step ahead. Avoid clutter overwhelm by weeding through all of their locker contents as soon as it comes through the door so it doesn’t end up piled on your office supplies.


You can donate extra supplies to organizations who are looking for them, and sometimes schools will take things too. But when pens and pencils are small or worn out, it’s time to say goodbye and let those go.


7 / 10


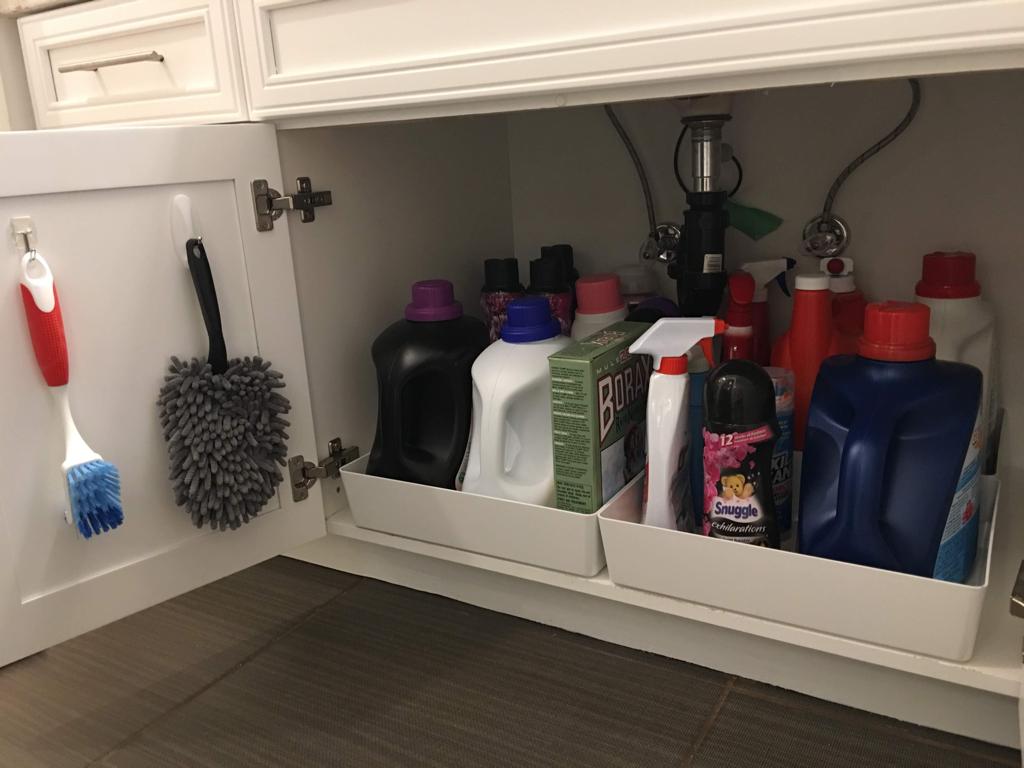
Number seven is excess cleaning supplies! I included this in the 10 things I don’t buy because my preference is to buy multi-purpose cleaners that do more than one thing so I can save storage space (and money!).


I have cleaning supplies on each level of my house, and I do this on my clients’ projects as well. That way there’s always something close by for cleaning upstairs, downstairs, and in the garage. I just find that it’s simple and easy.


Another tip is to buy a concentrated solution so you can water it down in your own bottles. You will be amazed at the amount of cleaning supplies you can cut down on by implementing these few tricks! You could probably cut that down by half at least, and you’re going to free up so much space. And bonus – it’ll be easy to find what you need when you need it!


8 / 10


Number eight is round food storage containers.


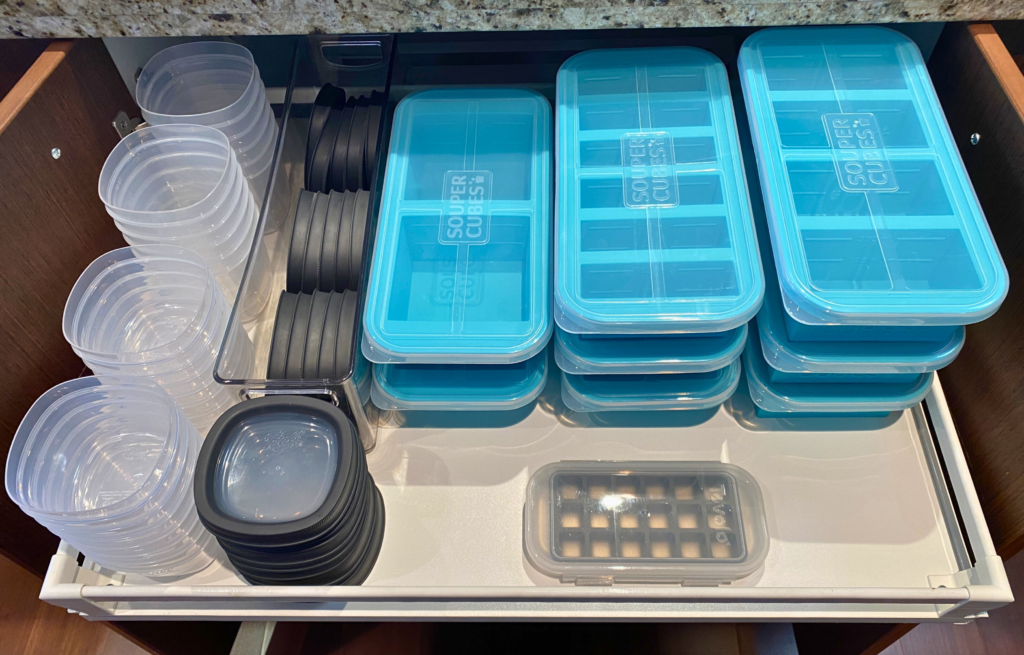
The reason is, when you have different shapes that need to fit in your fridge drawer, it makes it extra difficult. The square and rectangular containers can sit nicely next to and on top of each other, but throwing circles into the mix just won’t work as smoothly. I’m all about simplifying life, so I have no extra time to wrangle with inanimate objects!


So make sure that the containers you’re buying will work for your space and consider purchasing some extra so that if any of the glass ones break, you can easily replace them.


Now I do buy small round containers for my lunches, to keep sauces and salad dressings in. And for kids’ lunches, you will also need some small ones. However, as a general rule, when I’m buying food containers for use in a fridge or freezer, I won’t buy round. I just find they’re harder to stack and they take up more space. I want to maximize the little amount of space that I have in my fridge, my freezer, and in my food container drawer, so these are a no from me!


9 / 10


Nine is label tape that is not laminated. What do I mean by that?


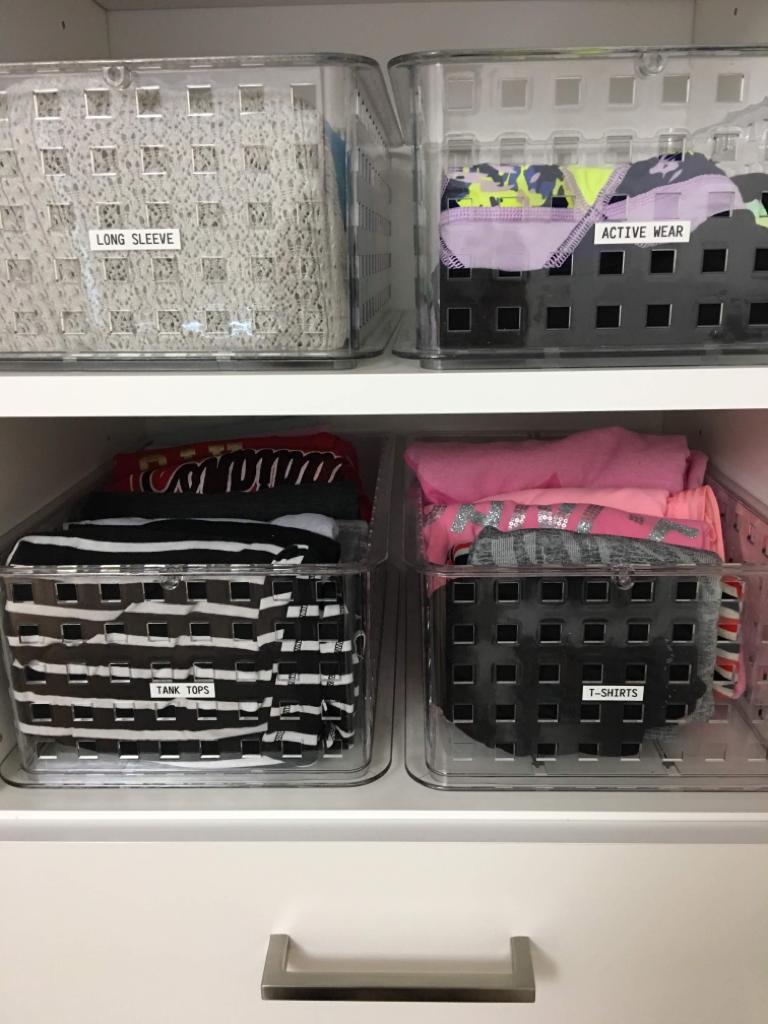
There are some big differences between paper and laminated tapes. I can immediately tell if something’s been labeled with paper tape, especially on a binder, shelf, or container. The edges get visibly curled and when you peel it off it leaves a filmy residue behind. This is probably my most-avoided product on the list of 10 things I don’t buy because they are just terrible.


Why’s laminated tape so special? It won’t curl. It will also last you many years, and it’s weather resistant. You can put them in a freezer, store them in a garage, and even use them outside.


So make sure when you’re purchasing a label maker that you look for one that is compatible with laminated label tapes. In the long run, it will save you money, too. You can thank me later 😉


10 / 10


And last but not least at number ten, we have uncomfortable shoes. Need I say more?


I don’t buy any uncomfortable shoes anymore, and here’s why. I’m so tired of breaking in shoes for months on end that never turn comfortable. My husband and I also do a lot of walking and I can’t stand the never-ending blisters I get while wearing them. Even when we go out on vacation, we do a lot of walking. There’s nothing worse than trying to keep up with my husband and friends in uncomfortable shoes. So I will only buy shoes that, when I try them on in the store, are comfortable.


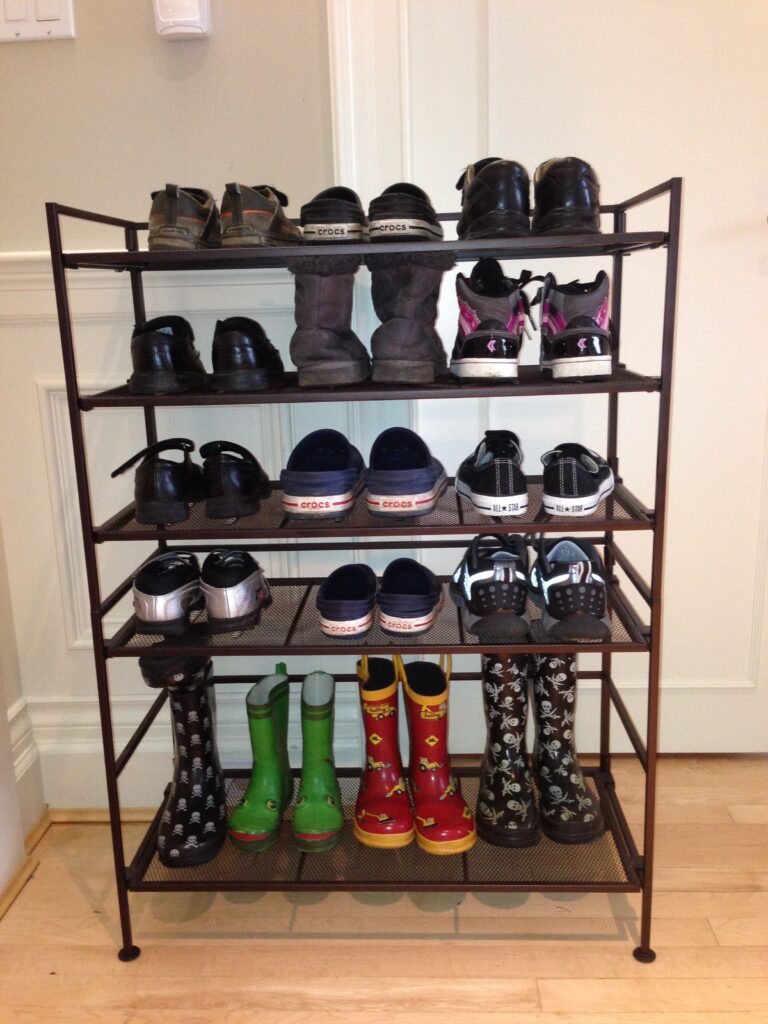
Do yourself a favor and go through all of your shoes. Anything that isn’t comfortable ask yourself, do I really wanna keep these? Is the pain worth it? Will I even wear them again?


Now, you may have a few pairs of shoes that you wear once or twice a year to special events. For those dressy shoes, I’m now making sure that even they feel nice because I’m just at that point in my life where I want to be comfortable!


So look at all those shoes in your closet that you don’t wear. If they’re not comfortable or something doesn’t feel like it fits you right, let’s donate those, consign them, or pass them on to a friend.


+1 Bonus Tip!


And here’s your bonus tip: just because something is free… doesn’t mean you need to bring it home! When you go to a cosmetics counter and they want to load you up on free samples, simply don’t take them! Though these freebies may not be things I don’t “buy” anymore, they are certainly things I don’t bring into my home. The reality is you’ll likely never use them and they’ll just clutter up your bathroom drawers and counters until you throw them out a couple of years later.


When you go to a live show or event with free stuff being handed out, stop and ask yourself, do you really want to bring this thing home? Do you want to clutter up your house with more stuff? Remind yourself it’s okay to say no.

Remember, anything that you bring into your home, you’ll have to create space for it. Then find a home for it, and maintain it for the foreseeable future! Save yourself some time and energy by only bringing home the things you will dearly love, use, and that are purposeful in your day-to-day life.


Watch the video!


I’m curious to know what items you are going to stop buying or bringing into your home! Comment below 😁👇🏼


Like this article?

You’ll love this one👇🏼

Essentials for Your Summer First Aid Kit

Don’t know where to start decluttering?


Sign up for my free newsletter so I can send you my best organizing tips and strategies each week.

(and some freebies, too!)

Sign up here →

How to Organize a Year of Kids’ School Papers

By Blog, Home Organizing, Organizing Paper Files No Comments

Stuck trying to figure out how to organize a year of school papers?


You’re in the right place! By implementing these simple steps you will be able to avoid overwhelming paper chaos. Ensuring that only their most important memories are saved.


In this blog post, we’ll explore practical tips for organizing schoolwork after the year has ended.


When is the Best Time to Organize?


There isn’t a more exciting time of year than when the kids finish school for the summer. At least for them! But somehow, it’s the parents that get stuck with their mountain of schoolwork to sort through.


To help lessen the amount of work come summer, a good idea is to practice recycling unnecessary papers throughout the school year. If you can keep this up consistently you’ll have a lot less work at the end of the year!


That’s a tip for next year though, as we have a mountain of paperwork to deal with today.


Let’s take a look at how you can organize a year of school papers effectively.


Don’t know where to start decluttering?


Sign up for my free newsletter so I can send you my best organizing tips and strategies each week.

(and some freebies, too!)
Sign up here →


How to Organize a Year of Kids’ School Papers


1. Establish a Plan


To prevent overwhelm by paper clutter, the most important step is to have a clear plan of action before you begin. Decide where and how you will organize your child’s school papers. This might be your dining room table or comfortably on your couch and coffee table. Then, dedicate a space to store these papers from the year. I recommend using a file folder for each school year and keeping them all together in an archive box, one for each kid.


2. Lay it All Out


You can now start getting your hands dirty by dumping out the contents of your child’s backpack. Gather all the papers into a single pile and put anything else off to the side so you can focus on this task first. Sorting through a large group is much more efficient than trying to pick through each thing from the backpack individually. From here you can create smaller piles for different categories like trash, keep, and recycle.


*Remember to remove the staples from the papers before recycling them!


✨ FREE DOWNLOAD ✨

Summer First Aid Kit Checklist

Be confident in any home emergency!
Download Now →

3. Reuse Papers for Summer Work


To keep your kids engaged in learning throughout the summer, consider reusing their unfinished workbooks, sheets, and lessons. For workbooks that are only partially completed, remove the finished pages to recycle and save the rest for “summer work.” This way, your children can continue learning during the break without you having to purchase additional worksheets. Having grade-appropriate lessons ready makes it even more relevant!


4. Clean out Backpacks (and Lunch boxes!)


After you organize a year of school papers, don’t forget to give those backpacks and lunchboxes a thorough clean! Empty out the whole thing, dispose of leftover food, and wipe down the interiors. Most backpacks can be run through a washing machine, but double-check the tag for washing instructions. A fresh start for the upcoming school year begins with a clean slate – emphasis on clean!


5. Want to Go Paperless?


Preserving memories digitally can save you tons of space and reduce household clutter. Check out my favourite apps for achieving this:

Artkive

The #1 solution for preserving and celebrating kids’ art!

Google Photoscan

Create enhanced digital scans, with automatic edge detection, perspective correction, and smart rotation.

You can use them to take photos of your child’s most memorable artwork and schoolwork. I love using these with my clients as they’re also great for taking photos of 3D artwork. If you don’t have the space to display a clay sculpture, simply snap a photo and look fondly at it anytime you wish! Create a digital album where you can store these cherished memories and even share them for extended family to view. Digital storage also ensures that these precious pieces are protected from physical wear and tear, or accidental breakage.


6. Maintain Throughout the Year


To simplify the end-of-year organization process, make it a habit to maintain your system throughout the school year. Encourage your kids to bring home papers they may no longer need. Regularly sort and pare down these papers to keep only the most special pieces. By adopting this practice, you’ll find that organizing school papers becomes a breeze at the end of each academic year!


Where to Store Kids’ School Papers

Organizing school papers after the year ends can be a daunting task that requires some planning and a methodical approach.


But by implementing the tips mentioned above, you can avoid the stress and clutter that often comes with organizing a year of school papers!


Remember to establish your plan, sort through the papers quickly, embrace digital storage, and maintain your system throughout the year.


By practicing these strategies consistently, you can say goodbye to paper chaos and give a big welcome to a clutter-free end of the year!


How do you store your kids’ school papers? Comment below!


Like this article?

You’ll love this one👇🏼

75 Creative Ways to Use A Label Maker