Tag

professional organizers

How to Set Up Your Smartphone Like A Digital Minimalist

By Blog, Digital Minimalism, Digital Organizing, Time Management No Comments


Ready to learn how to set up your smartphone like a digital minimalist?


Setting up a “Digital Minimalist Phone” may be your saving grace. If you often find yourself mindlessly scrolling through your phone, wasting hours of your day on unproductive activities… this is for you!


Modern Day “Doom”


“Doom-scrolling” is a common habit that leaves many of us feeling guilty and frustrated with ourselves.


In today’s world, our phones have become an extension of our own person. Levels of self-discipline are falling because that unhealthy digital attachment leads to anxiety and distraction.


Our whole digital world is oozing with content and we’re bombarded on the daily with beeps, pings, and buzzes. Targeted ads are tailored to our desires, and therefore, our attention is easier to grab and hold.


Digital addiction can come from many different streams. It is not always our own fault or even conscious doing.


Businesses obsessively honing in on their customers’ weaknesses to exploit them monetarily (or otherwise) is one of the deep roots of our digital addictions. And we ALL fall victim to this in one way or another.


As this isn’t going away anytime in the foreseeable future, our best way out of the cycle of digital depression is to take BACK control over how we spend time on our smartphones… with digital minimalism.

“Why am I so attached to my phone?”


Spending the past two years practicing as a Digital Minimalist has truly opened my eyes. For example, when I don’t monitor my screen time, a quick email check can easily waste an otherwise productive hour.


I have been writing many new chapters of my life these past few years, as well as learning a lot about human behaviour.


I first noticed this habit and impulse of mine to always be checking my phone. The cycle would begin with having feelings of anxiety and that I need to have my phone on me at all times, otherwise, I might miss something important.


This led me to ask myself, “Why am I so attached to my phone?”


When I noticed this phone-induced anxiety coming up, I started to question myself each time, “What is it that I’m avoiding?”


Is it going out for a walk? Is it reading a book? Procrastinating on deskwork?


I started consciously noticing HOW I was using my phone. As well as thinking about which distractions I could eliminate and what other things were causing me to feel “tied” to my phone.


In this blog post, I’m sharing more about the exact steps in my journey to becoming a Digital Minimalist. I’ll be guiding you through how to set up your phone so that it can intentionally support a more focused and creative life.


How to Set Up Your Smartphone Like A Digital Minimalist


Reset Your Digital Habits


Before diving into the setup process, it’s essential to acknowledge the habits that KEEP us tethered to our phones. The impulse to constantly check for notifications or escape into endless scrolling can take a toll on our productivity and mental well-being. By understanding WHY we’re so attached to our devices, only then can we begin to make lasting changes to our digital minimalist habits.


Create an Intentional Phone Setup


Setting up your phone for digital minimalism starts with organizing your home screen. By curating widgets and essential apps, you can minimize distractions and focus on what truly matters. Useful widgets (like a timer, calendar, and navigation tools) can help you stay on track with your tasks and appointments. All while decluttering unnecessary apps helps reduce visual noise and temptations.


Turn Off Distractions


To further enhance your digital minimalist setup, consider turning off features like Always On Display and Raise to Wake. These settings can create unnecessary distractions and drain your phone’s battery quickly. Just because we CAN be reached 24/7 does not mean we MUST be available 24/7. Protect your peace and set boundaries around your time by disabling them. You’ll be reducing interruptions and able to have more mindful interactions with your device.


Customize Your Environment


Changing your phone’s wallpaper to a calming and inspiring image can set the tone for a focused and intentional interaction each time you pick up your device. Organizing your apps into folders or using the app library feature can streamline your digital minimalist experience even more. Reduce app clutter and file them out of sight to lessen temptations and make it easier to find what you need, when you need it.


Digital Minimalists Aren’t Perfect


Practicing digital minimalism is a journey that requires patience and loads of intentionality. By gradually decluttering your digital life and simplifying your interactions with technology, you can reclaim your time, attention, and mental clarity. Remember, the goal is not to eliminate technology entirely but to use it mindfully and intentionally to support a more fulfilling life.


Taking the First Step


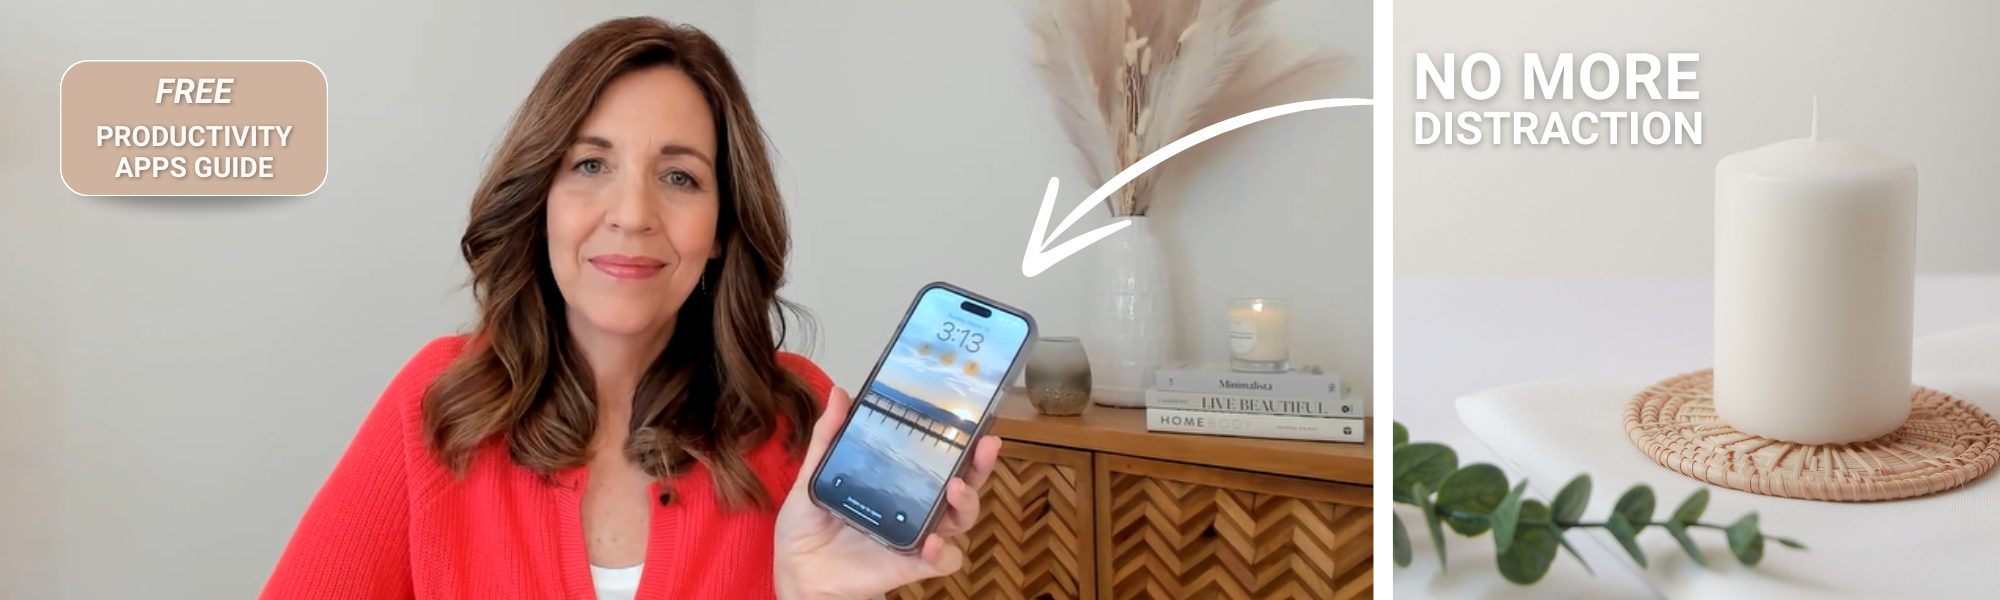
If you’re ready to simplify your digital life and embrace digital minimalism, I encourage you to download our
FREE Productivity Apps Guide.


With practical tips and application recommendations, this is your valuable resource for decluttering in the digital world, reclaiming your time, and enjoying your conscious daily presence. You can start becoming a digital minimalist today and experience the transformative power of intentional technology use by tomorrow!


Like this article?

You’ll love this one 👇🏻
Organize + Level Up Your iPhone for Better Productivity


Want more support with digital organization?


Sign up for my free newsletter so I can send you the best organizing tips and strategies each week.

(and some freebies, too!)

Sign up here →

5 Easy Tips to Get Started with Digital Minimalism

By Blog, Digital Minimalism, Digital Organizing, Simple Living No Comments

Before practicing these 5 easy tips to get started with Digital Minimalism, finding peace and productivity felt like an uphill battle.


Did you know that the average American checks their cell phone 344 times a day? That’s a jaw-dropping statistic, which highlights just how entangled technology has become in our daily lives.


But what if there was a way to break free from this cycle of digital dependency?


Over the past two years, I’ve been on a personal journey with Digital Minimalism.


I have dedicated these years to making significant changes in my digital habits and reclaiming control over my device use. It’s been small steps over a period of time as I ease into a new workflow and get clearer on my priorities and goals for my life.


In this blog post, I’ll share the insights and strategies I’ve learned along the way. These 5 easy tips to get started with Digital Minimalism are sure to help you declutter your digital life and find greater peace and productivity!


5 Tips to Get Started with Digital Minimalism


Step 1 – Delete Non-Essential Apps


The first step in embracing Digital Minimalism is to declutter your phone. We’re starting here because this device is the main time-stealing culprit!


Take a critical look at each app on your device and ask yourself:


Does this enhance my life or is it merely a source of distraction?


Organize your home screen with only the most essential apps that you use daily, minus social media apps. Shuffle over your less frequently used apps to the following pages. If you’d like to organize a step further, set up folders for different app categories.


By streamlining your app pages, you’ll reduce digital clutter and naturally create a more focused digital environment. Plus you’ll be helping yourself quit the tempting habit of doom-scrolling once the social media apps are out of sight!

Step 2 – Organize Your Computer


Most people who come to me for digital organizing come with the main concern of a disorganized computer. Your computer desktop can quickly become a dumping ground for folders, files, shortcuts, and visual clutter since we don’t always see it piling up.


Take the time to organize your desktop by removing unnecessary icons and creating a simple system for file storage and organization.


Utilize cloud storage solutions like Google Drive to store files and documents to keep your desktop clean and running smoothly.


Get your FREE Digital File Cabinet Planner here!


Step 3 – Organize Your Email

An overflowing inbox can be a significant source of stress and distraction from the moment we wake up.


Take back control of your email by unsubscribing from unnecessary newsletters, store flyers, mailing lists, and spam.


Create categorized folders to organize incoming messages. Add labels to your frequent incoming emails so they can auto-sort into their respective folders.


Set aside a few minutes each day to manage your inbox, archiving or deleting unneeded emails to keep it clutter-free.


Step 4 – Declutter Your Calendar


Your calendar is a powerful tool for managing your time and staying organized in all aspects of life. However, it can quickly become cluttered when we aren’t reviewing it often.


Take the time to declutter your calendar by reviewing upcoming events, tasks, and appointments. Remove anything that doesn’t align with your priorities or goals.


Create dedicated theme days, like content creation on Monday, filming on Tuesday, and blocks of time for specific tasks (task-batching!). With these in place, you will be able to save that 20 minutes lost to task-switching and minimize distractions.


Give yourself the time freedom for activities that truly matter to you!


Step 5 – Prioritize Personal Enjoyment


Finally, don’t forget to prioritize your own personal enjoyment and leisure time.


Embracing Digital Minimalism isn’t just about reducing visual clutter and distraction; it’s also about reclaiming your precious time and energy for activities that you love to do.


Whether it’s going for a walk without your phone, spending time with loved ones, or zoning in on a favorite hobby. Make sure you’ve always got time for the things that nourish your soul and bring meaning to your life!


Digital Minimalism is truly a journey of self-discovery and intentional living.


By decluttering your digital life and minimizing your technology use with these 5 easy tips to get started with Digital Minimalism, you will create space for greater peace, productivity, and personal fulfillment.


Take the first step on this journey today and start experiencing the transformative power of Digital Minimalism in your life!


Do you practice any habits for Digital Minimalism already? Drop them in a comment below!


Like this article?

You’ll love this one👇🏻
Simplify Your Business with Effective Systems


Not sure where to start with digital organization?


Sign up for my free newsletter so I can send you the best organizing tips and strategies each week.

(and some freebies, too!)

Sign up here →

How to Use the Snipping Tool for Windows Desktop

By Blog, Digital Organizing, Quick Organizing Tips No Comments

You’re in the right place to learn how to use the snipping tool for Windows desktop!


Have you ever found yourself wanting to capture just a portion of your desktop screen? Perhaps you want to highlight a specific section of a document, webpage, or image to share with someone or for future reference.


Enter the snipping tool – a handy feature built right into your desktop to make this task a breeze!


In this blog post, we’re looking at how you can harness the power of the snipping tool on a Windows desktop.Keep reading to learn how to use the snipping tool for Windows desktop!


How to Use the Snipping Tool for Windows Desktop


Before we dive into the exact how-to’s of using the snipping tool, let’s debunk a common misconception…


The Print Screen shortcut captures the entire screen. The snipping tool allows you to select only the portion of the screen you want to save. Which saves you from the hassle of a second step of cropping!


Finding the Snipping Tool

Locating the snipping tool is the first step. Simply type “Snipping Tool” in the search bar at the bottom of your computer’s screen, and if it’s available on your system, it will appear. To ensure easy access in the future, pin the Snipping Tool to your taskbar. If it didn’t come up for you, you can download it here.


The shortcut keys to pull it up instantly are Windows Key + Shift + S


Capturing Screenshots

Once you’ve launched the snipping tool, click on “New” to initiate a new snip. Here you have the flexibility to drag and choose the area of the screen you want to capture. This could be a section of a webpage, a photo, or anything else. The snipping tool also offers basic editing options like highlighting and annotating to further enhance your screenshots.


Saving and Sharing Snippets

After capturing the desired portion of your screen, it’s time to save or share your snippet. In the next step of how to use the snipping tool for Windows desktop, you have a few options. You can save it to your local drive for future reference or attach it directly to emails or tasks in project management tools like Asana, Monday, or Notion. The snipped screenshot is also now on your clipboard, so you can paste it somewhere as well. The versatility of the snipping tool allows you to seamlessly integrate it into your workflow, regardless of the application you’re using!


Screenshots made with the Snipping Tool will also auto-save to your “Screenshots” folder. Avoid digital clutter by clearing it out regularly


Learning how to use the snipping tool for Windows desktop and adding it to your daily routine will significantly streamline your workflow!


The Snipping Tool allows you to take precise screen snippets effortlessly. This is highly useful when you’re collaborating with colleagues, documenting tasks, or simply archiving important information.


Now you’ve mastered the art of how to use the snipping tool for Windows desktop. Stay tuned for our upcoming lesson on how to seamlessly save and utilize these snippets in a note reminder system!


With the right tools in your hands, you’ll be able to declutter your mind and enhance your productivity like never before.


Comment below your favourite ways to use the Snipping Tool, and happy snipping!


Like this article?

You’ll love this one👇🏻
Google Keep: Learn the Basics + Use Key Features


Not sure where to start with business organization?


Sign up for my free newsletter so I can send you the best organizing tips and strategies each week.

(and some freebies, too!)

Sign up here →