Category

Blog

How to Organize a Year of Kids’ School Papers

By Blog, Home Organizing, Organizing Paper Files No Comments

Stuck trying to figure out how to organize a year of school papers?


You’re in the right place! By implementing these simple steps you will be able to avoid overwhelming paper chaos. Ensuring that only their most important memories are saved.


In this blog post, we’ll explore practical tips for organizing schoolwork after the year has ended.


When is the Best Time to Organize?


There isn’t a more exciting time of year than when the kids finish school for the summer. At least for them! But somehow, it’s the parents that get stuck with their mountain of schoolwork to sort through.


To help lessen the amount of work come summer, a good idea is to practice recycling unnecessary papers throughout the school year. If you can keep this up consistently you’ll have a lot less work at the end of the year!


That’s a tip for next year though, as we have a mountain of paperwork to deal with today.


Let’s take a look at how you can organize a year of school papers effectively.


Don’t know where to start decluttering?


Sign up for my free newsletter so I can send you my best organizing tips and strategies each week.

(and some freebies, too!)

Sign up here →


How to Organize a Year of Kids’ School Papers


1. Establish a Plan


To prevent overwhelm by paper clutter, the most important step is to have a clear plan of action before you begin. Decide where and how you will organize your child’s school papers. This might be your dining room table or comfortably on your couch and coffee table. Then, dedicate a space to store these papers from the year. I recommend using a file folder for each school year and keeping them all together in an archive box, one for each kid.


2. Lay it All Out


You can now start getting your hands dirty by dumping out the contents of your child’s backpack. Gather all the papers into a single pile and put anything else off to the side so you can focus on this task first. Sorting through a large group is much more efficient than trying to pick through each thing from the backpack individually. From here you can create smaller piles for different categories like trash, keep, and recycle.


*Remember to remove the staples from the papers before recycling them!


✨ FREE DOWNLOAD ✨

Summer First Aid Kit Checklist

Be confident in any home emergency!
Download Now →

3. Reuse Papers for Summer Work


To keep your kids engaged in learning throughout the summer, consider reusing their unfinished workbooks, sheets, and lessons. For workbooks that are only partially completed, remove the finished pages to recycle and save the rest for “summer work.” This way, your children can continue learning during the break without you having to purchase additional worksheets. Having grade-appropriate lessons ready makes it even more relevant!


4. Clean out Backpacks (and Lunch boxes!)


After you organize a year of school papers, don’t forget to give those backpacks and lunchboxes a thorough clean! Empty out the whole thing, dispose of leftover food, and wipe down the interiors. Most backpacks can be run through a washing machine, but double-check the tag for washing instructions. A fresh start for the upcoming school year begins with a clean slate – emphasis on clean!


5. Want to Go Paperless?


Preserving memories digitally can save you tons of space and reduce household clutter. Check out my favourite apps for achieving this:

Artkive

The #1 solution for preserving and celebrating kids’ art!

Google Photoscan

Create enhanced digital scans, with automatic edge detection, perspective correction, and smart rotation.

You can use them to take photos of your child’s most memorable artwork and schoolwork. I love using these with my clients as they’re also great for taking photos of 3D artwork. If you don’t have the space to display a clay sculpture, simply snap a photo and look fondly at it anytime you wish! Create a digital album where you can store these cherished memories and even share them for extended family to view. Digital storage also ensures that these precious pieces are protected from physical wear and tear, or accidental breakage.


6. Maintain Throughout the Year


To simplify the end-of-year organization process, make it a habit to maintain your system throughout the school year. Encourage your kids to bring home papers they may no longer need. Regularly sort and pare down these papers to keep only the most special pieces. By adopting this practice, you’ll find that organizing school papers becomes a breeze at the end of each academic year!


Where to Store Kids’ School Papers

Organizing school papers after the year ends can be a daunting task that requires some planning and a methodical approach.


But by implementing the tips mentioned above, you can avoid the stress and clutter that often comes with organizing a year of school papers!


Remember to establish your plan, sort through the papers quickly, embrace digital storage, and maintain your system throughout the year.


By practicing these strategies consistently, you can say goodbye to paper chaos and give a big welcome to a clutter-free end of the year!


How do you store your kids’ school papers? Comment below!


Like this article?

You’ll love this one👇🏼

75 Creative Ways to Use A Label Maker

10 Products to Achieve a Neat and Organized Home

By Blog, Home Organizing, Quick Organizing Tips 4 Comments

Sure, we all want a neat and organized home with a gorgeous walk-in pantry! With the space to hide all linens and stow away archive file boxes.


But the reality is, many of us are stuck in homes that feel too small. With barely enough room to tuck away our collection of souvenir coffee mugs.


Unfortunately we can’t adjust your current square footage. But we do have the organizing products to make your space feel infinitely more comfortable, neat and organized!


We worked on this project with the homeowner and interior designer Stephanie Brown of Stephanie Brown Inc. to achieve an overall cohesive look and feel for the organizing products with her design. This was truly one of the most creative and fun renovation projects we’ve worked on for an entire home!


For our photoshoot, we brought my team in along with stylist Lorena Angus of LA Concepts and photographer Tracey Ayton to capture my vision for a beautifully organized and highly functional home. And no amount of snowfall that came down the night before was going to stop us from making it all happen!


Scroll through this beautifully styled Simply Productive home for 10 smart ways you can get organized. Whether that’s in a small pantry, mudroom cabinet, DIY coffee and tea station, tiny bathroom drawers, or clothes closet!

FREE DOWNLOAD

Laundry Planner

This free planner will help keep you
on top of laundry without the overwhelm!

Download here!


10 Products to Achieve a Neat and Organized Home


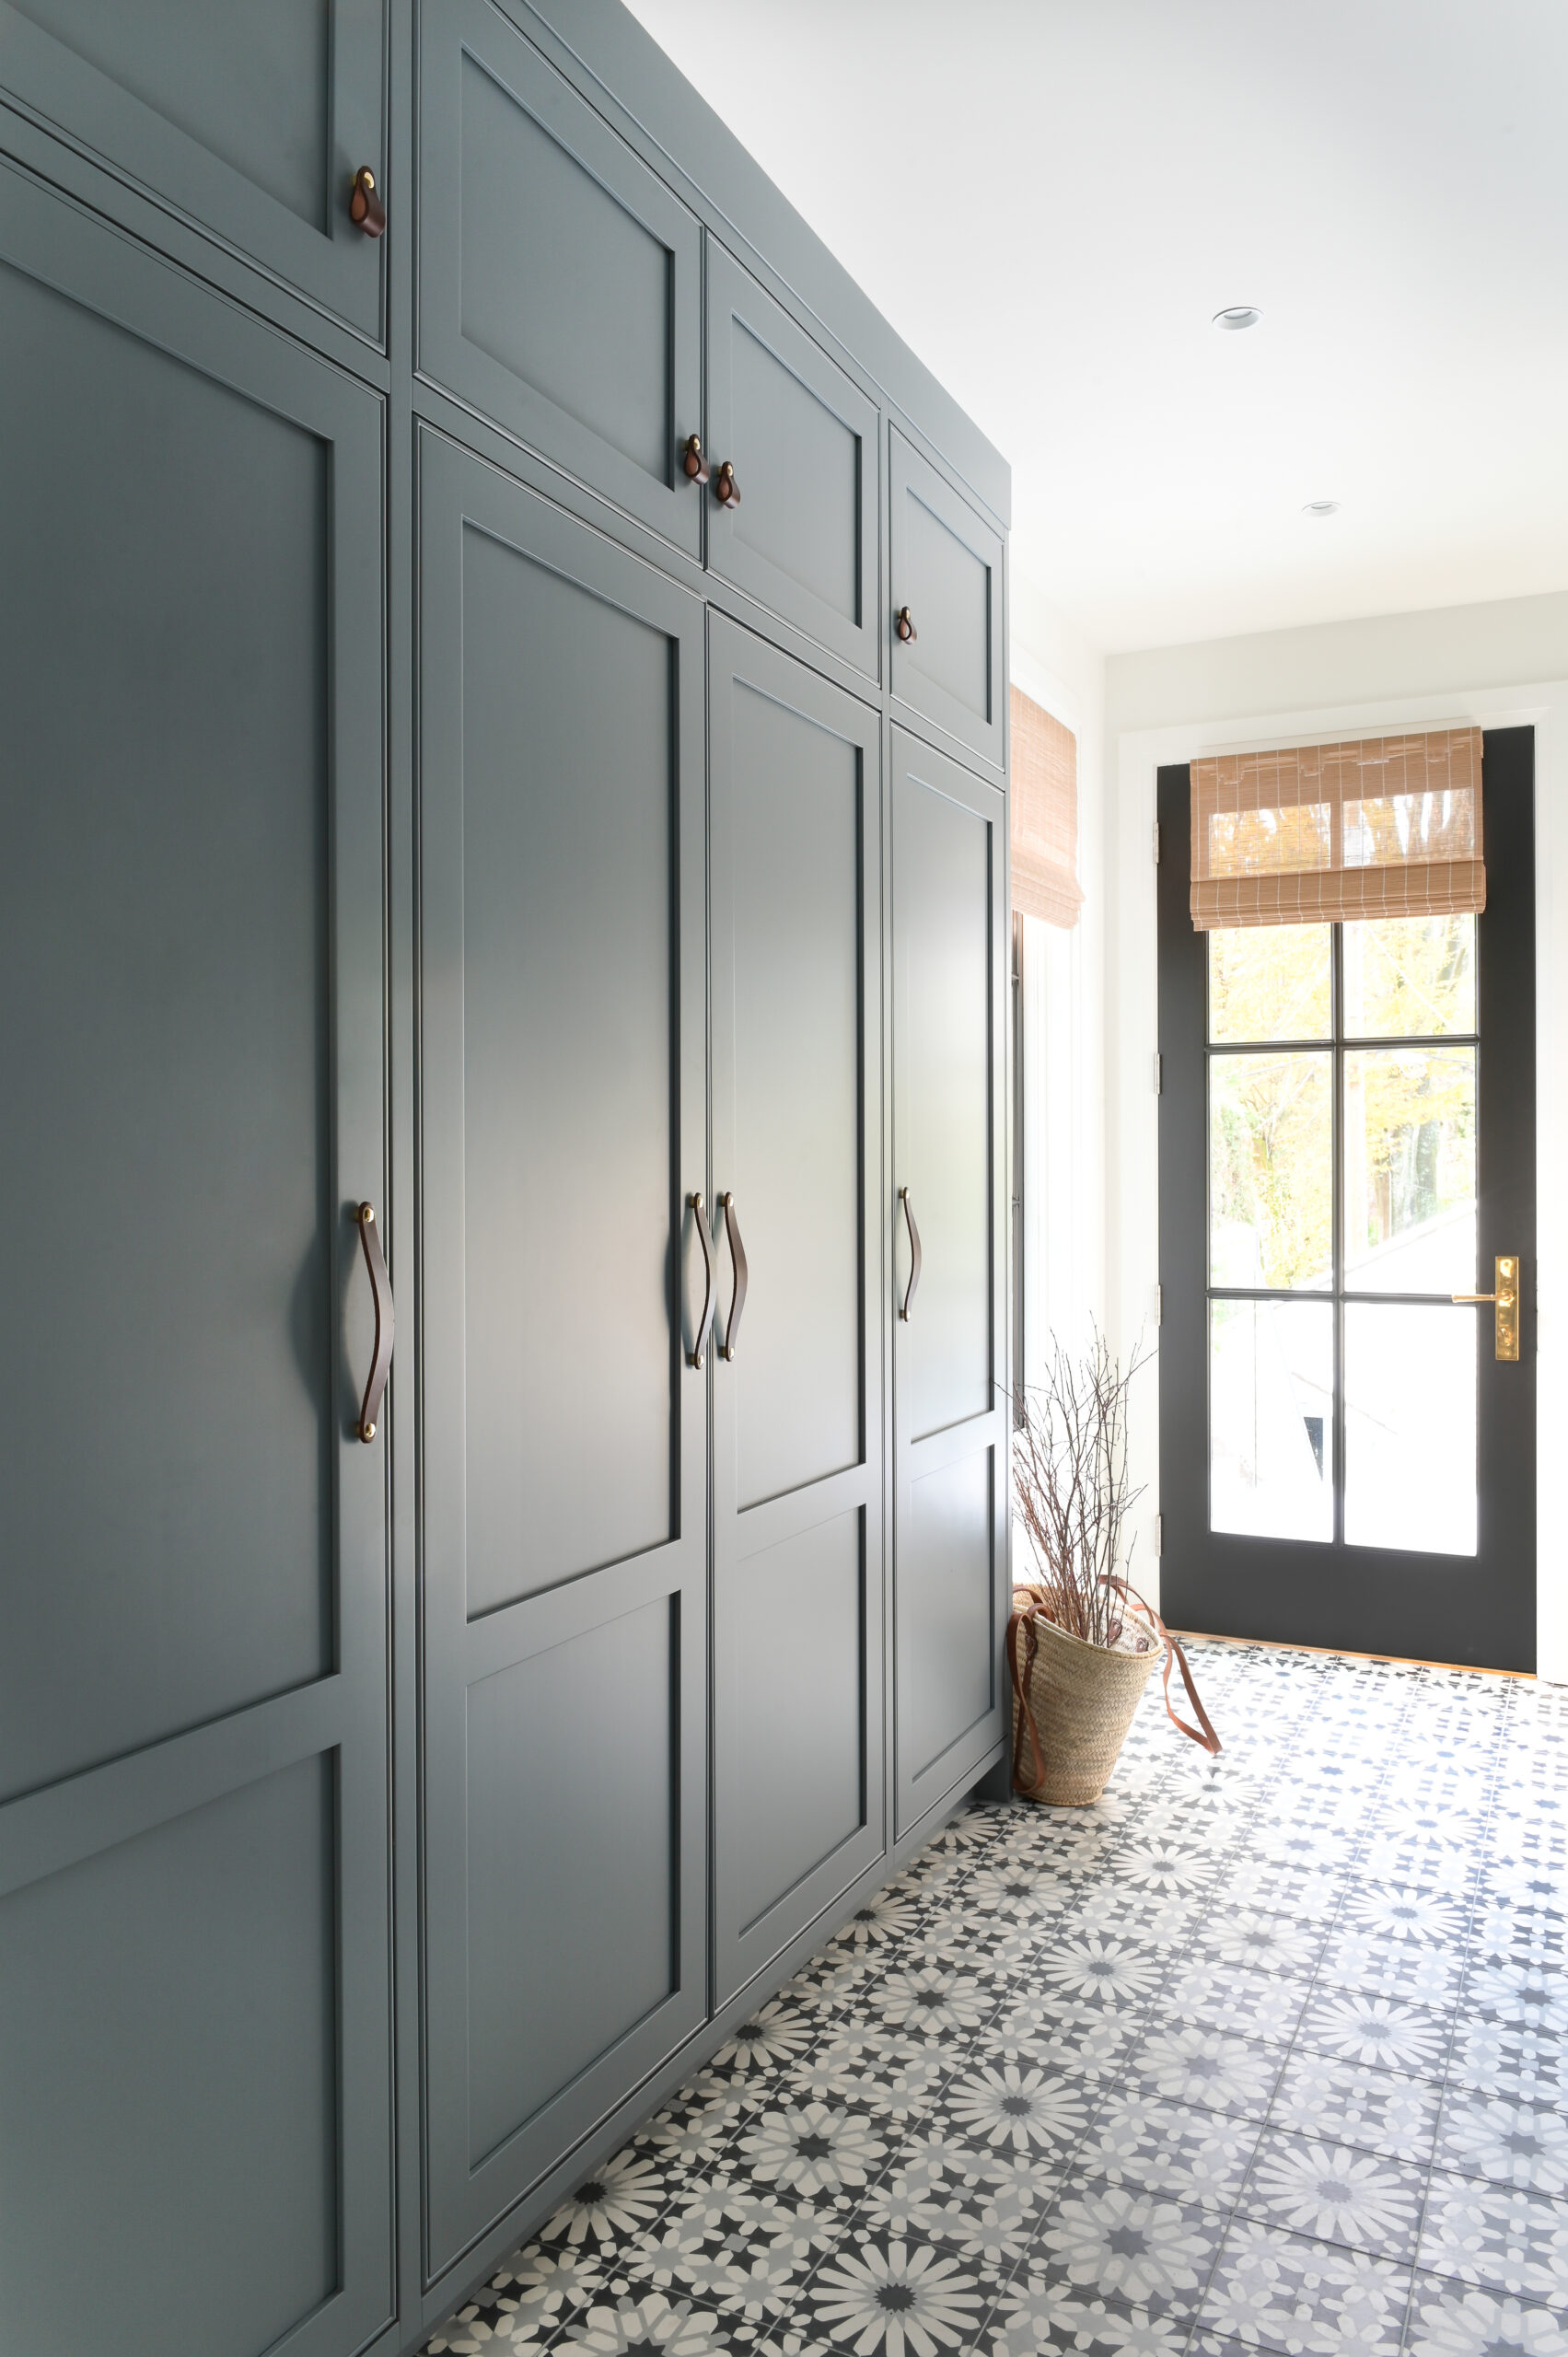
The Mudroom

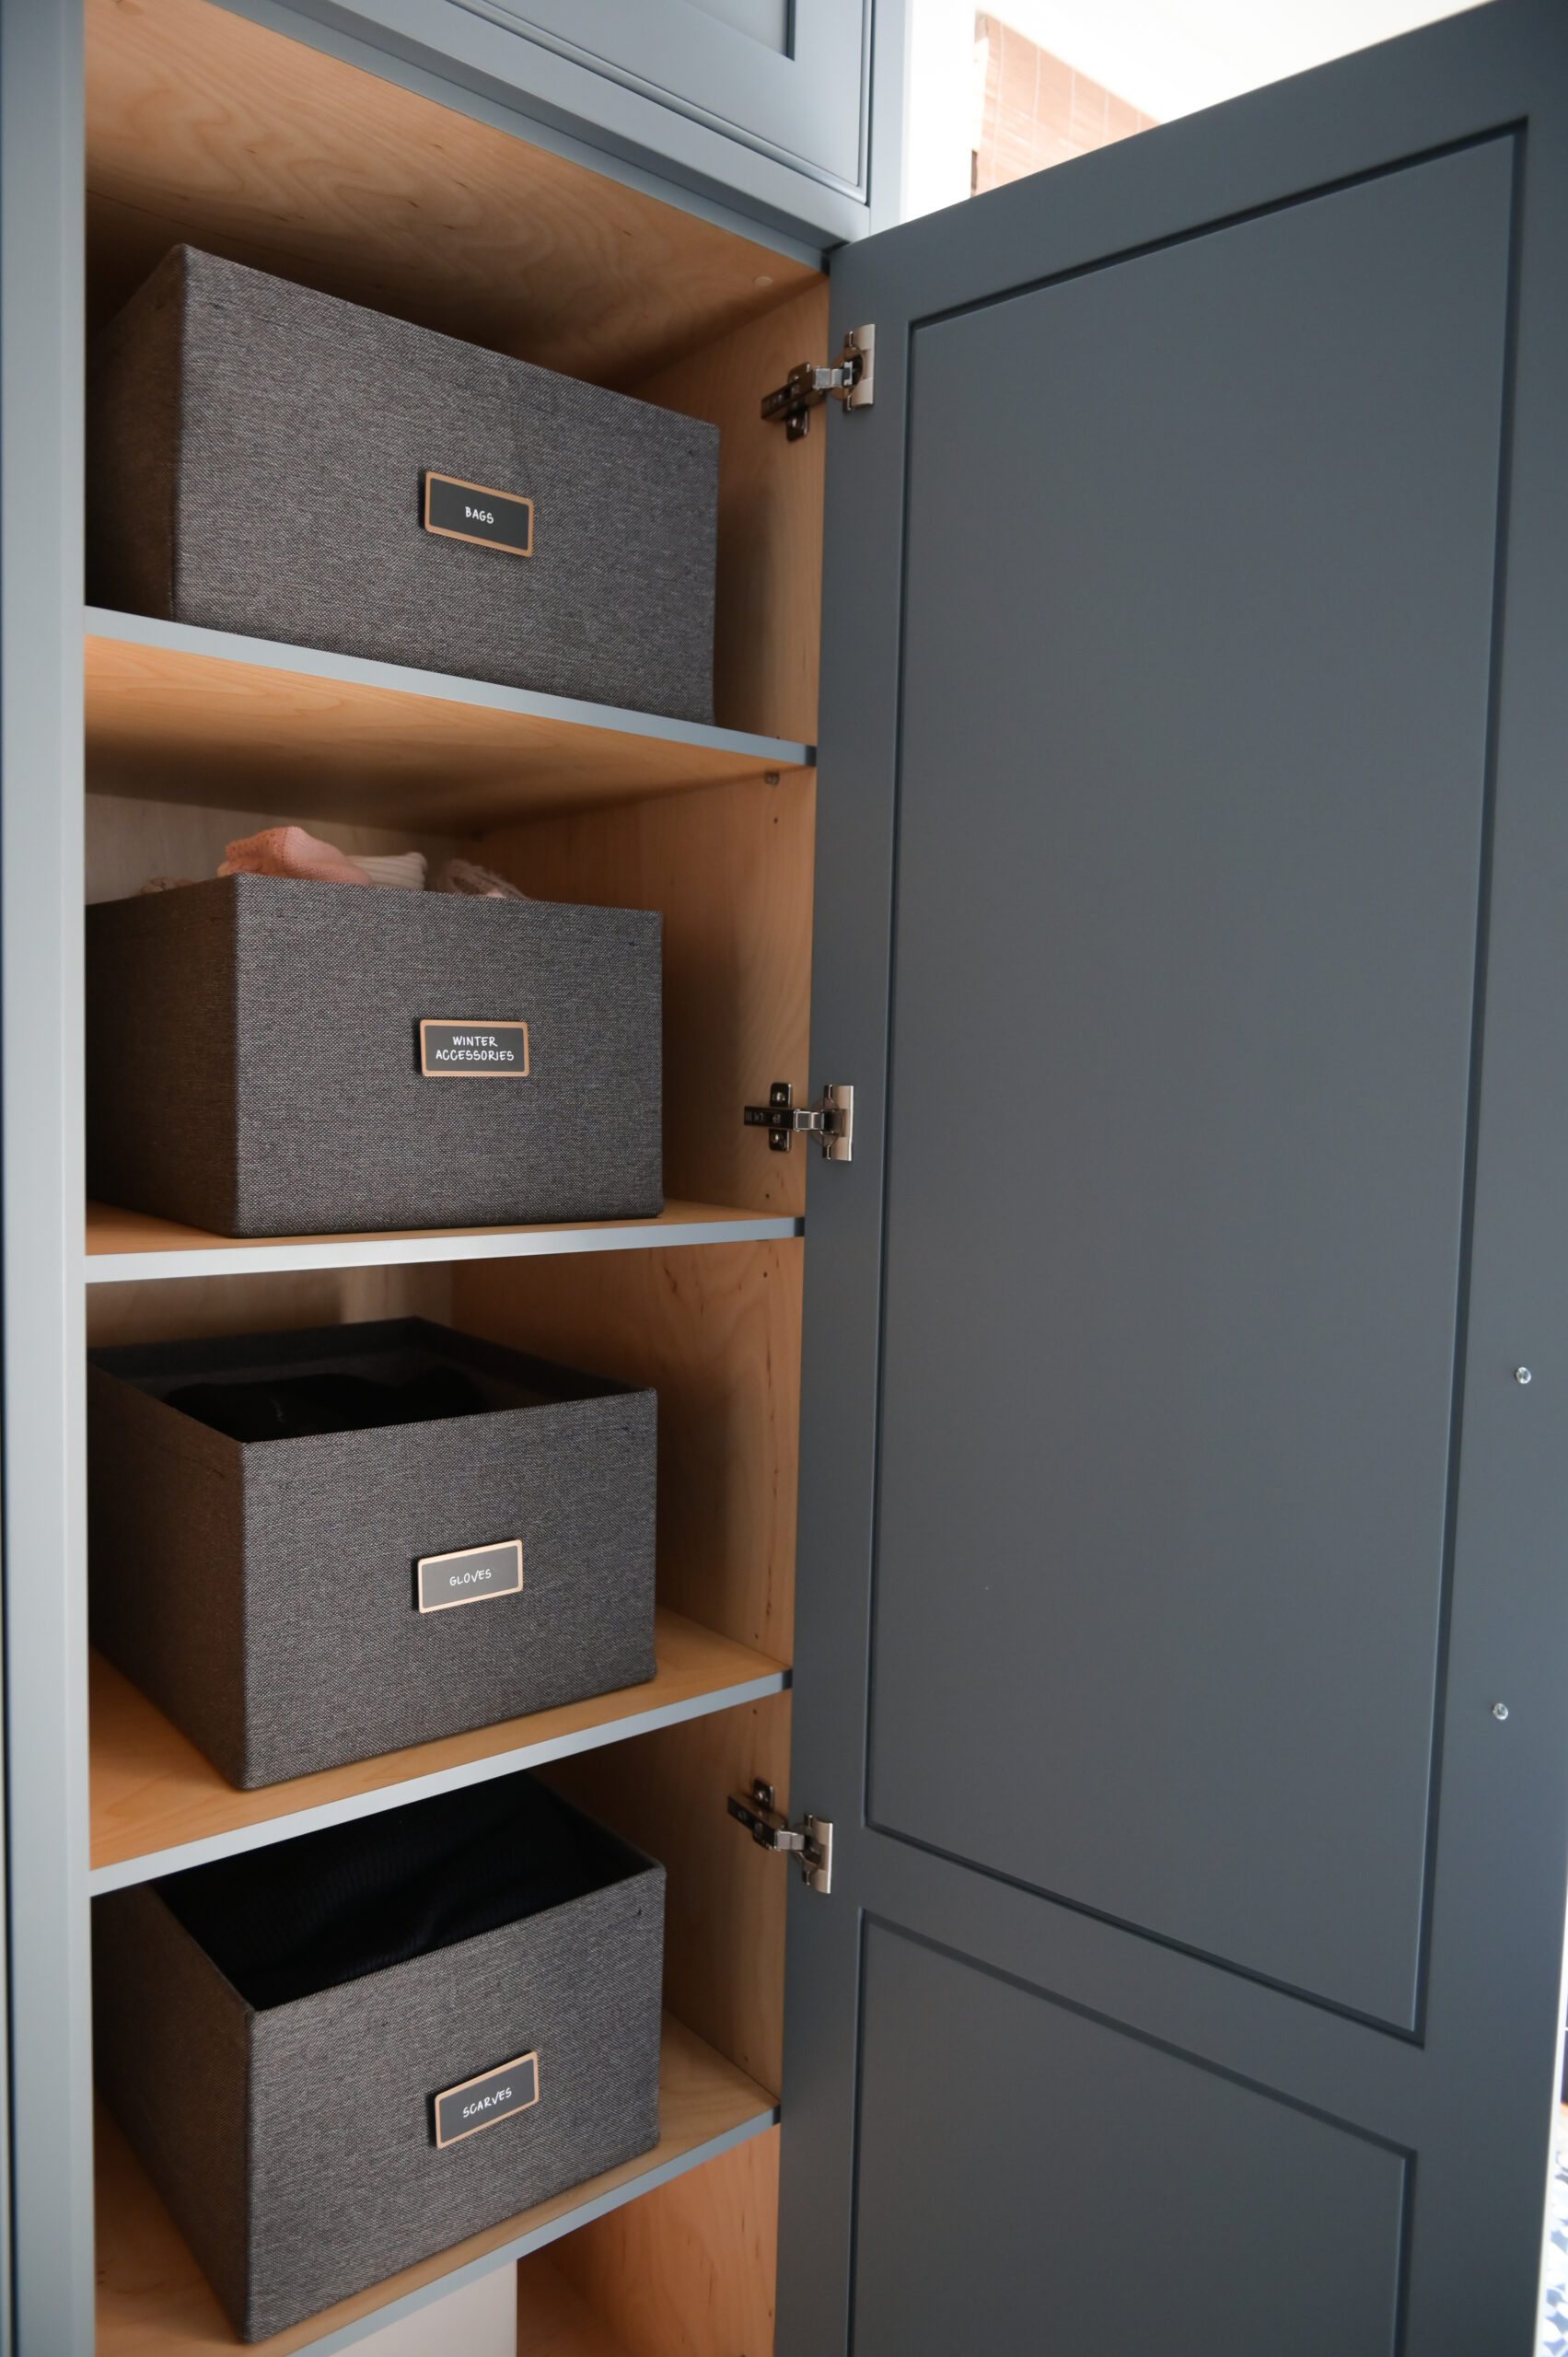
Neat Method carries a variety of beautifully crafted, luxury organizing products. I regularly use their products in clients’ homes to achieve the desired neat and organized style or look. These Oxford Bins in color Slate are great multi-use containers that elevate the look of any room. They are made of an upholstery-grade fabric for long-lasting durability. They’re also polished inside to avoid snagging delicate fabrics if used in your closet.

Using Brass Label Holders compliments the distinguished slate simply. On top of these magnetic label holders, we have used black labels to retain a classic style. Neat Method’s label holders come in two pieces with multiple ways to attach to just about any bin or basket in your home. Here, we have used them magnetically. Lining up the front and back plates on either side of the Oxford Bin’s fabric allows them to hold one another in place.


The Bathroom

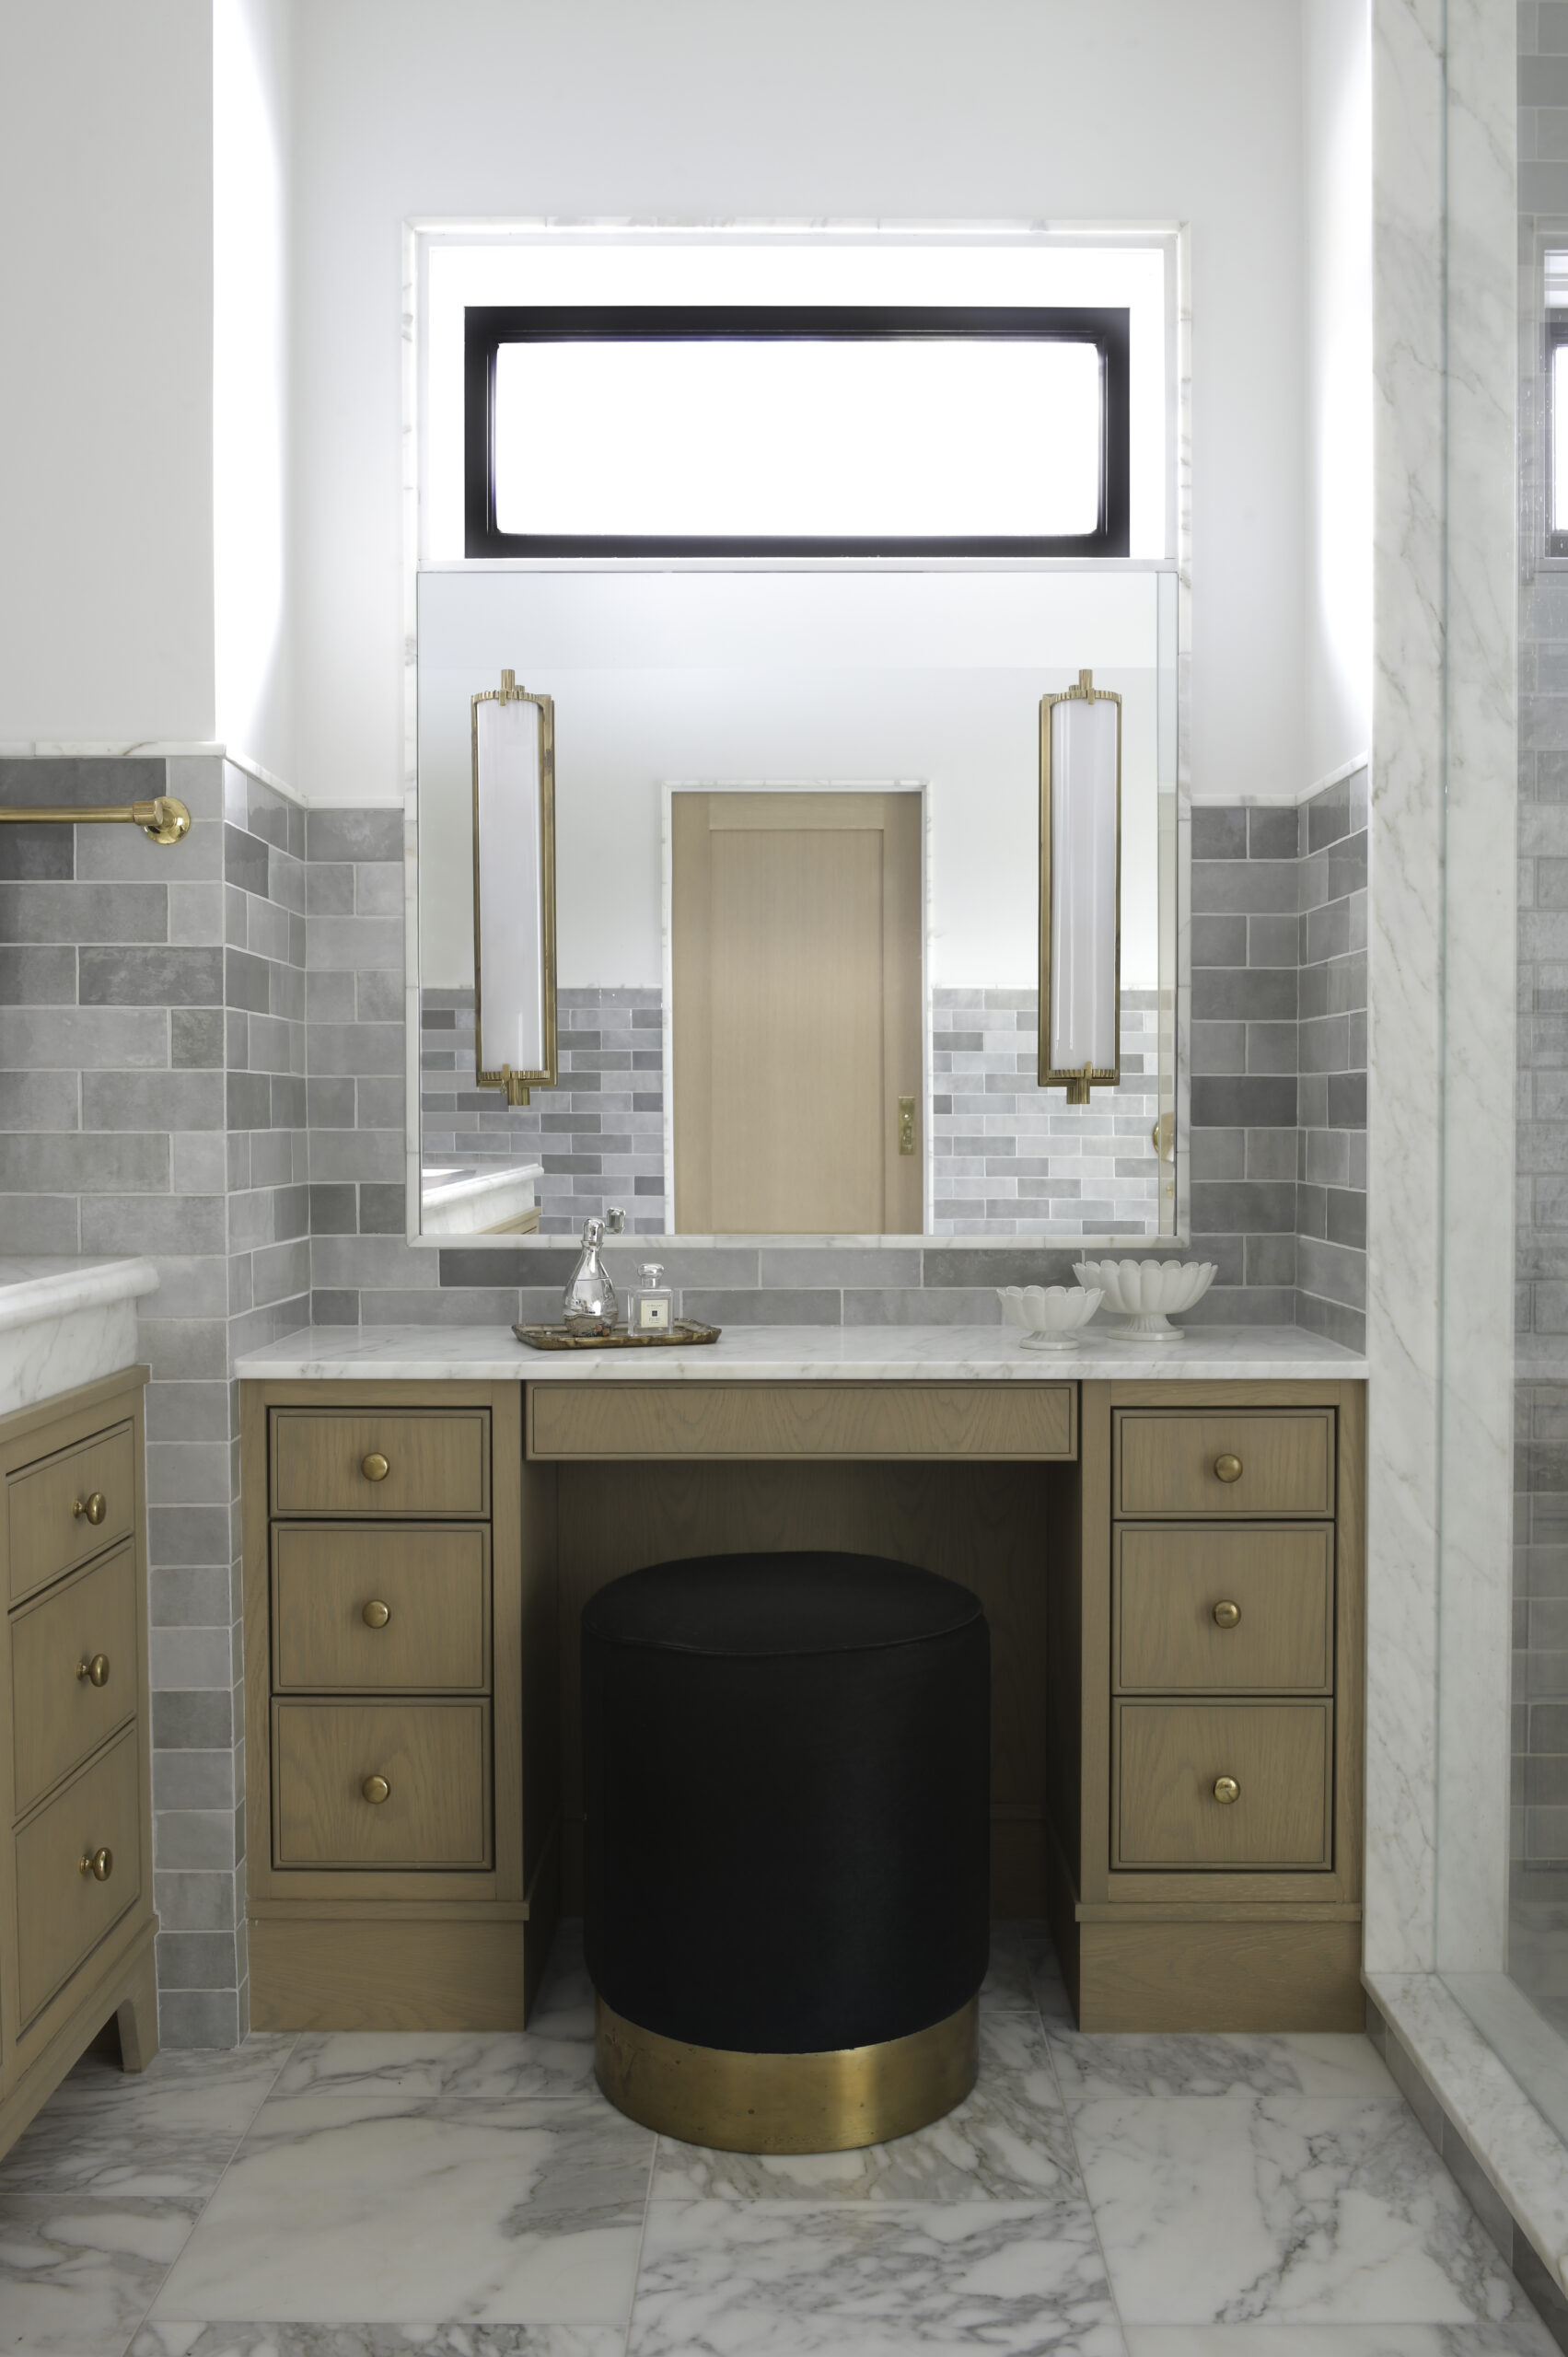
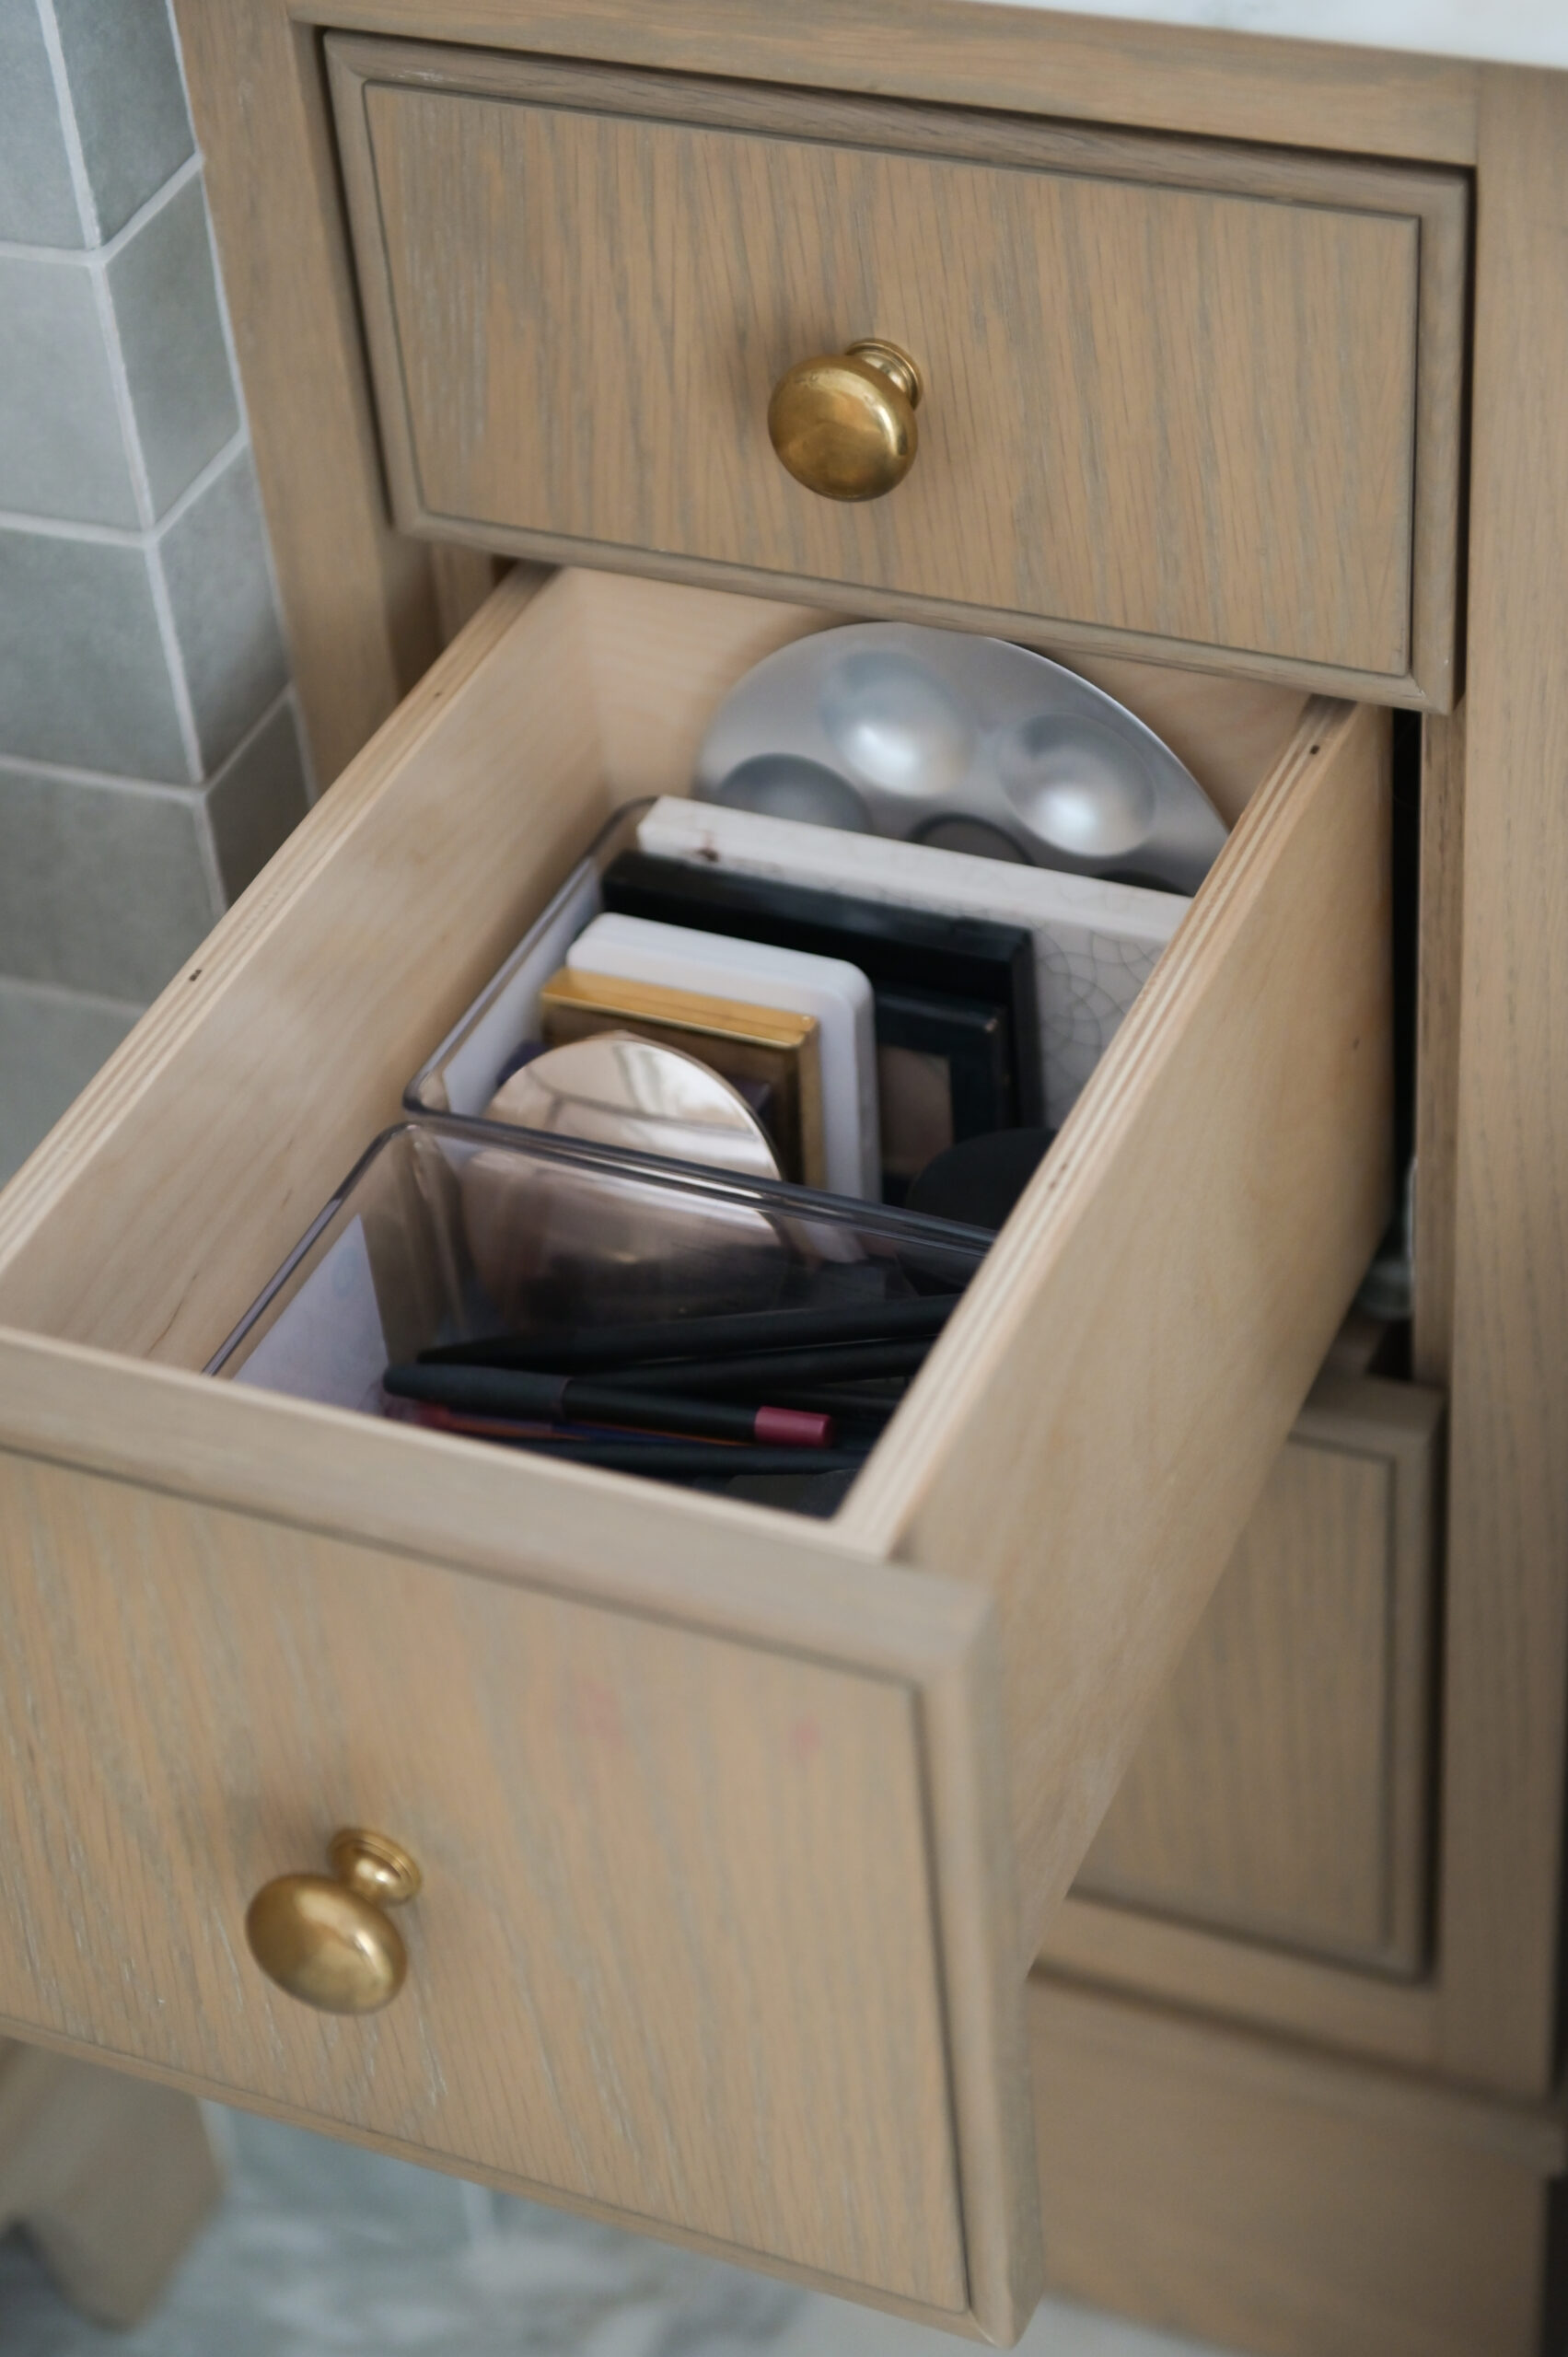
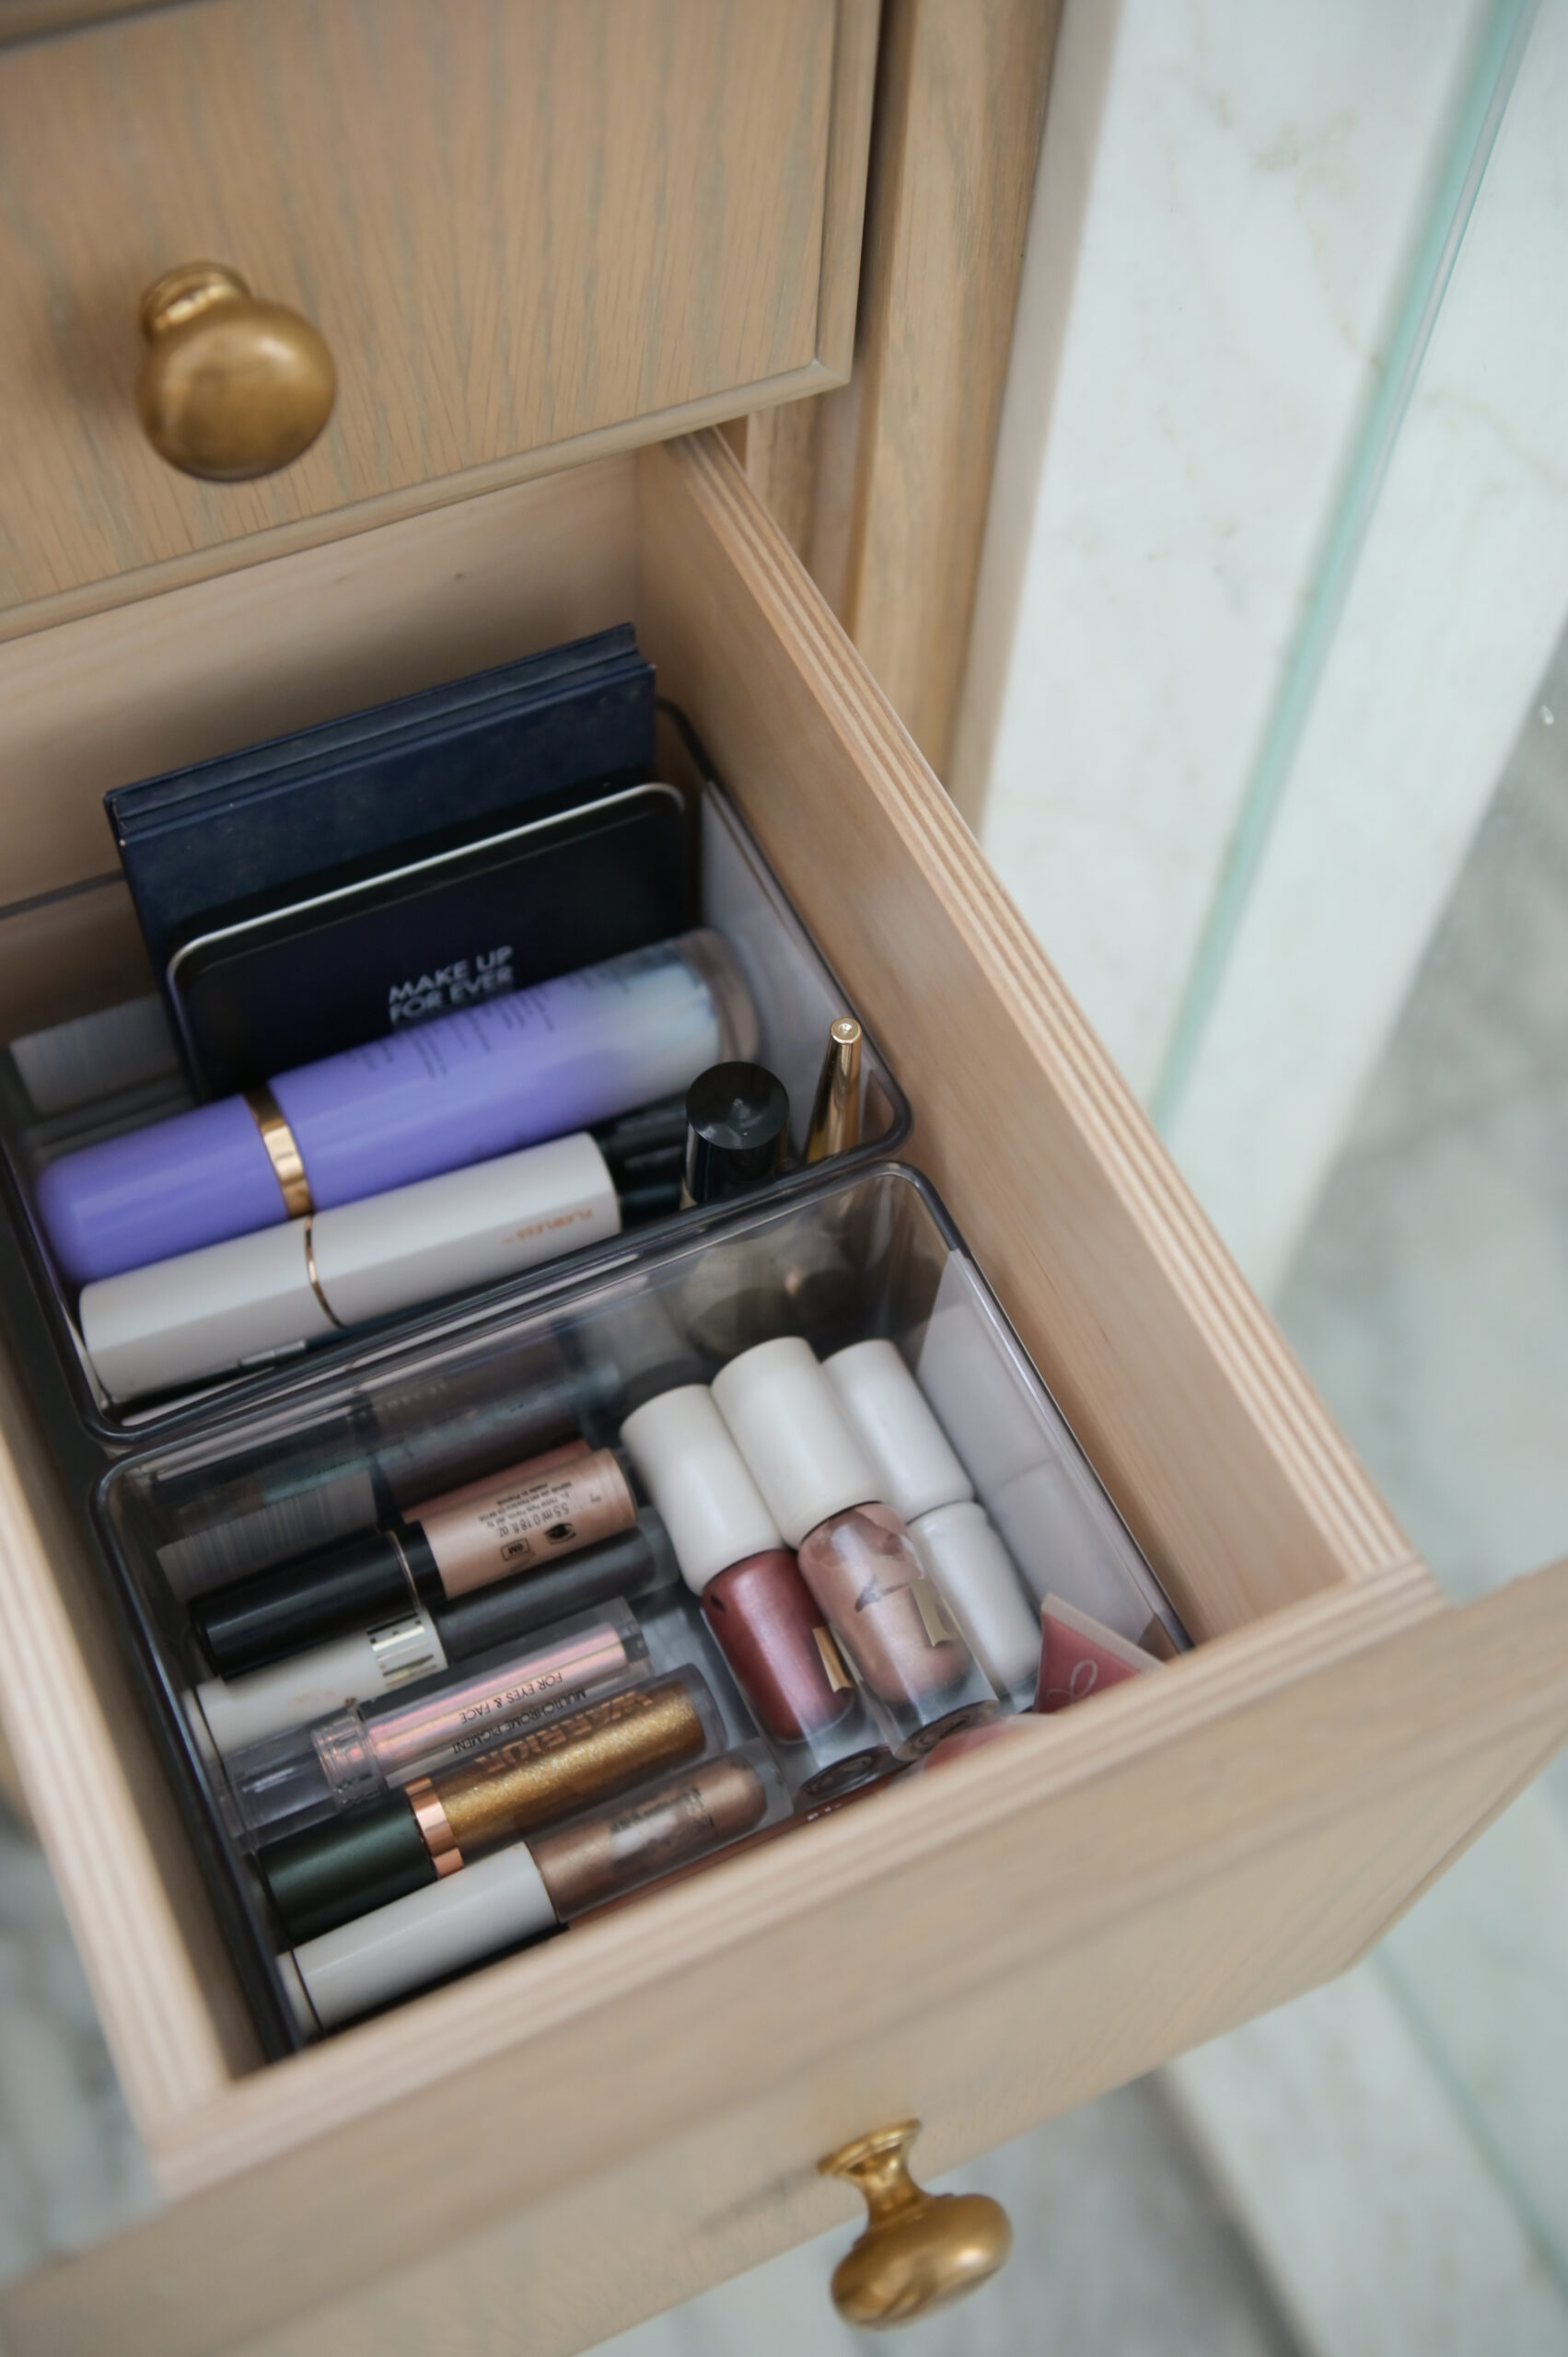
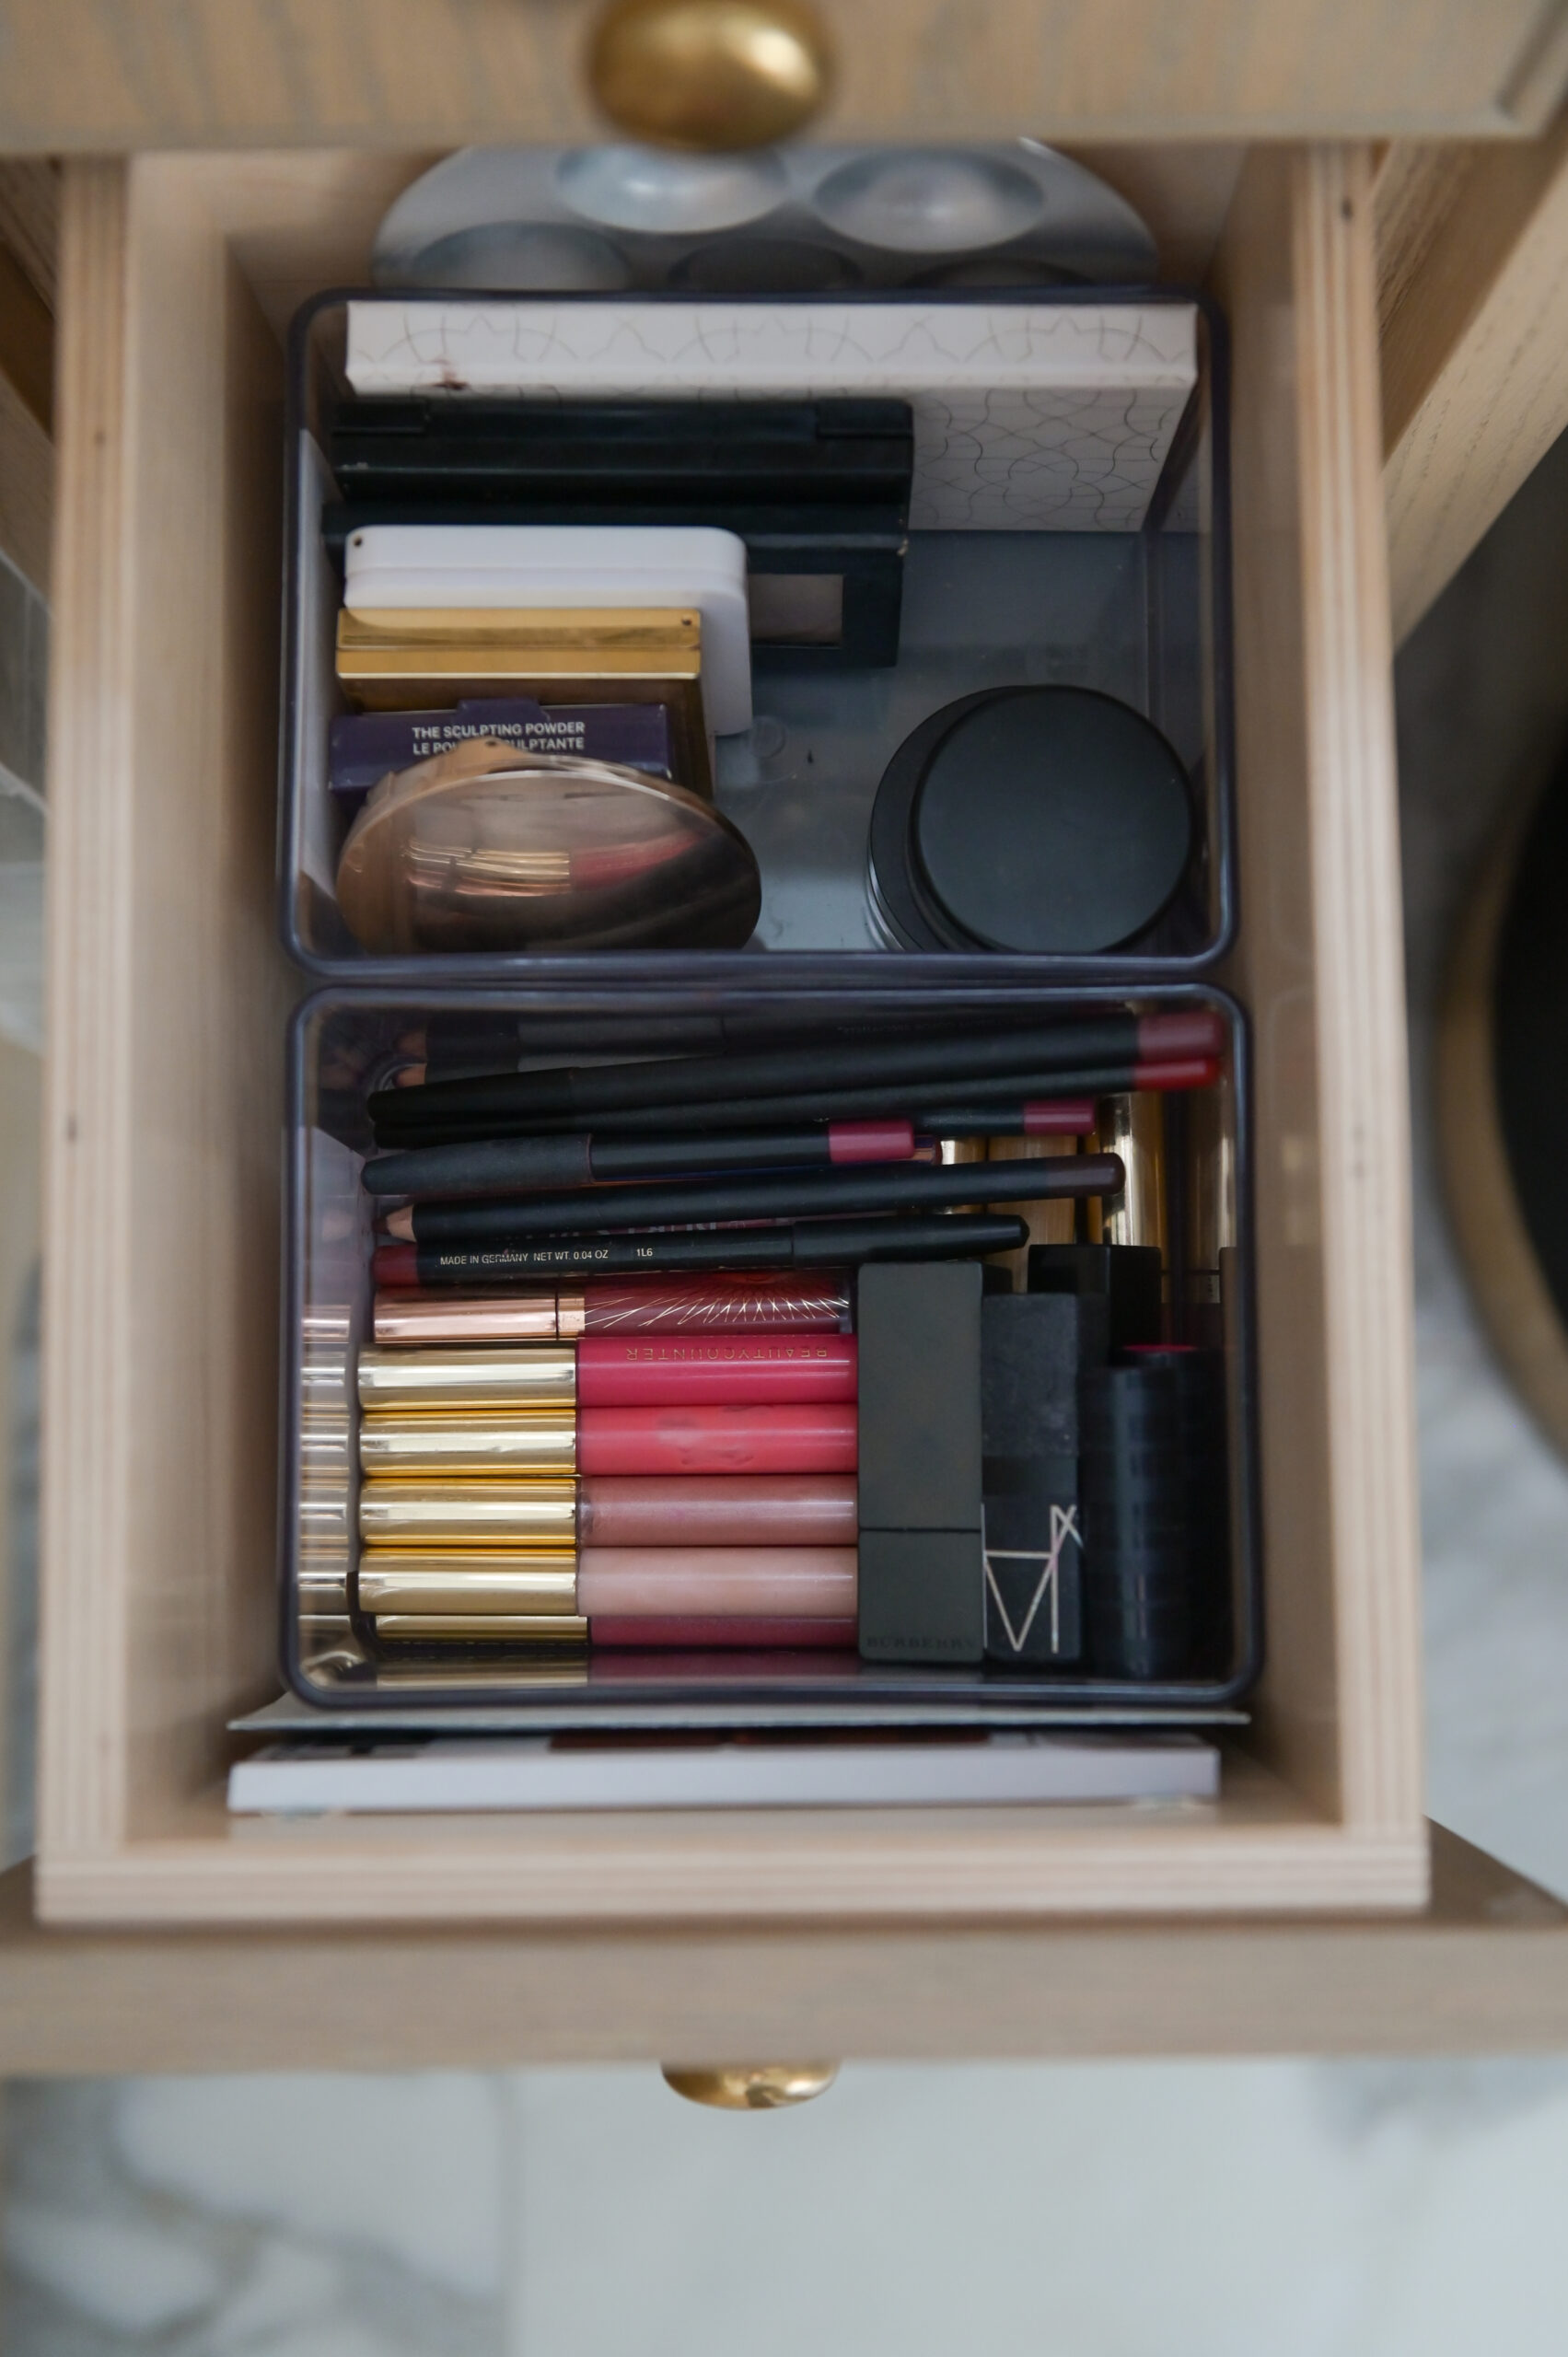
The versatile, shatter-resistant containers by The Home Edit have quickly become a staple for many professional organizers! I often use these Clear Stackable Organizing Bins in bathrooms for cosmetics and toiletries, kitchens for junk drawers, and offices for drawer supplies, among many other spaces. A great thing about these is that you have many choices when it comes to sizes. With many combinations of heights, depths, and widths, you’re sure to be able to find the perfect size to create a neat and organized space! Just make sure to measure the area before purchasing 😉


The Pantry

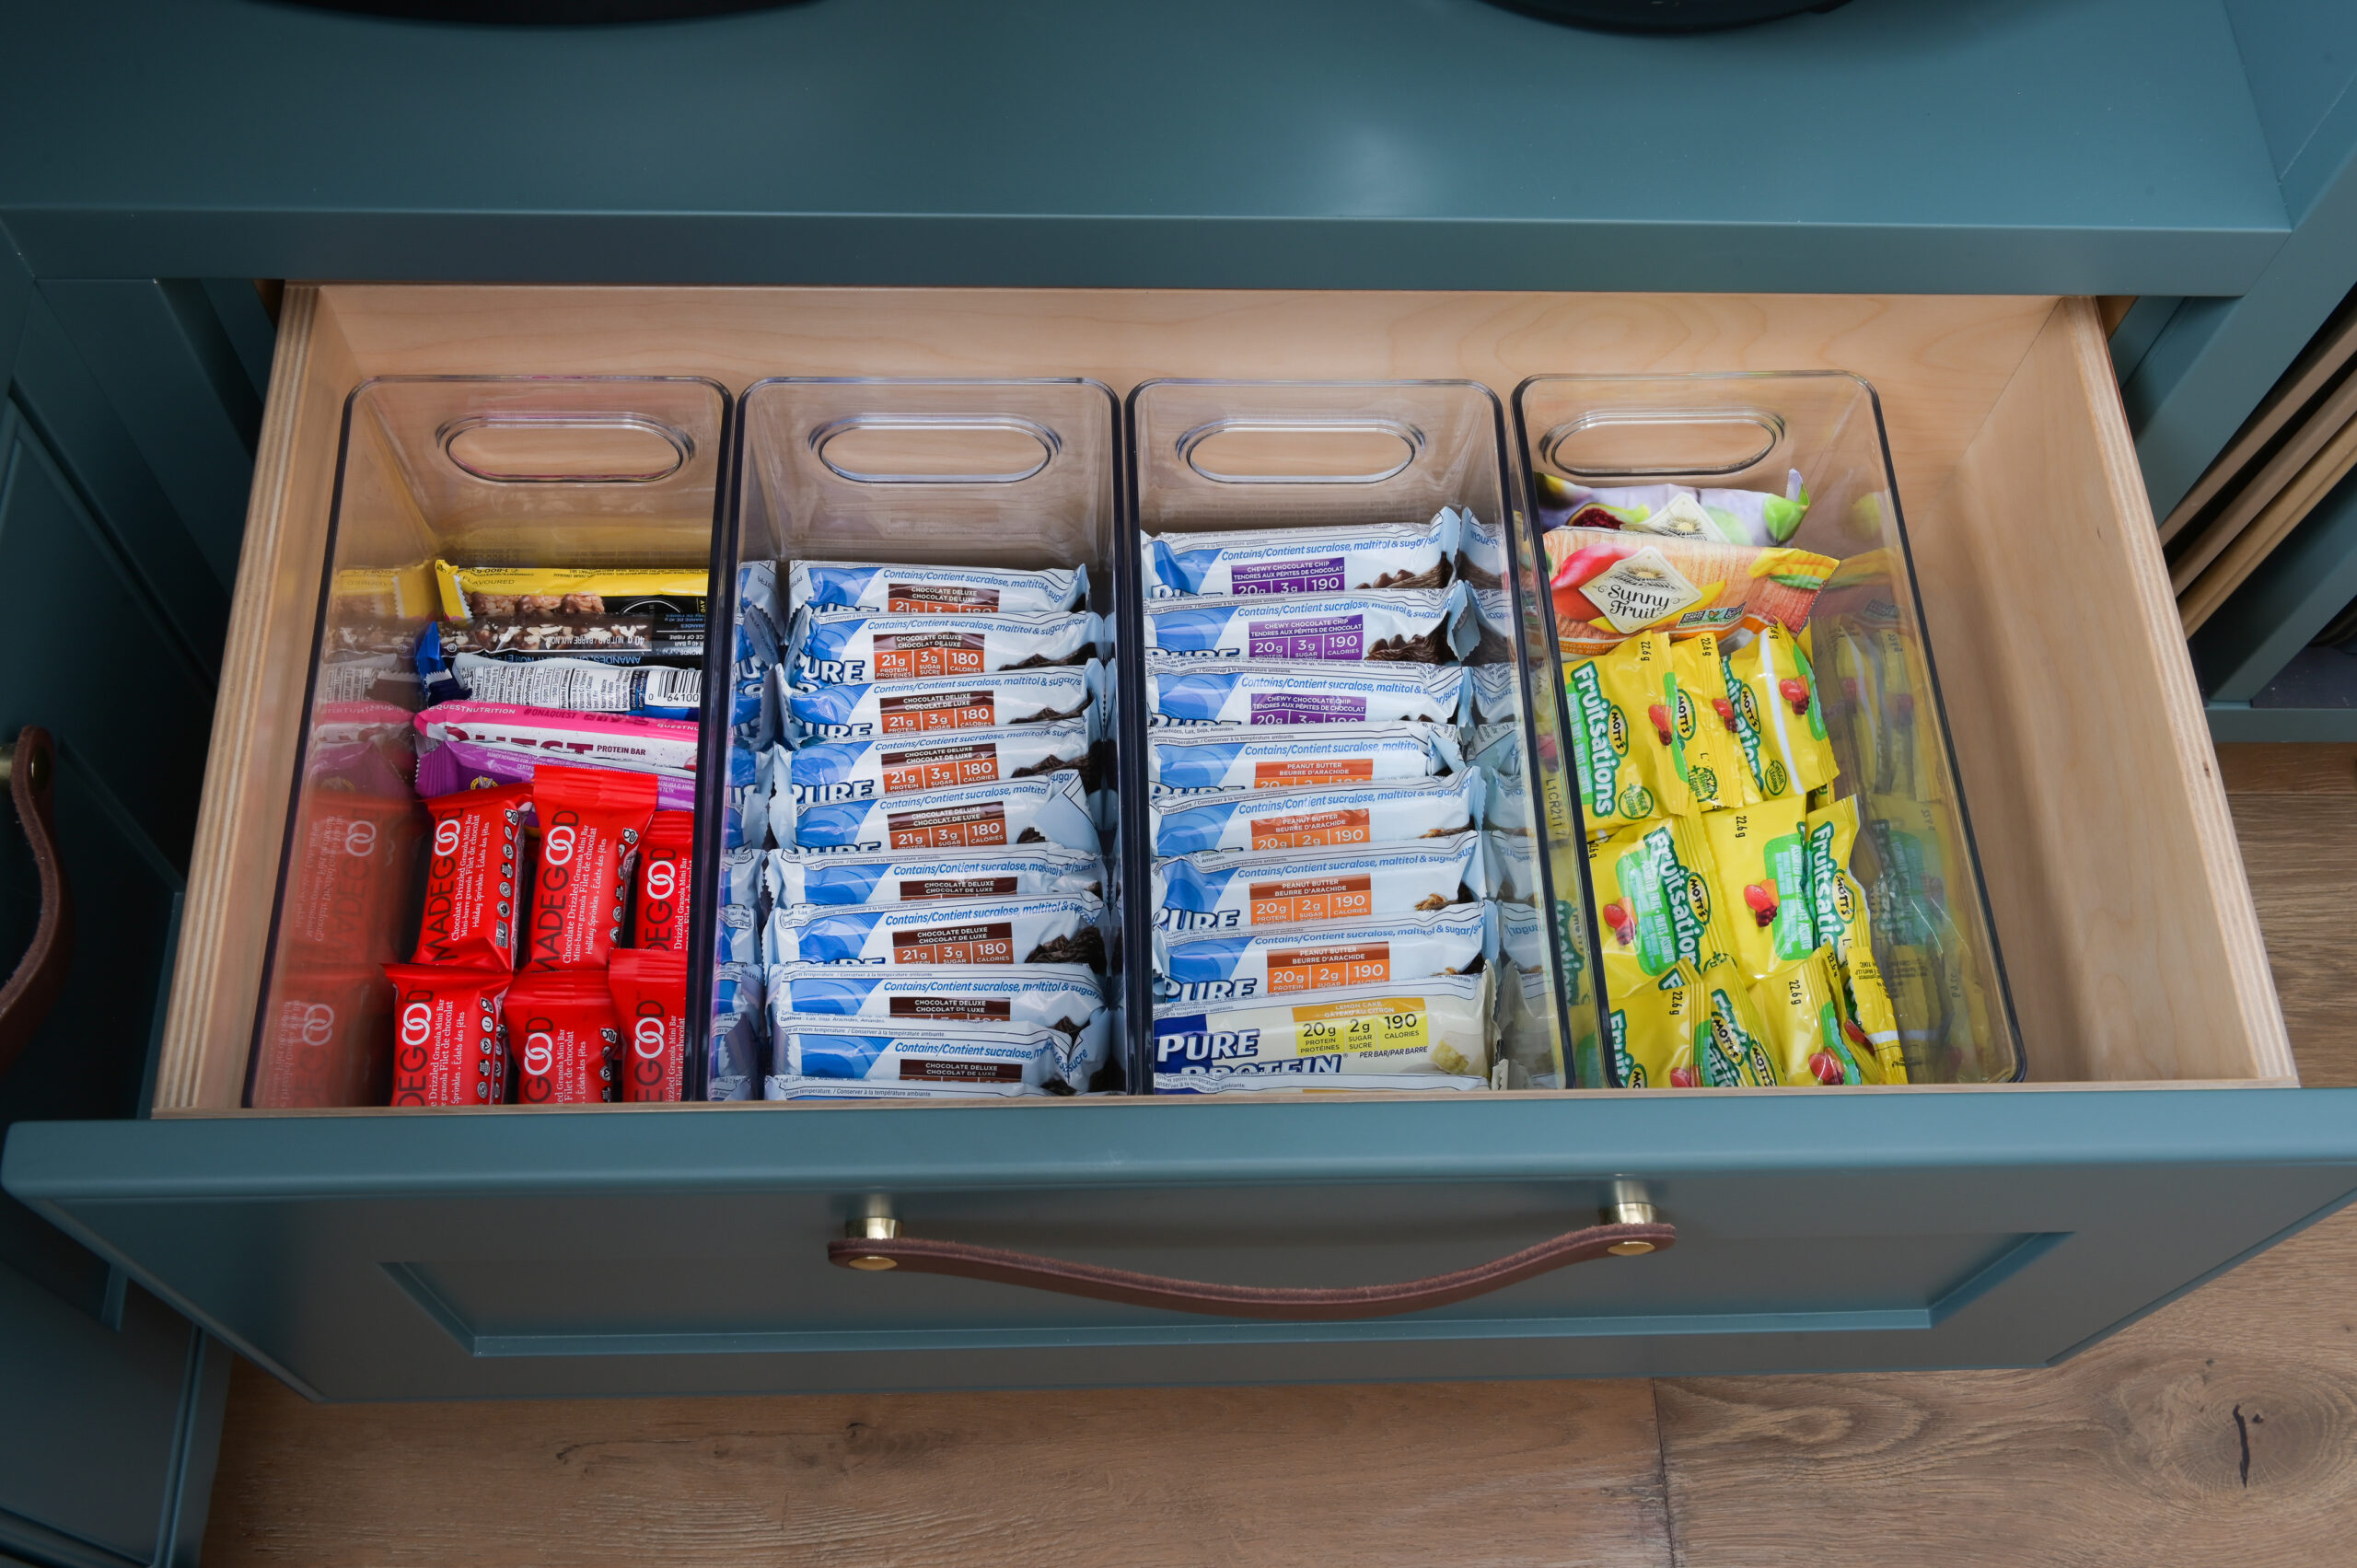
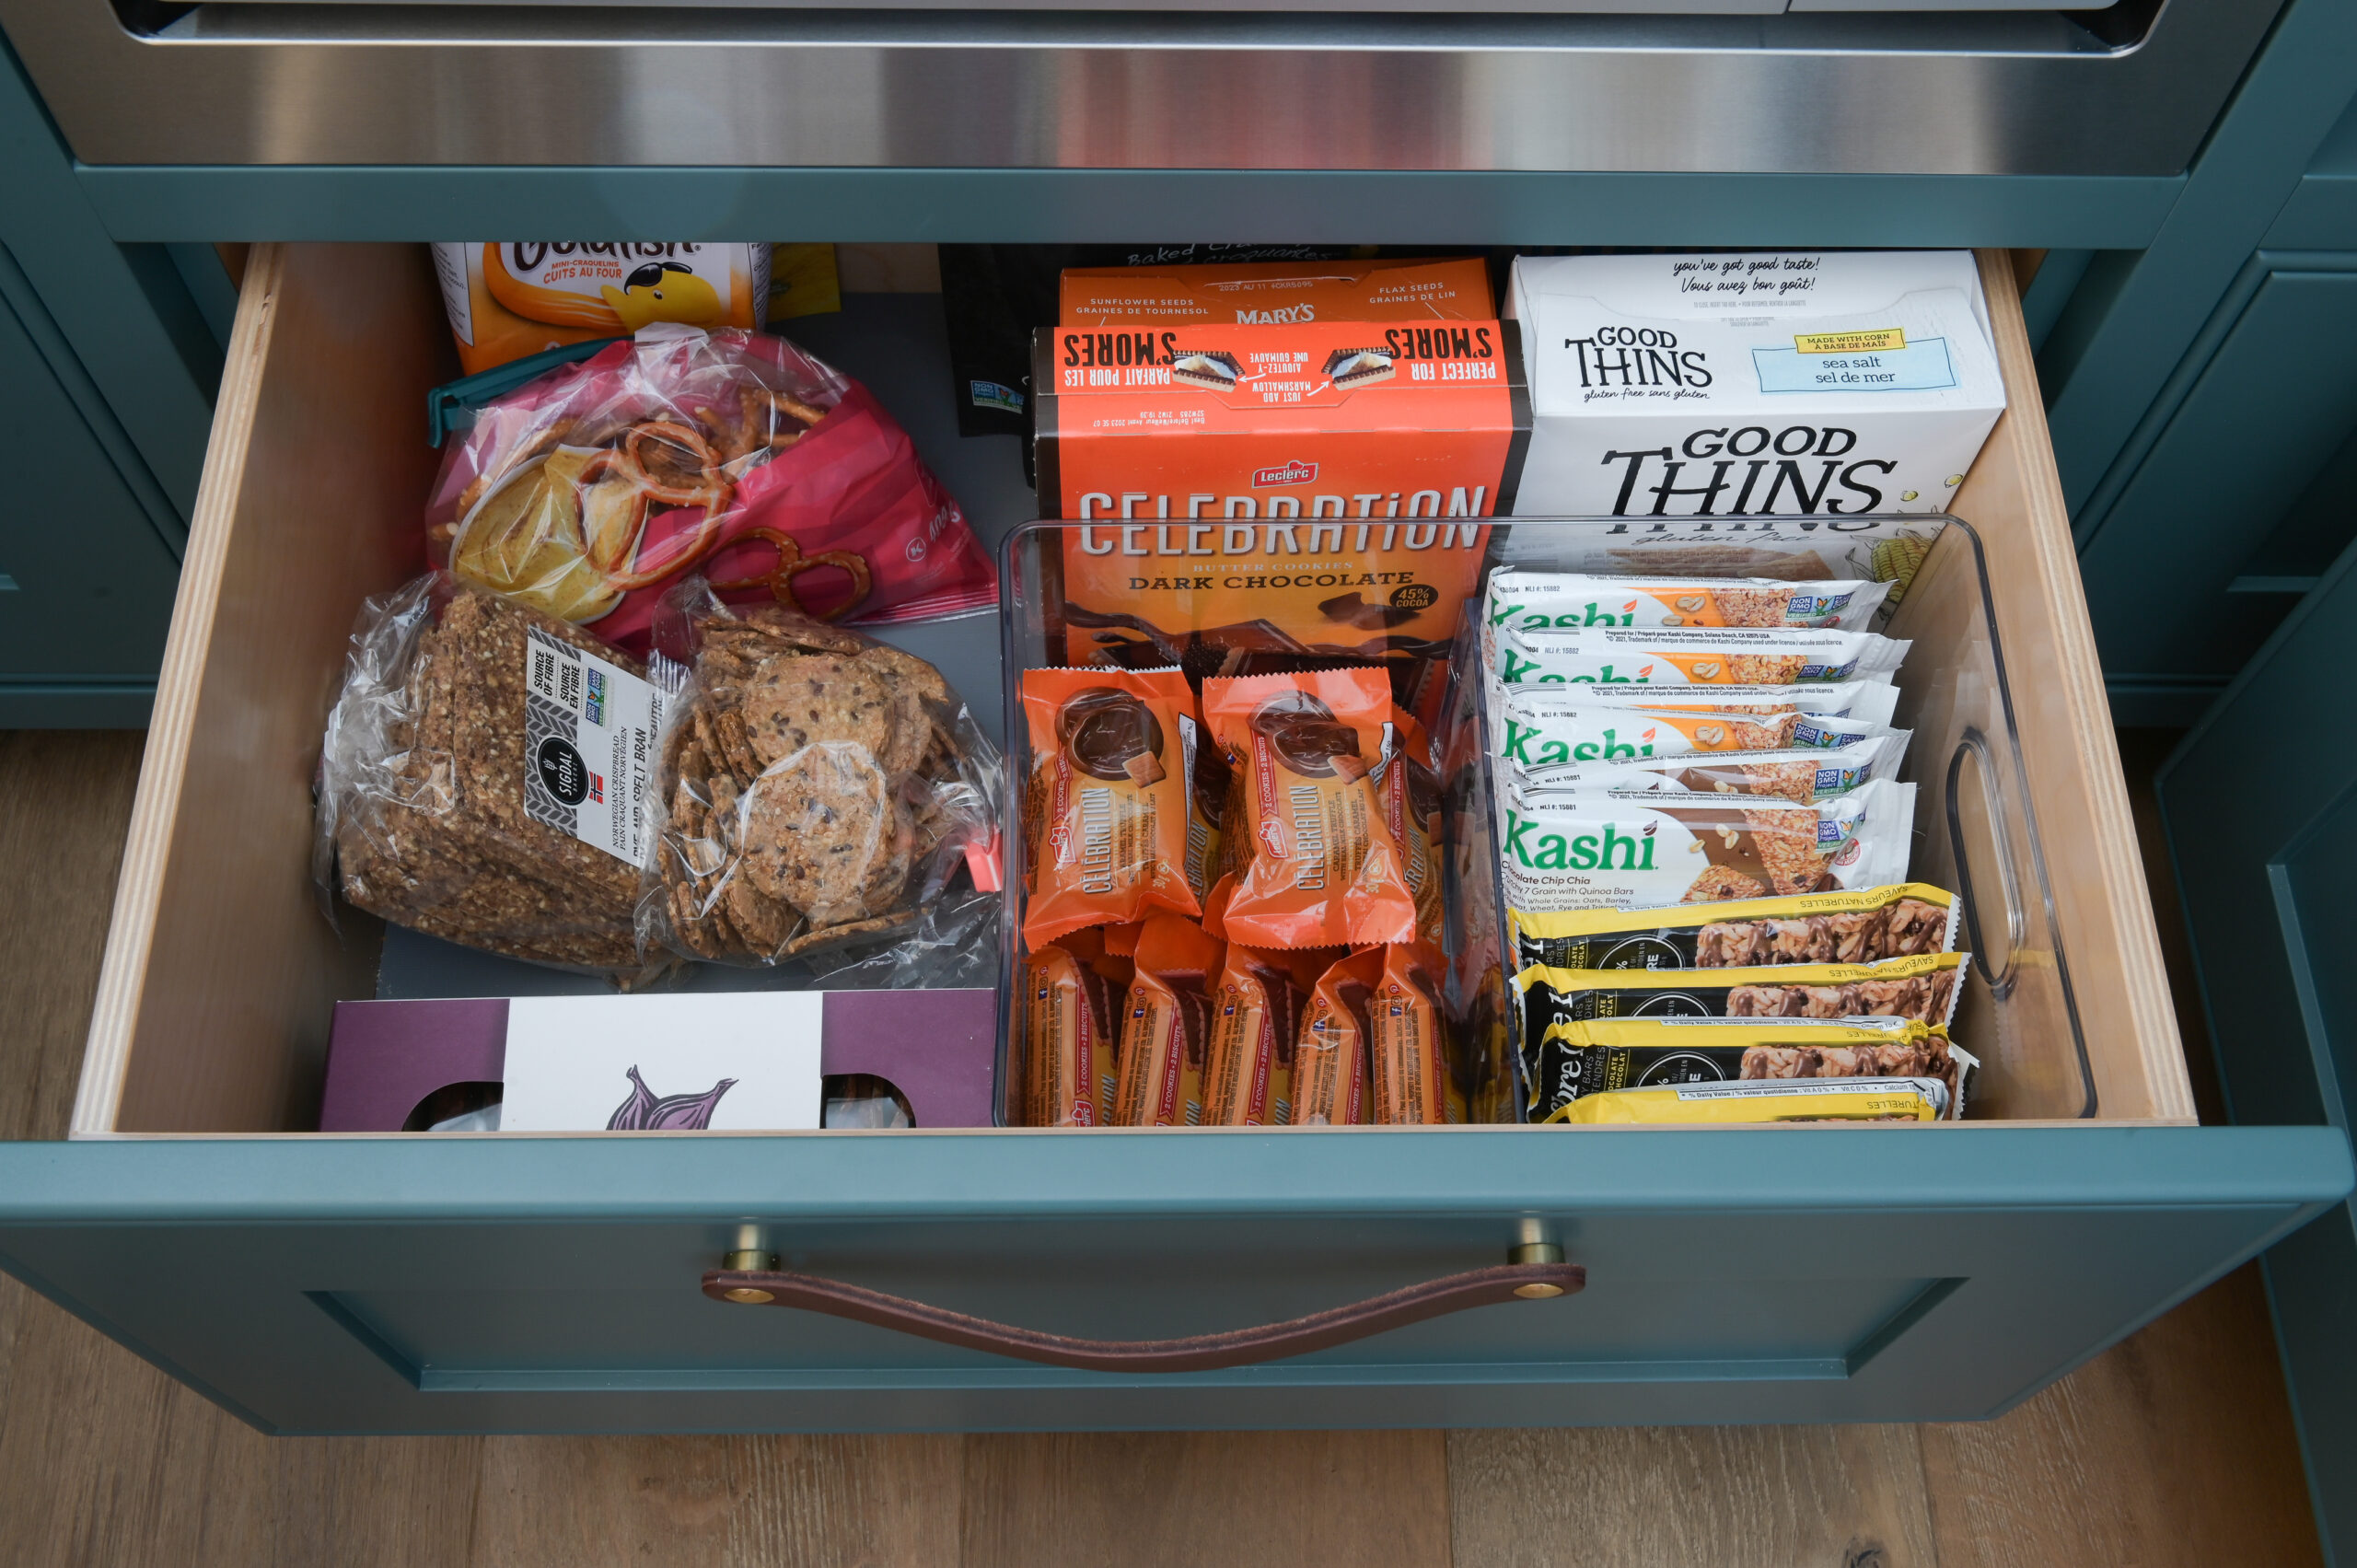
In this uniquely painted pantry, we’ve used The Home Edit’s Narrow Pantry Bins to store small-sized snacks. When purchasing snacks in bulk, these bins are our go-to option for keeping them contained and easily accessible. They are also available at Canadian Tire! For larger snack items we love to use these clear, stackable Divided All-Purpose Bins because the divider is also removable if needed. Its clear sides let you check the contents at any time. Each bin is also extremely durable, with a crisp look that’s perfect for clutter-free pantry storage. These can also be found at Canadian Tire!

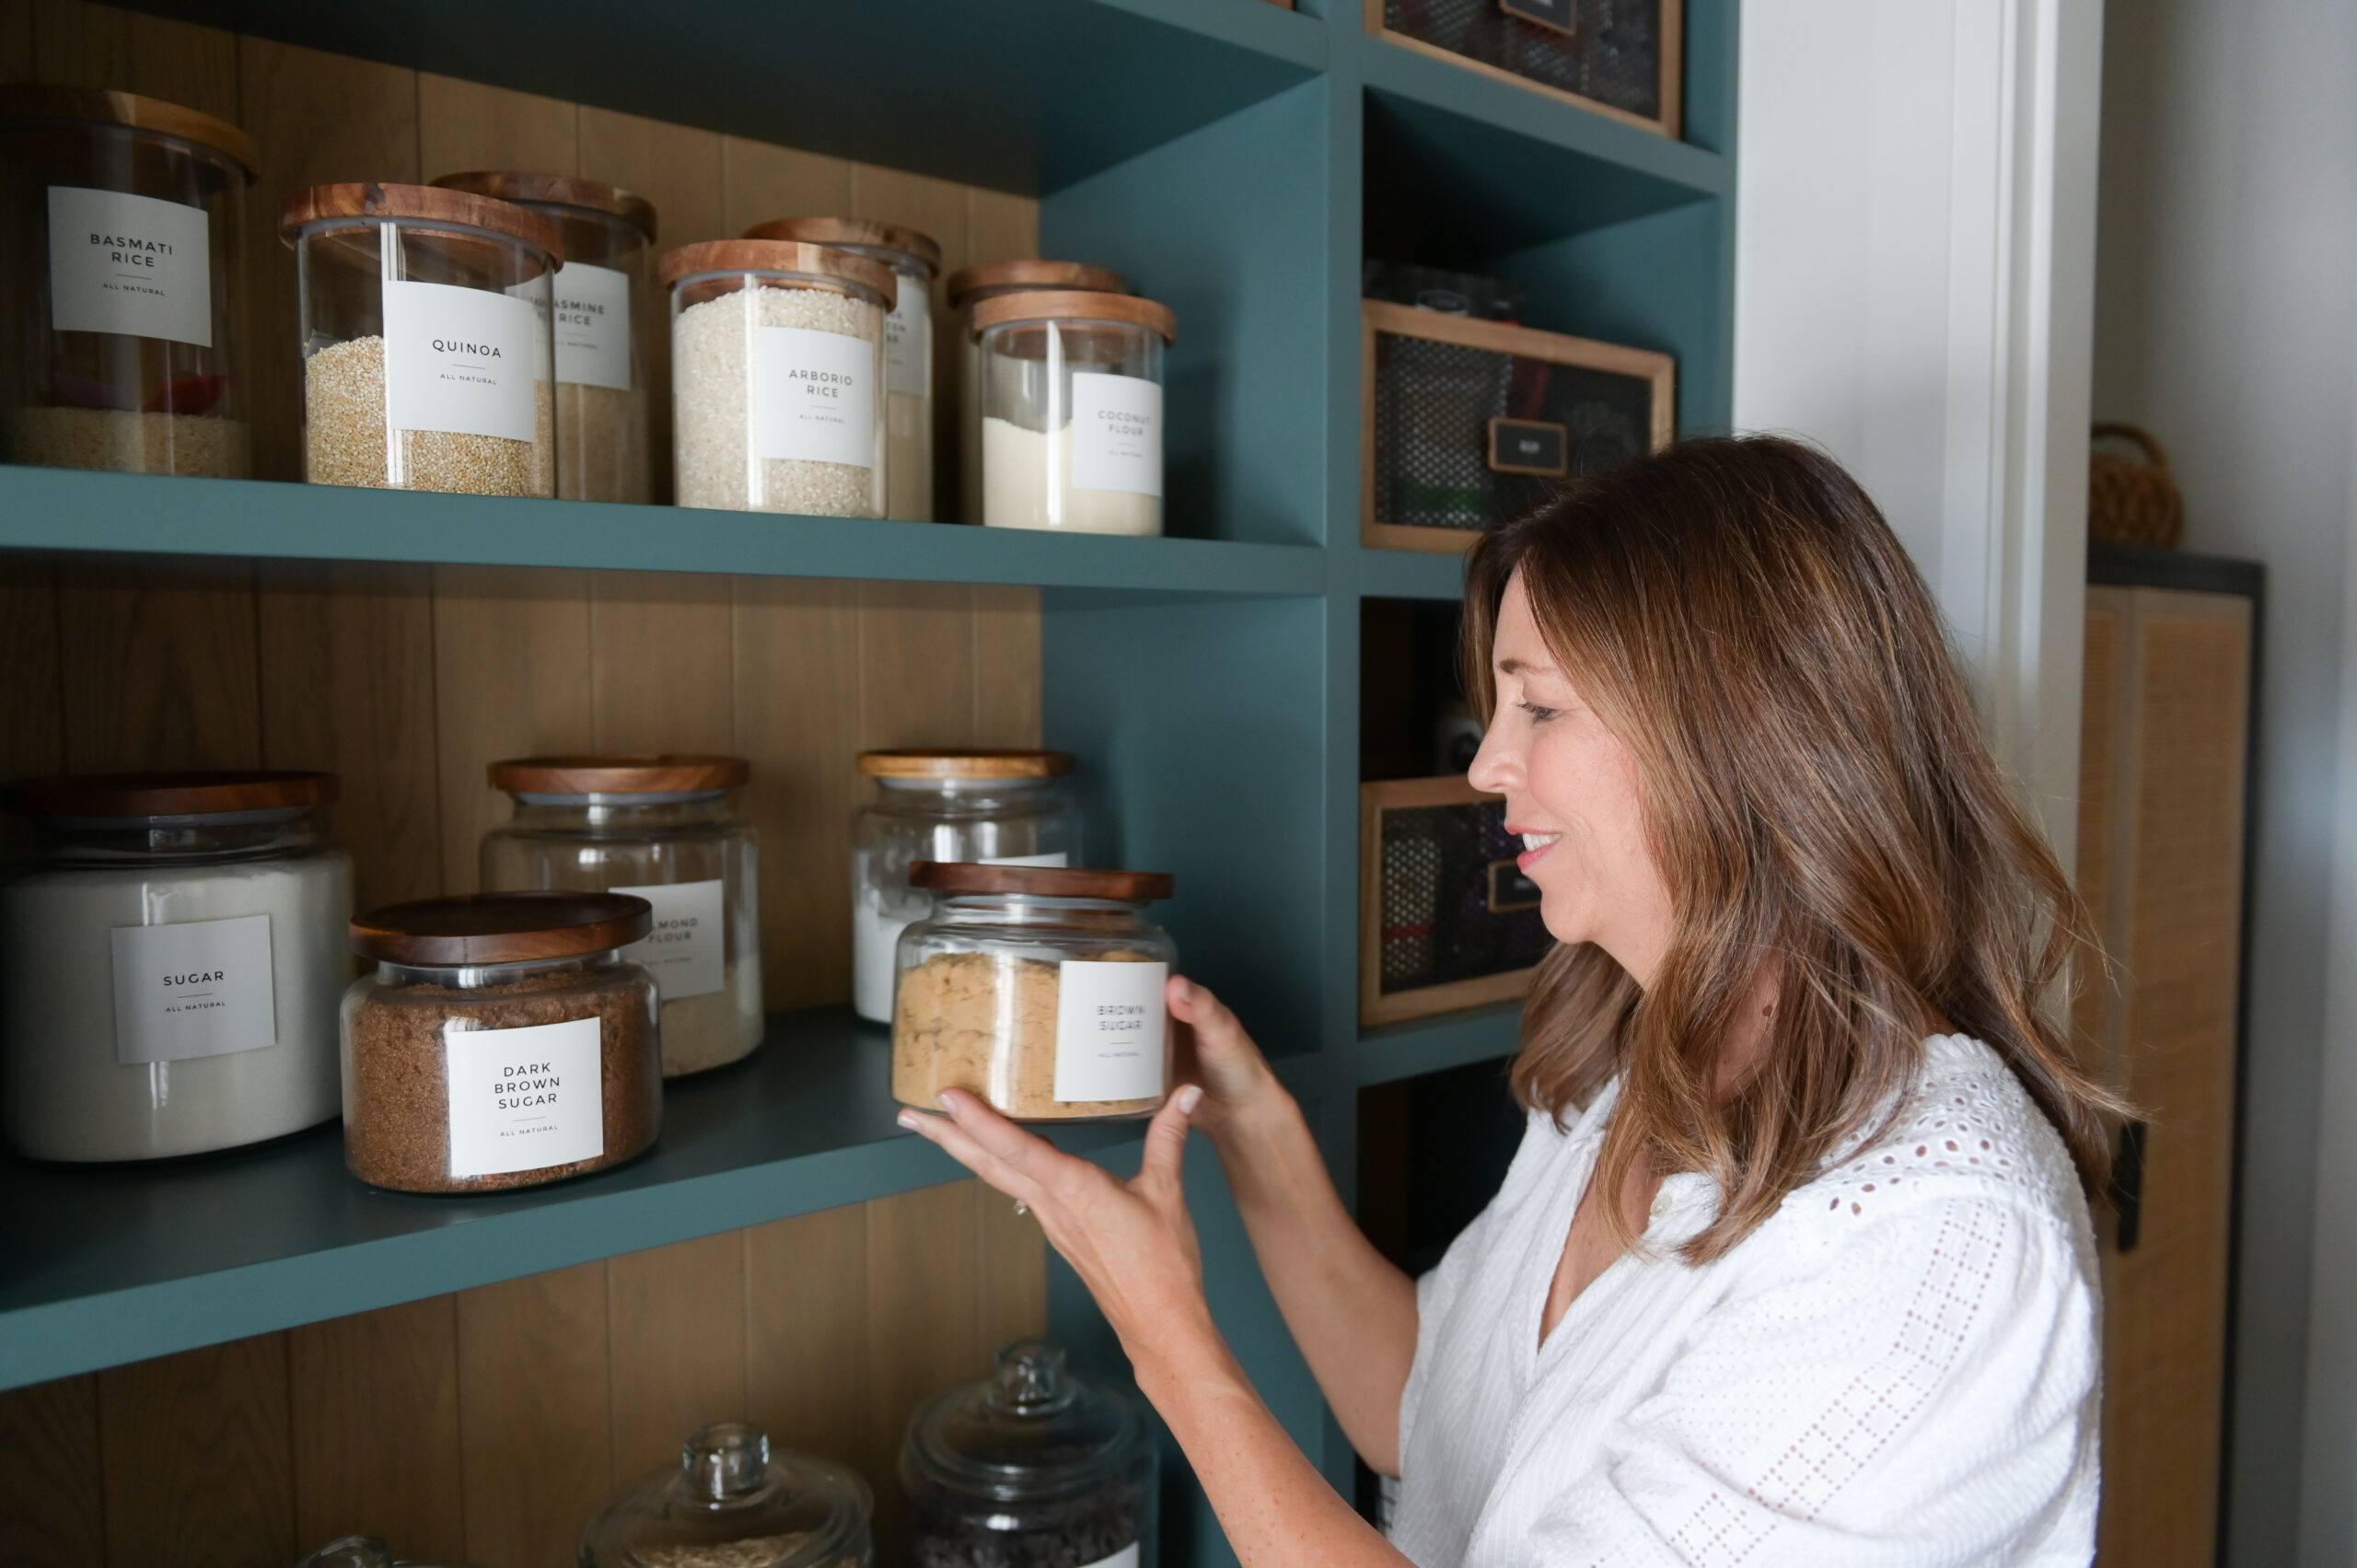
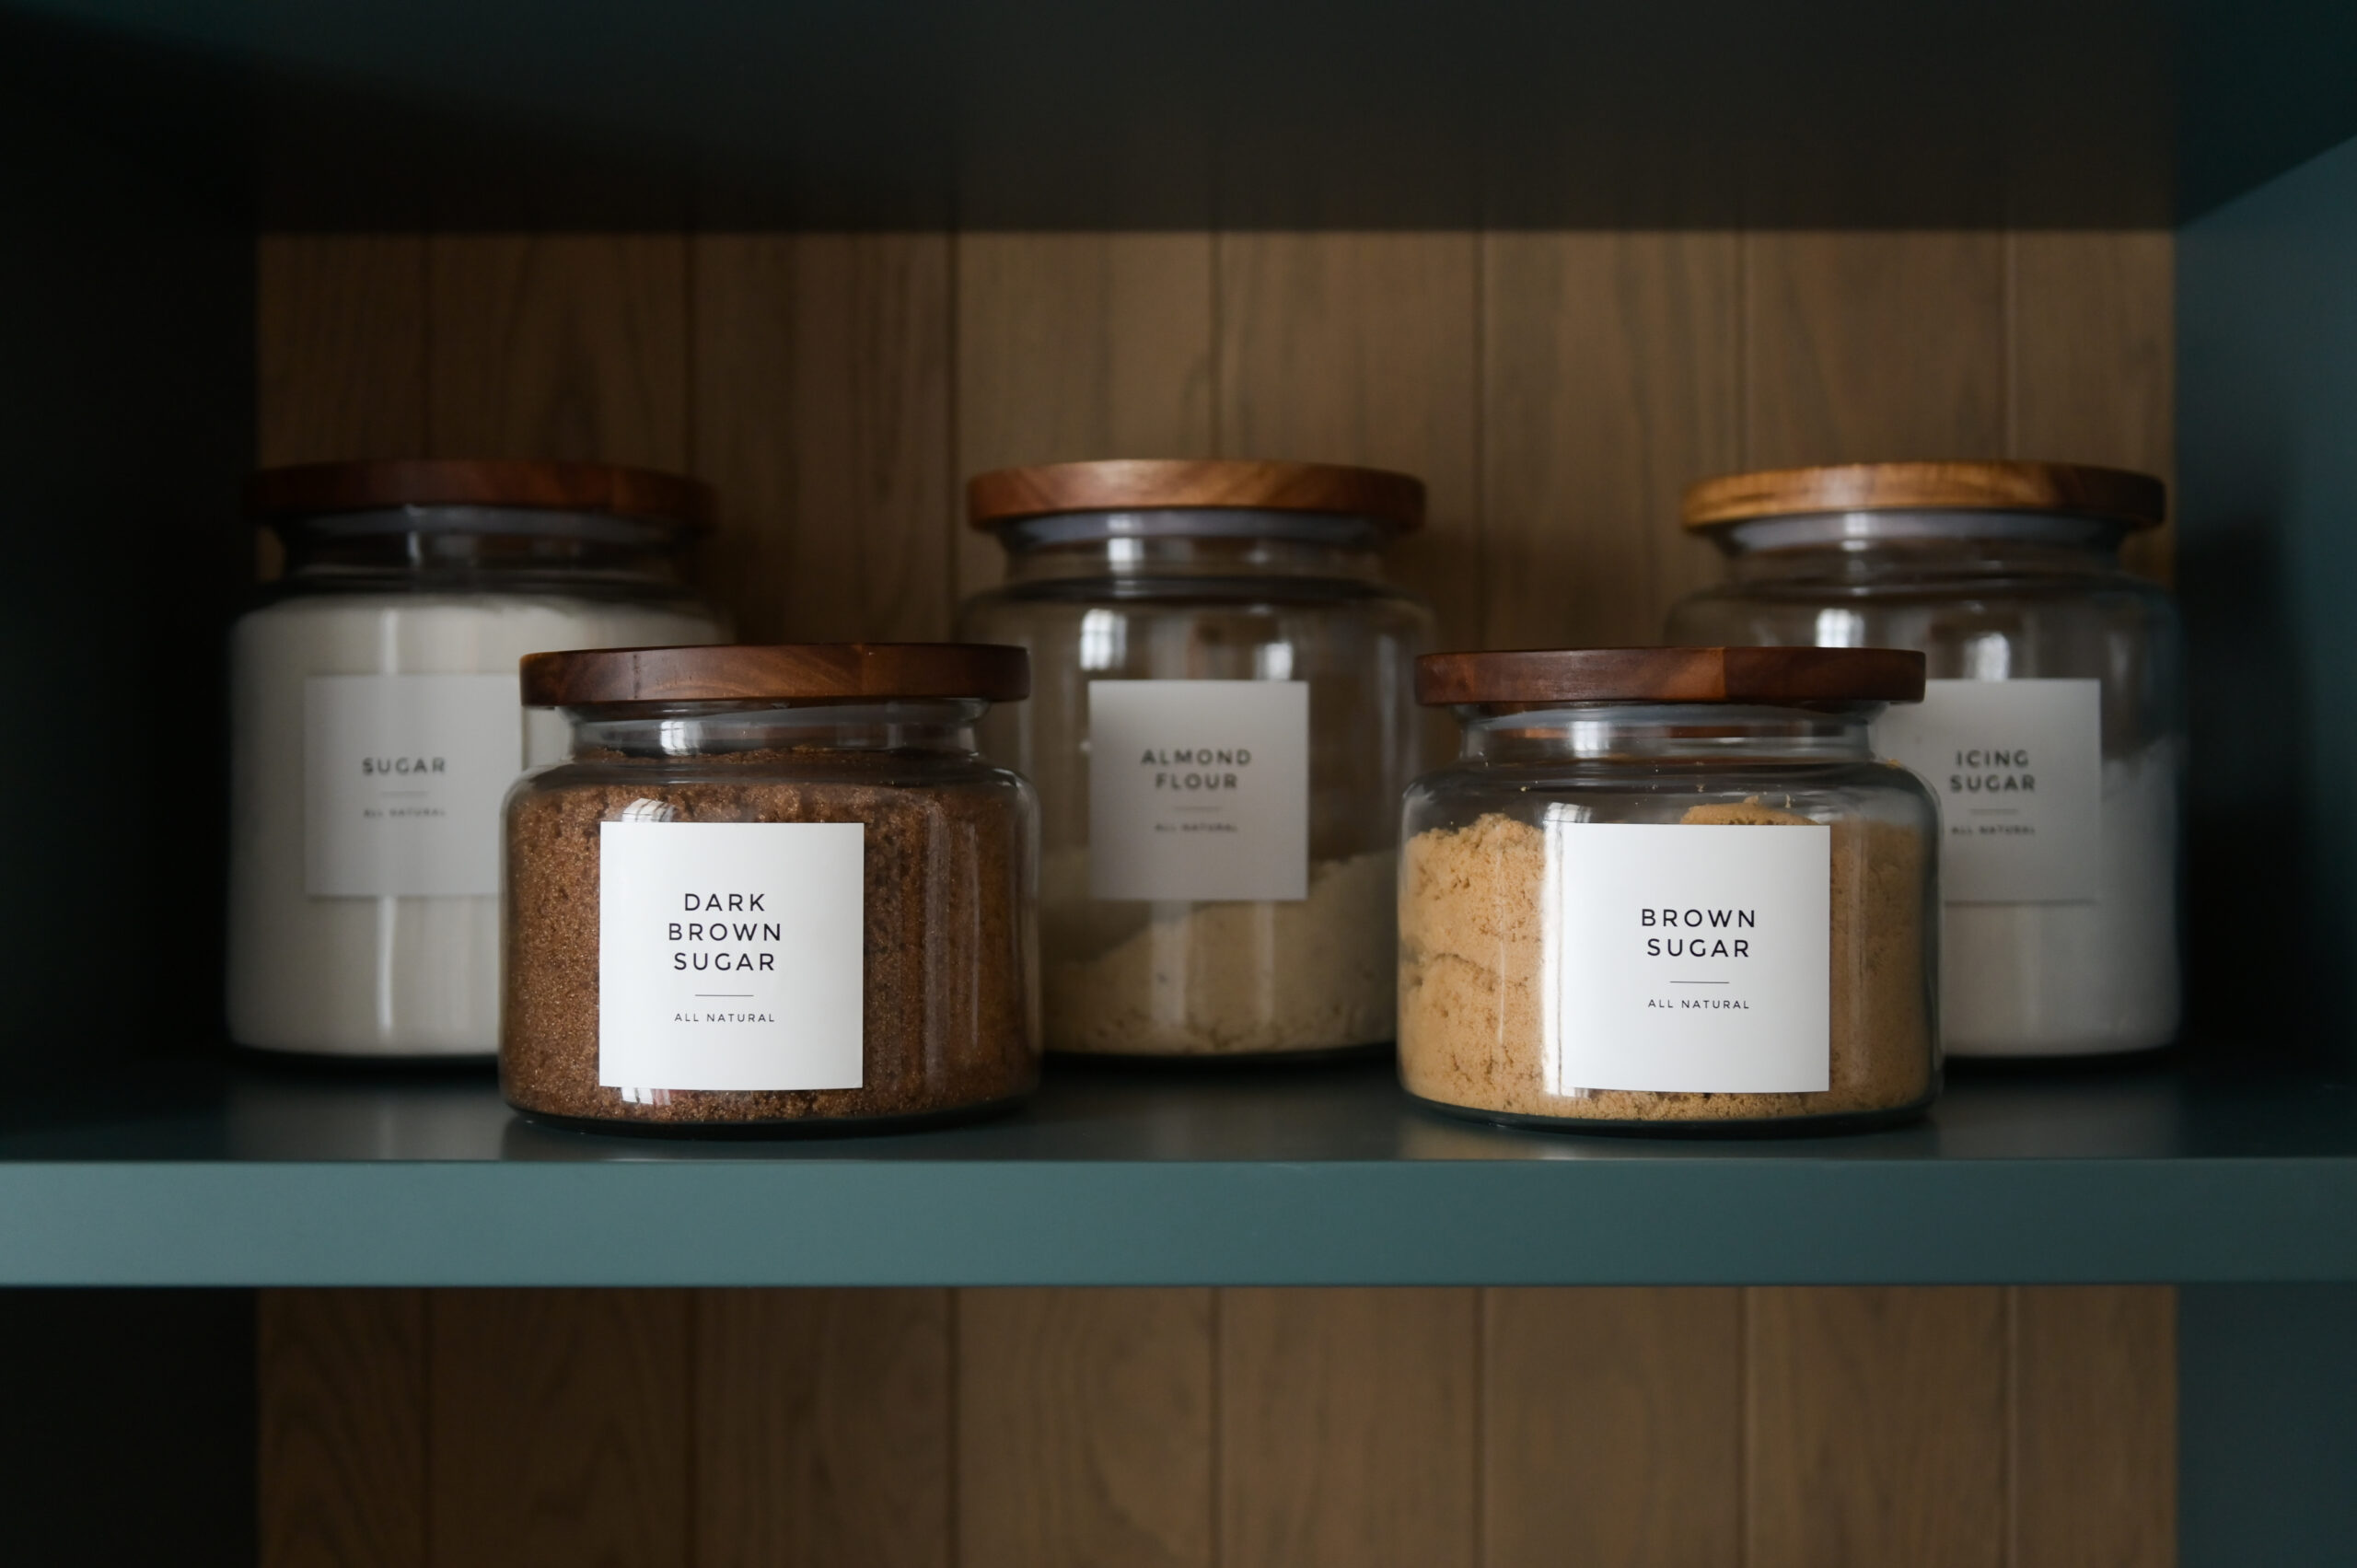
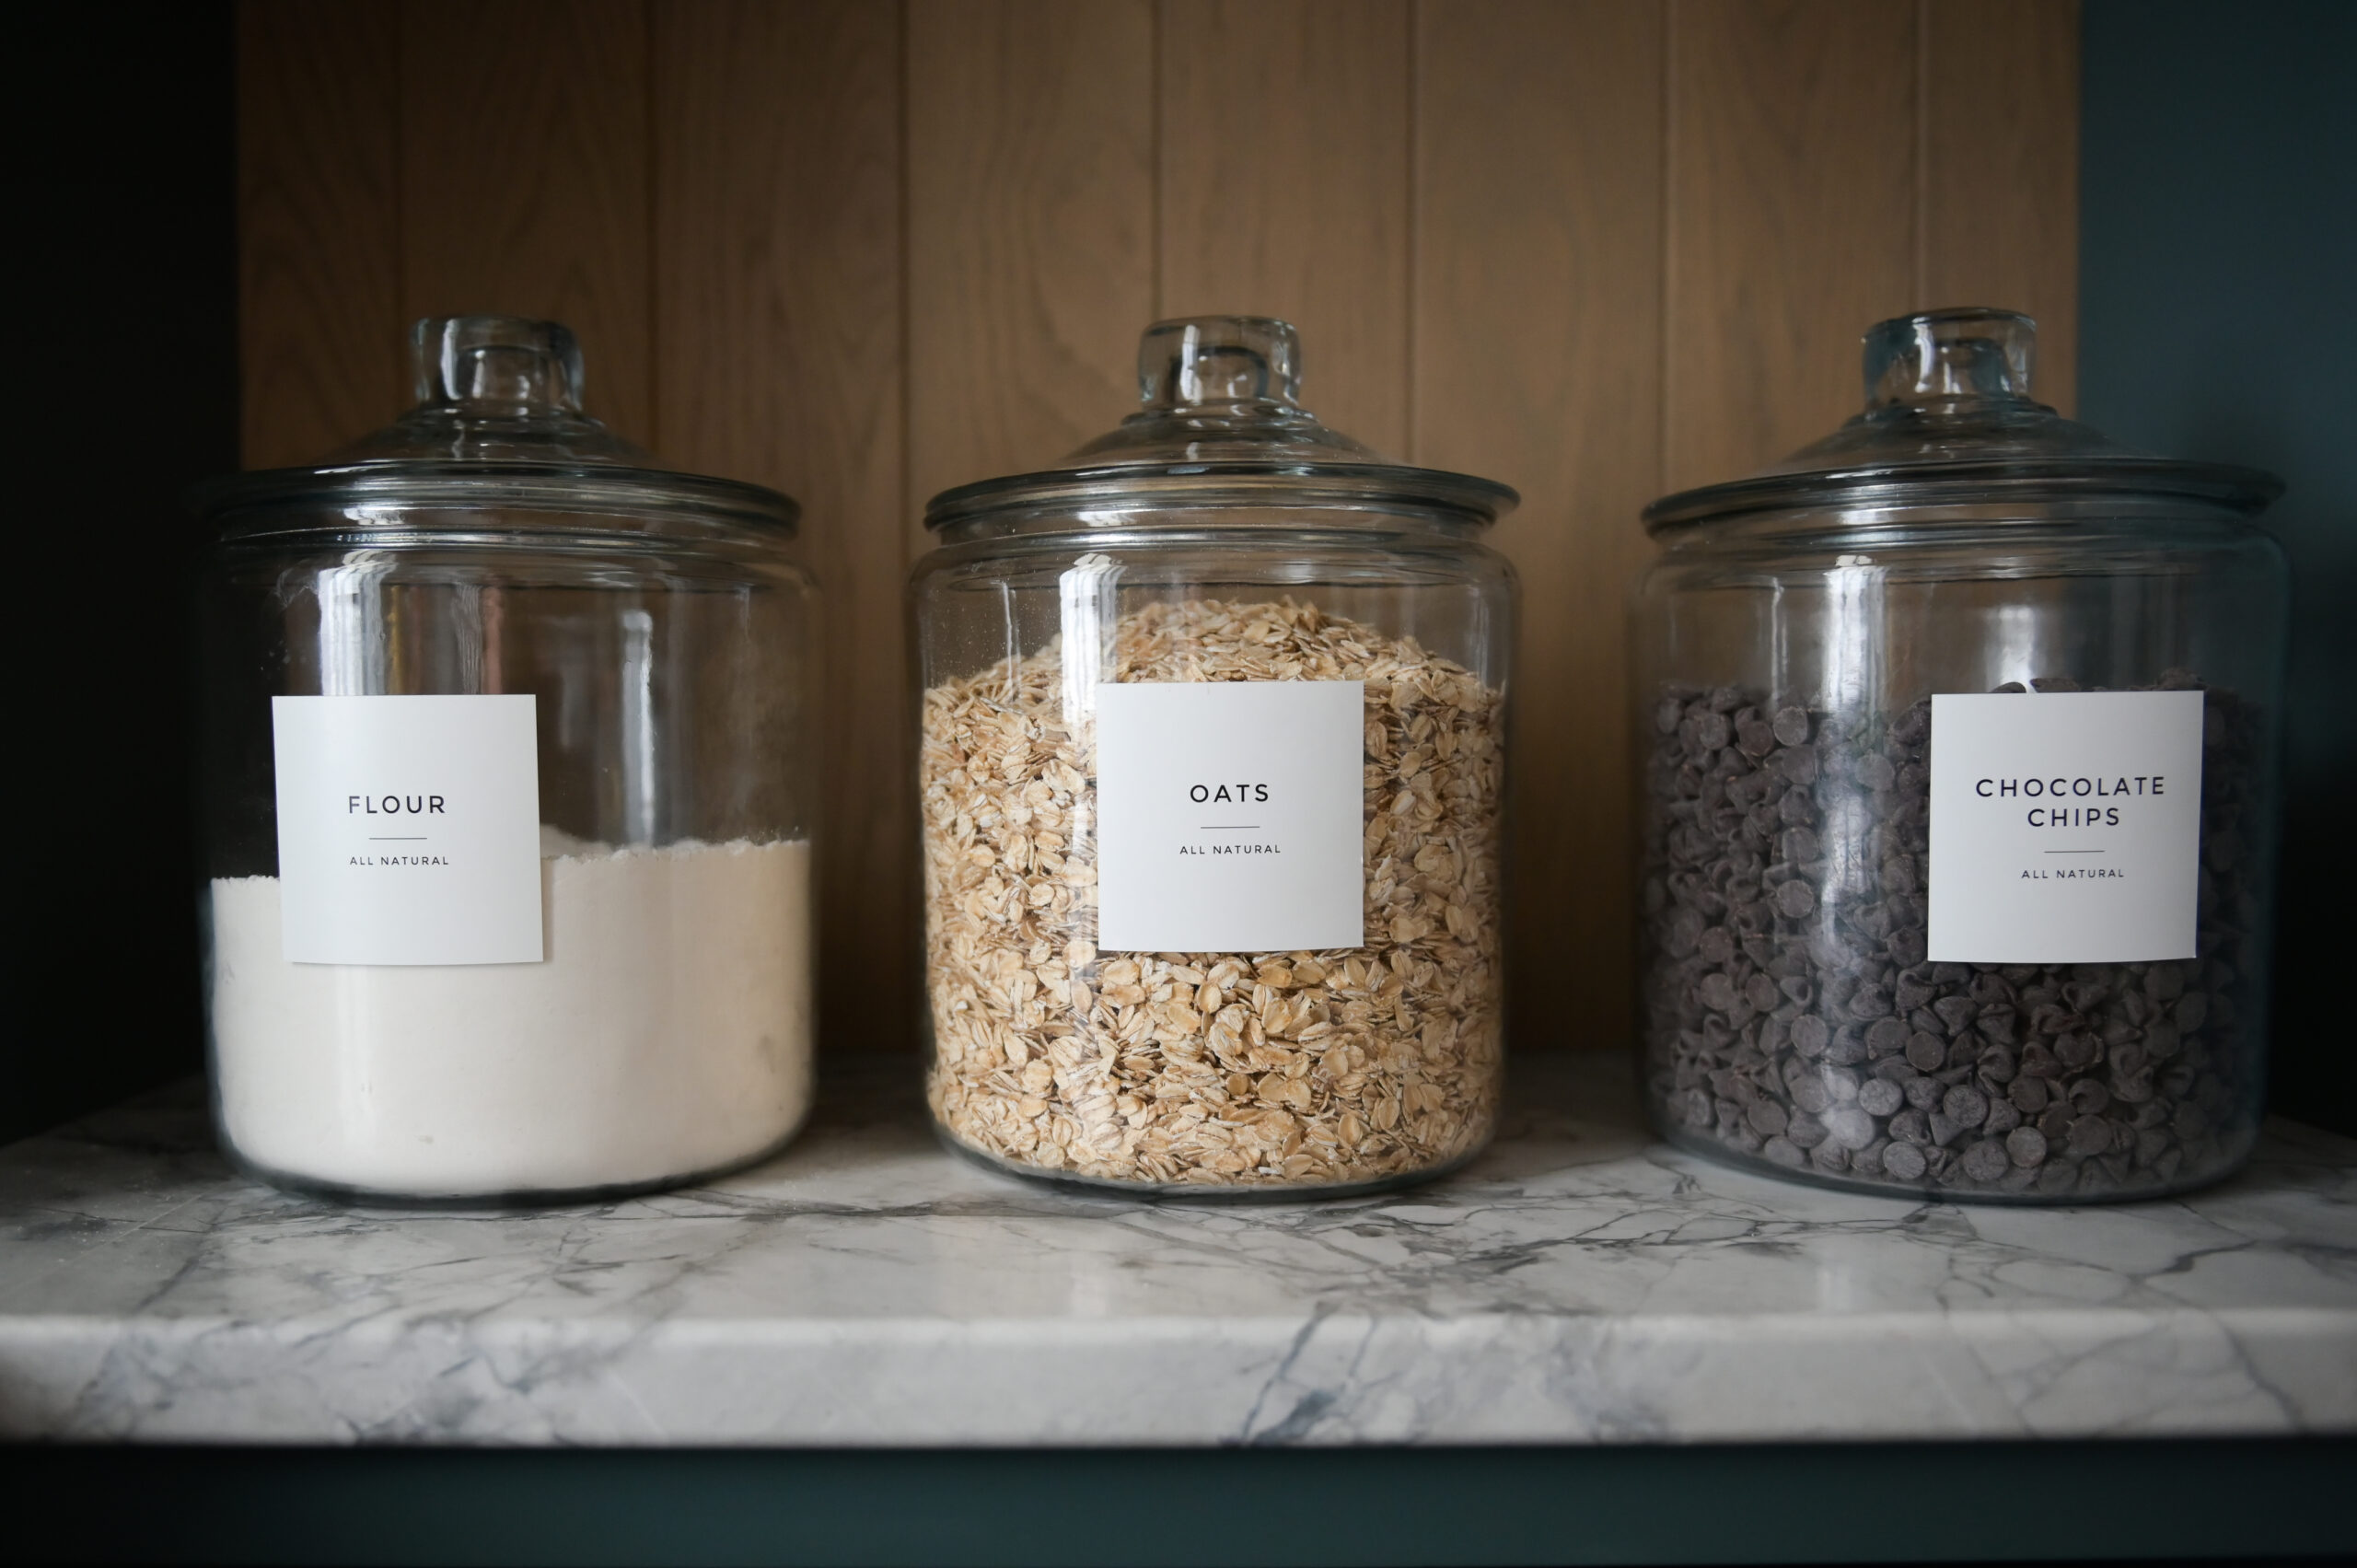
A classic look is provided by Anchor Hocking’s Montana Jars which come with beautiful, dark acacia wood lids. Generous top openings allow for easy access, and their snug-fitting lids give you almost airtight storage. Making them the perfect choice for storing your favourite cereals, pastas, flours, or any other bulk items in a way that stays neat and organized! If clear is more your style, you’ll want to check out Anchor Hocking’s Heritage Hill Glass Jar. Made with oversized knobs for easy lid removal, these glass jars are also wide-mouthed and thick-walled to ease scooping and prevent spillage. Glass is not only more environmentally-friendly than plastic or metal, but also tends to be more durable in different ways. It will not warp, stain, retain smells, or seep dangerous chemicals into stored food.


The Coffee + Tea Station

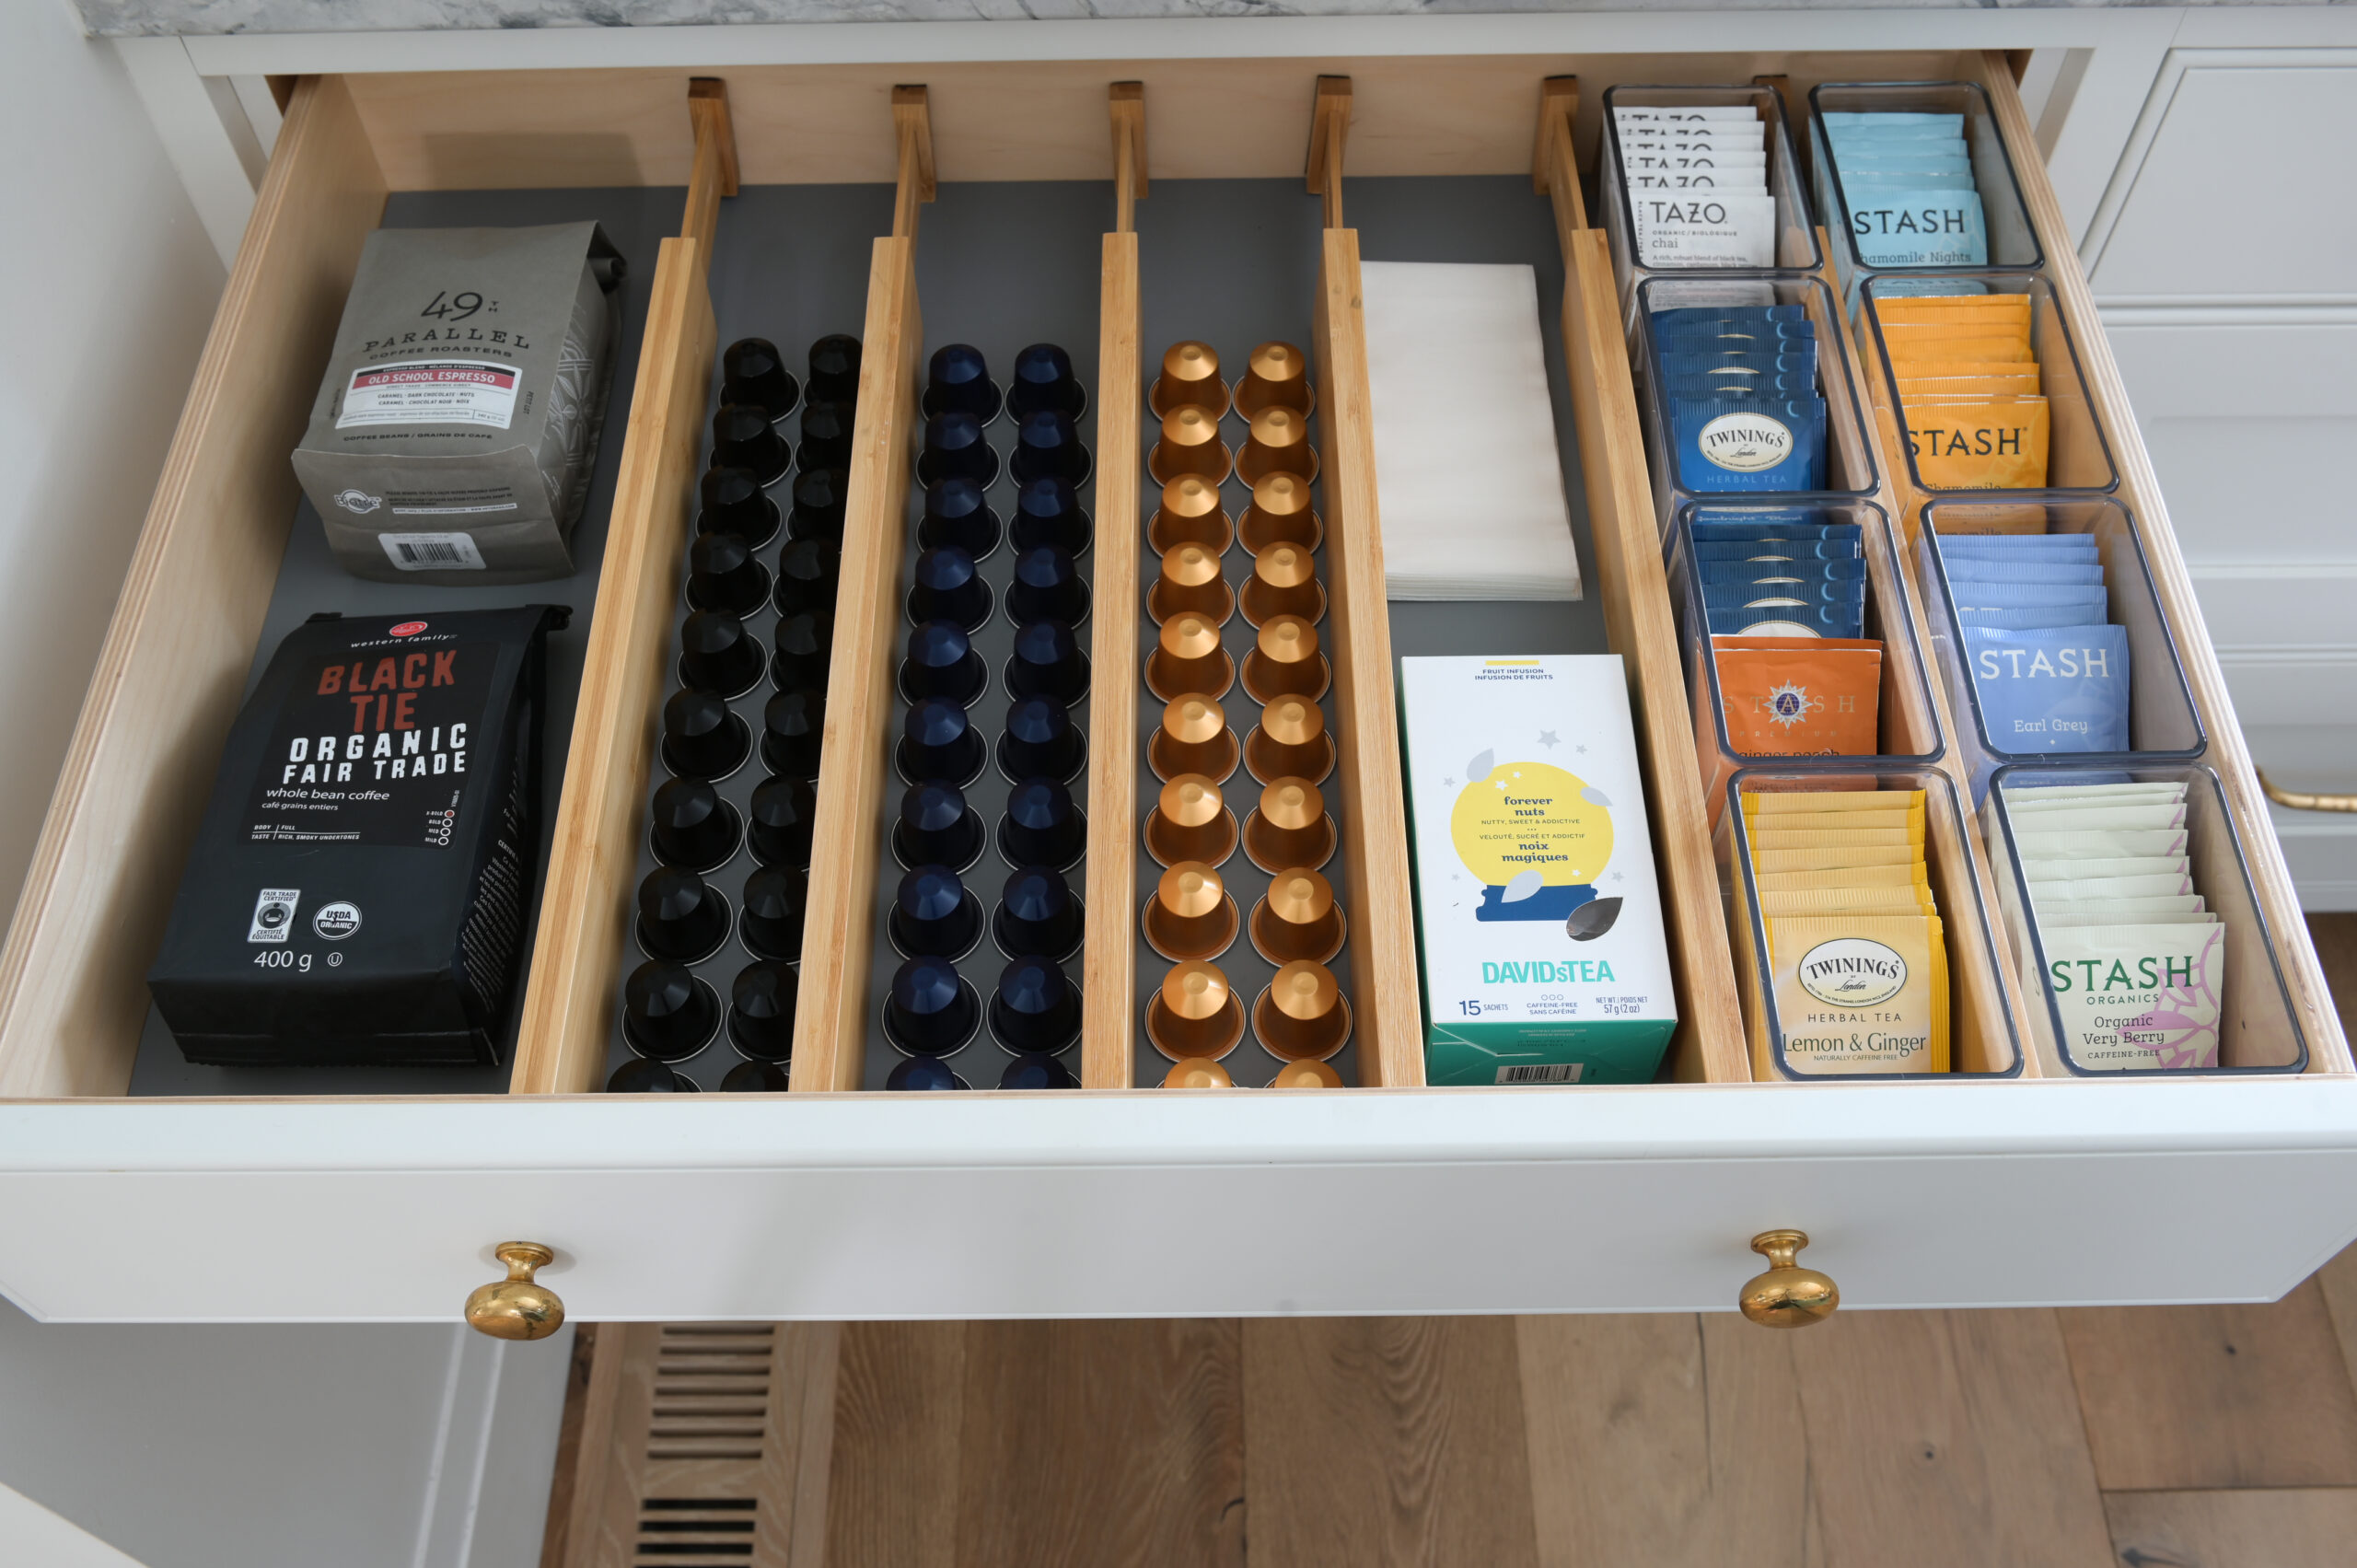
The two products in this drawer I tend to use in almost every coffee and tea station I set up. They just work so complimentarily with each other!

The first of these is the Bamboo Adjustable Drawer Dividers pictured across the entire drawer space. I love these spring-loaded dividers because they can easily be adjusted to almost any drawer. They give a nice, natural look to a space. Plus they can break up the blocky dark or stark white drawer bottoms. This makes them the perfect solution for almost any room to make your home look neat and organized!

I am always asked about what I use for storing teas, and this second product here is my #1 recommendation! It’s almost as if they were made for it 😄 Introducing, The Home Edit’s Small Bin Clear Organizer! These organizers let you easily customize any drawer’s storage. Their straight sides sit neatly beside each other to help you make the most of your shelf space. They’re also completely clear so the contents inside are always visible.


The Closet

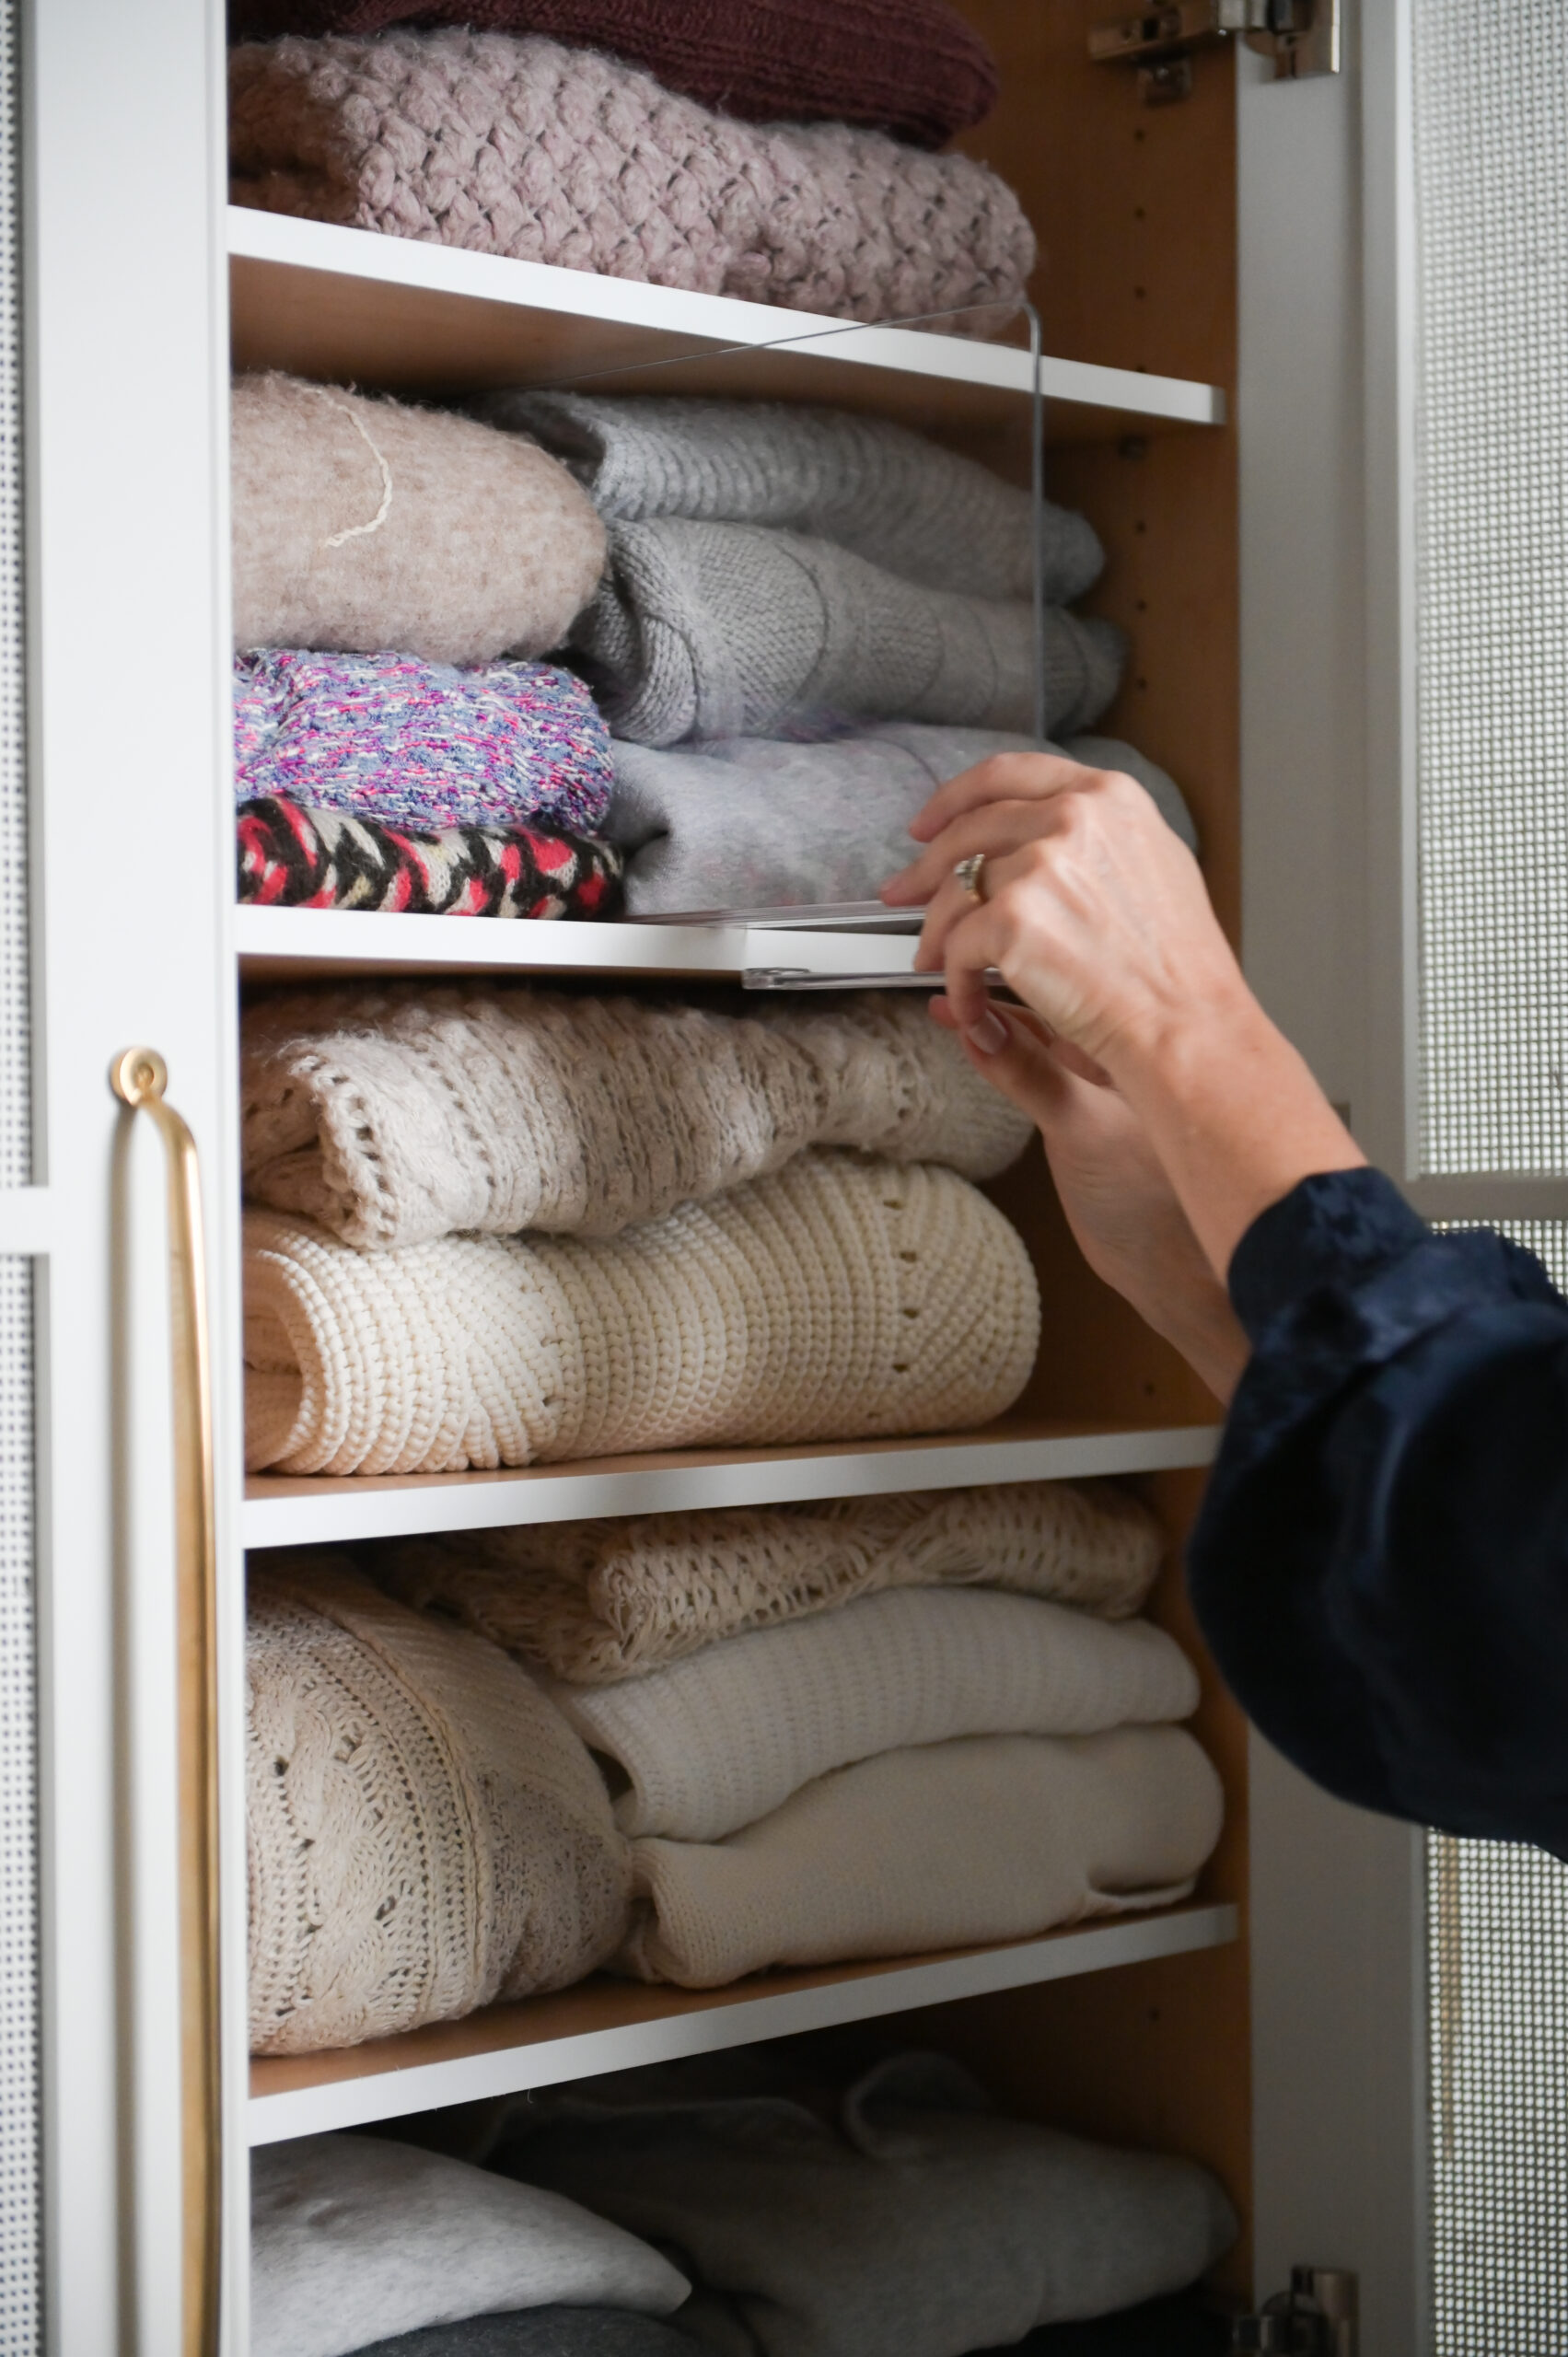
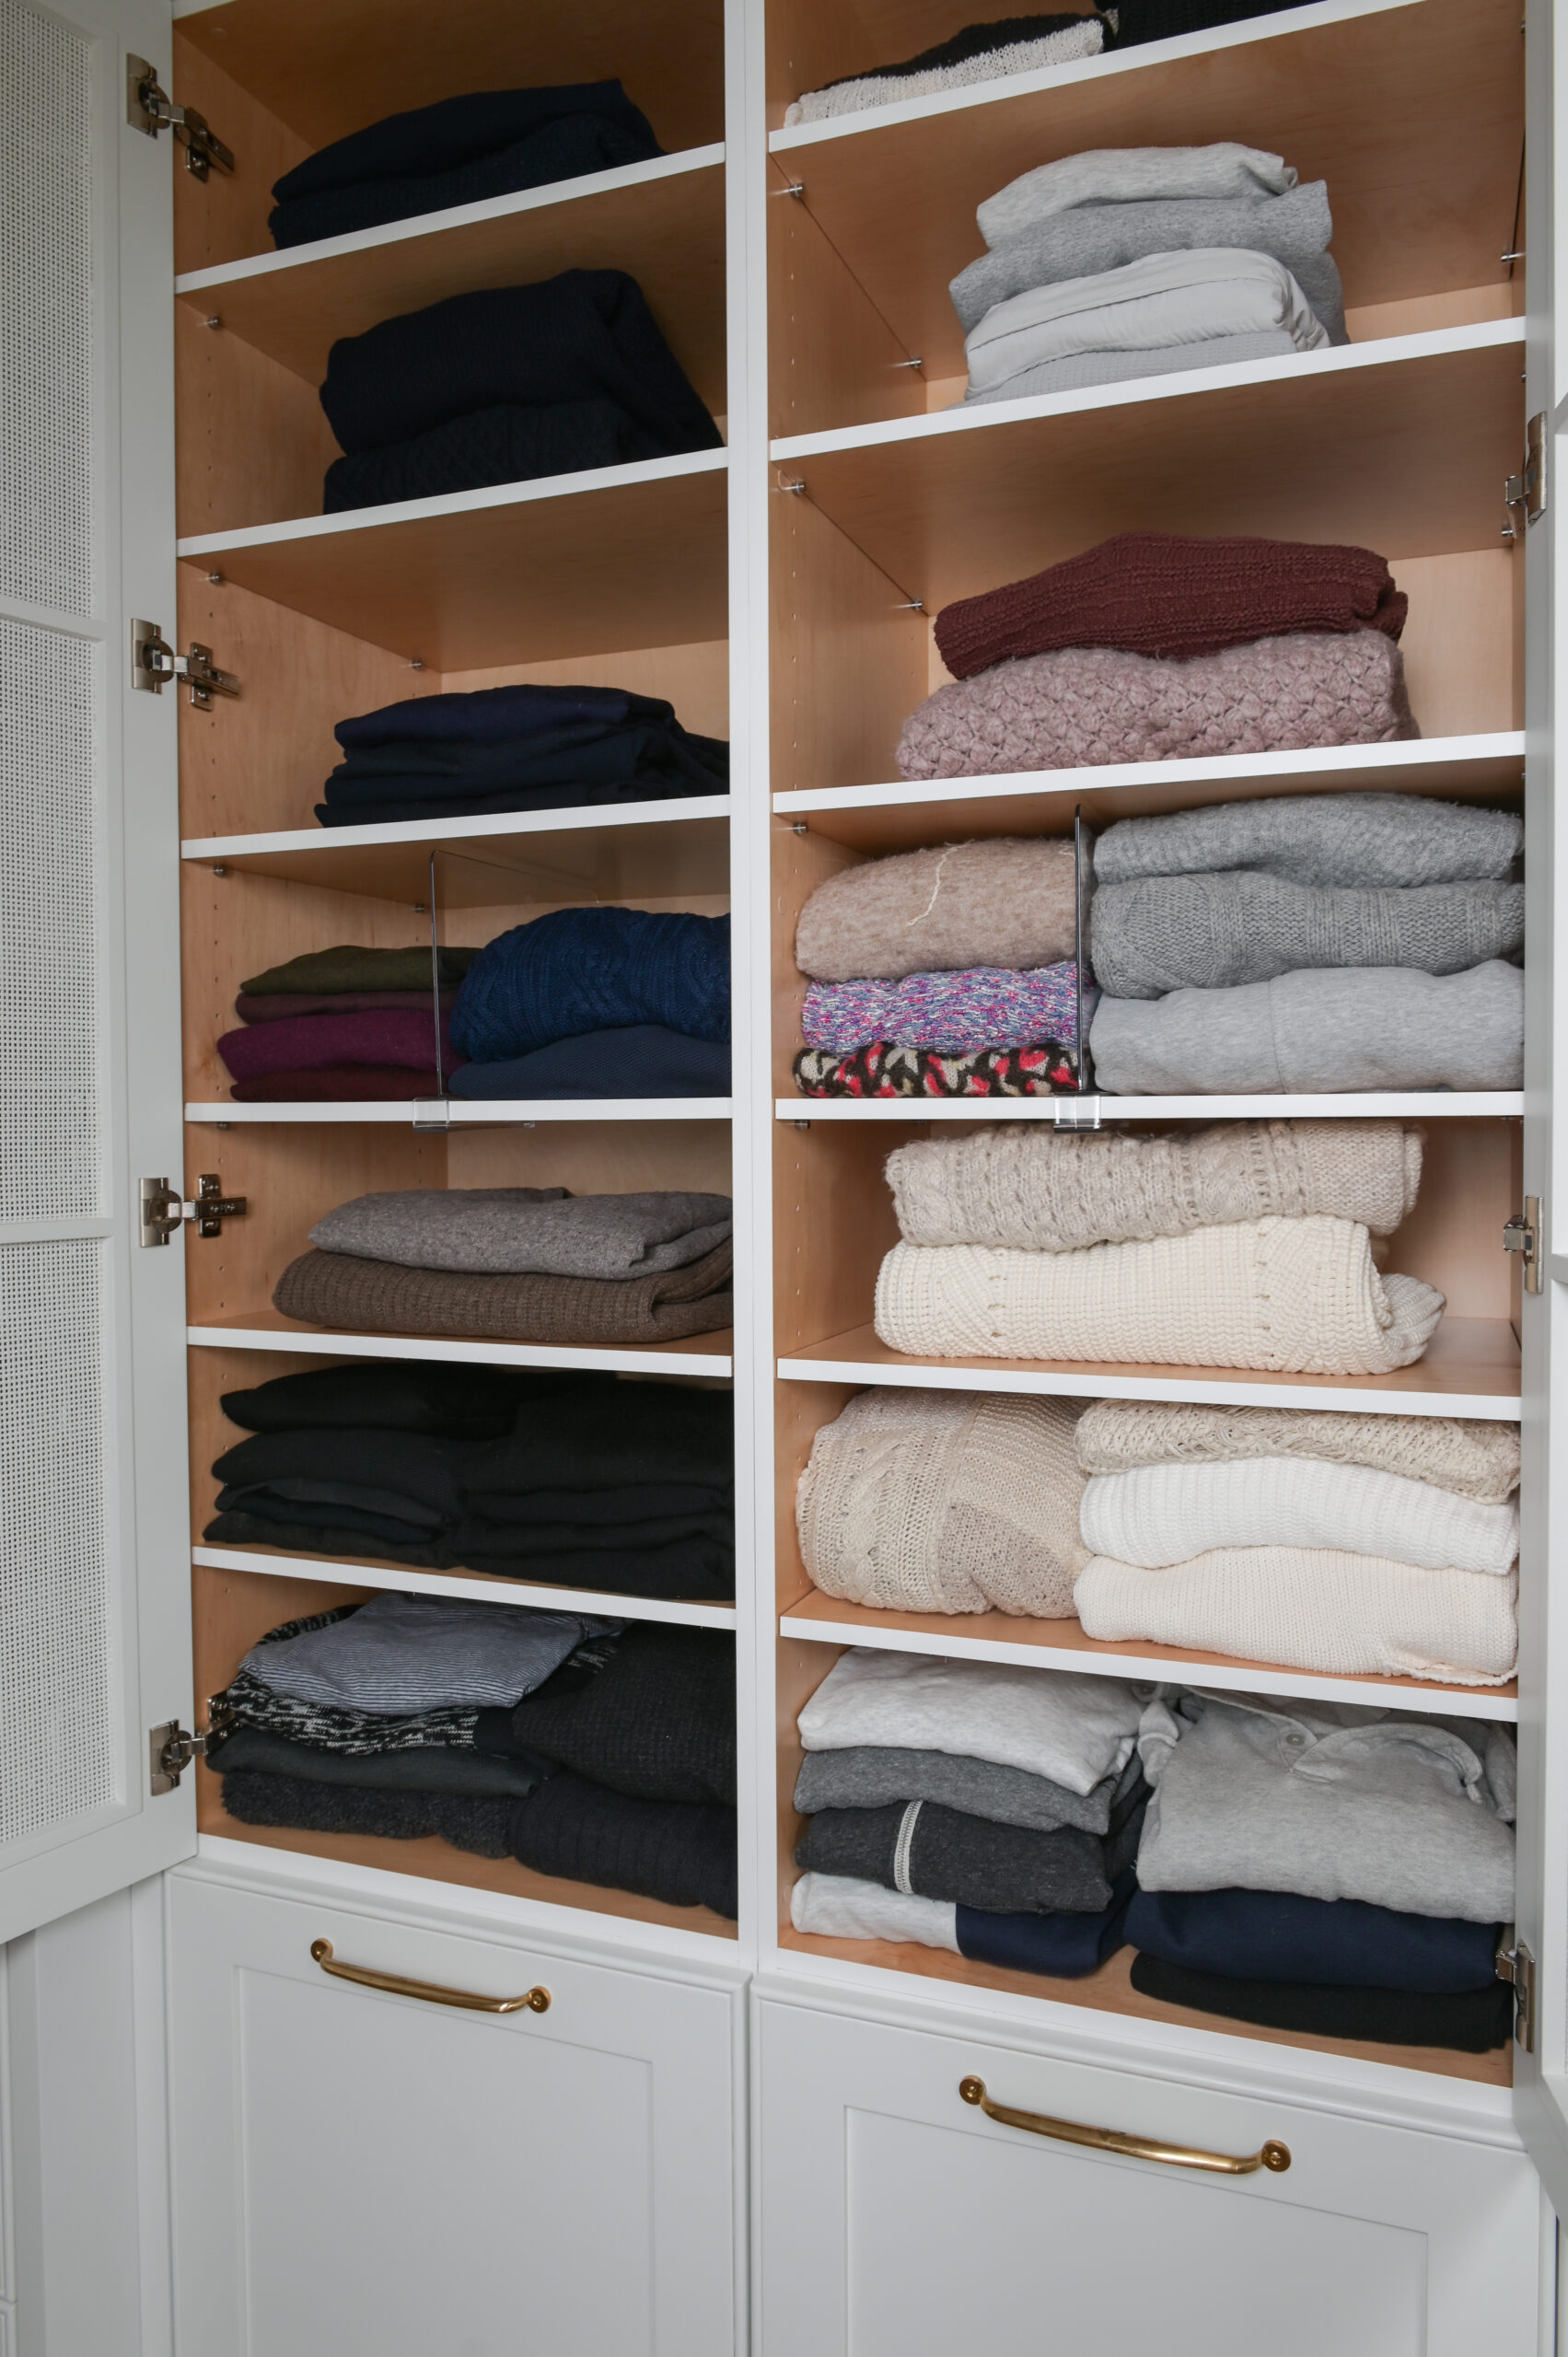
A new-er product in my organizing toolbelt lately has been these handy Clear Acrylic Closet Dividers. I love how they can help you pull out a sweater or bulky clothing item without the worry of the neighboring stack spilling over or sliding out! I have also used these for storing purses, clutches, and large wallets upright in rows. Maximize your closet storage space and keep any shelf neat and organized. Use them to easily divide the same shelf into different functional areas. Then stack items like clothing, sweaters, towels, and linens into high (but functional!) piles.


Keep these smart organizing products to make your home neat and organized fresh in mind… It’s time to roll up your sleeves and bring the vision to life!


Whether you choose to use a few or all of these products, remember the ultimate goal. Creating a space that suits your family’s own unique needs! So go ahead and declutter what you don’t need first. Then map out how you want the remaining items to be organized.


You’ll see very quickly how you can fully transform your humble abode into your dream organized home!


Embrace the powers of organization today, and enjoy the new beauty and efficiency of your spaces tomorrow.


Did something catch your eye today? See a few you already use? Comment below!


Like this article?

You’ll love this one👇🏼

Making and Keeping a Family Laundry Schedule

10 Trends to Refresh Your Laundry Room

By Blog, Inspiration, Quick Organizing Tips No Comments

Looking for ideas to refresh your laundry room? Tired of it being cluttered and looking like a storage drop zone?


It’s certainly time for a refresh, and we’ve got some ideas to revitalize your laundry space so your wash days will be a delight!


Refreshing your laundry room is an excellent way to introduce a renewed sense of style and vibrancy into your home. No matter how big or small your laundry area is, there are simple tweaks you can make to brighten up the chore of doing laundry. 


This week, we’ve compiled ten of our favourite trends that combine function and organized bliss.


From smart storage solutions to fresh accents of soothing colors, these tips will help you create the laundry room of your dreams. They will not only streamline your daily chores but also elevate the overall aesthetic of your home.


FREE DOWNLOAD

Laundry Planner

This free planner will help keep you
on top of laundry without the overwhelm!

Download here!


Get ready to turn your laundry room into a space you’ll actually enjoy spending time in! Let’s declutter your laundry area and transform it into an oasis of peace today.


10 Ways to Refresh Your Laundry Room


1.

Refresh your laundry room by giving yourself some inspiration to glance at every day. Hang some of your favourite artwork or an inspiring quote! Think of what you like to see or read on a tough day that always seems to be able to lift you up.


2.

Make the every day feel more extraordinary with scenic wallpaper. In my small laundry room behind two bi-folding doors, I have a stacking washer and dryer that goes from floor to ceiling with open shelving for storage. I can implement this by simply adding wallpaper to the back wall for a pop of fun color!

3.

Consider changing cabinet handles and light fixtures. These are easy, DIY changes to refresh your laundry room that require little money and effort, but you can reap big happiness rewards from them! Every time you enter the laundry area you can enjoy the little upgrades you have made and smile 😊

4.

For a gallery-style laundry room, go with closed storage options to prevent a cluttered look. Keeping laundry supplies organized presents a cleaner-looking space. This trick actually gives our brains a little boost of joy!


5.

Refresh your laundry room by adding dramatic, under-cabinet lighting. There are some great renter-friendly options for adding additional lights. A lot of my clients like to use the stick-on motion-sensor lights from Amazon, and I can tell you, it instantly elevates the look!


6.

Don’t forget to accessorize with greenery and pretty storage pieces. Along with some fixed additions, make sure to balance out the decor with pops of fun home accessories. Be careful not to overdo this one, as having too many things out can easily lead us right back to a cluttered space.


7.

Create a casual look with simple wire baskets for storage. Adding negative space with organizing products as you refresh your laundry room can create the illusion of a larger room or closet.


8.

Upgrade your laundry bins to something that’s modern and functional. If you’re tired of the plastic baskets you’ve had since 2010, now is the perfect time to upgrade to something you like! Check out Pinterest for some inspiration, and make sure to measure your space before purchasing.

9.

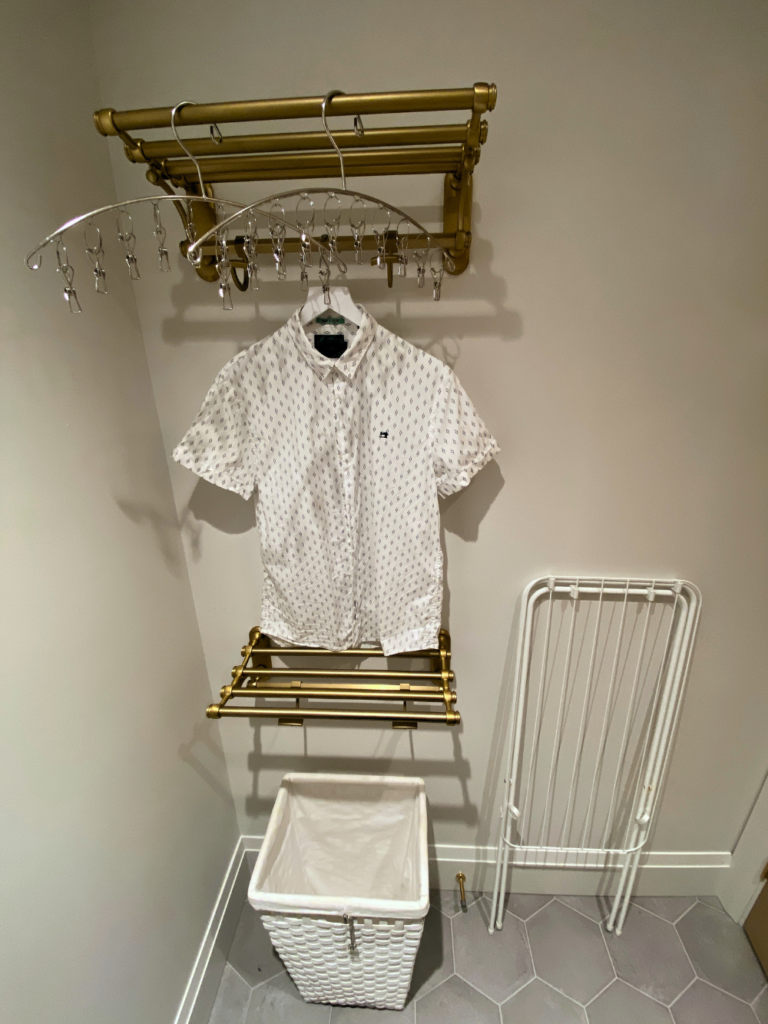
Use a clothes drying rack or install a wall-mounted version of one. Instead of filling all vertical space in your home with wet, hanging clothes for a few days, contain the laundry in the dedicated laundry space with a fixed drying rack. You will thank me later!


10.

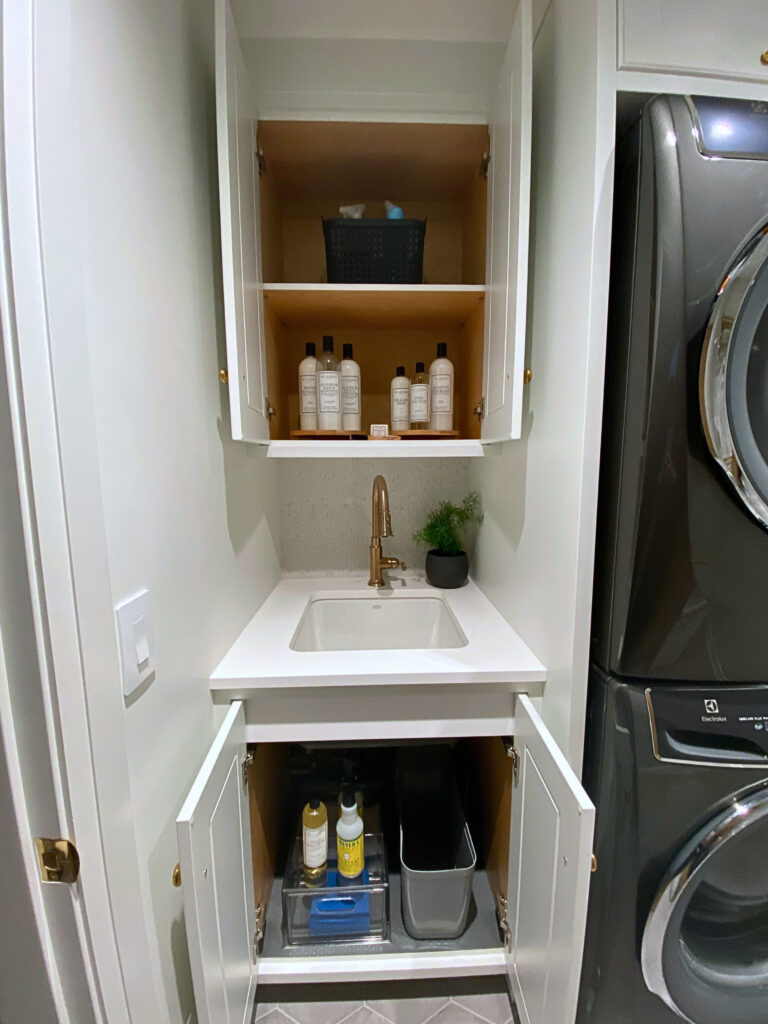
Decant and label your laundry soaps, softeners, and supplies for a clean and minimalist look. This isn’t just about aesthetics, either. Keeping your flat surfaces and counters clear contributes heavily to your productivity and happiness!


With these inspiring ideas to refresh your laundry room fresh in mind, it’s time to roll up your sleeves and bring the vision to life!


Whether you choose to incorporate one or all of these concepts, remember the ultimate goal. Creating a space that suits your own unique style while enhancing your laundry routine! So go ahead and declutter what you don’t need first, then map out how you can add a touch of personality.


You’ll see very quickly how you can fully transform and refresh your laundry room into a place that sparks joy and makes each wash day a bright (and even fun!) experience.


Embrace the powers of organization and decoration today, and enjoy the new beauty and efficiency of your refreshed laundry space tomorrow.


Did you have a favourite tip? Comment below!


Like this article?

You’ll love this one👇🏼

Making and Keeping a Family Laundry Schedule